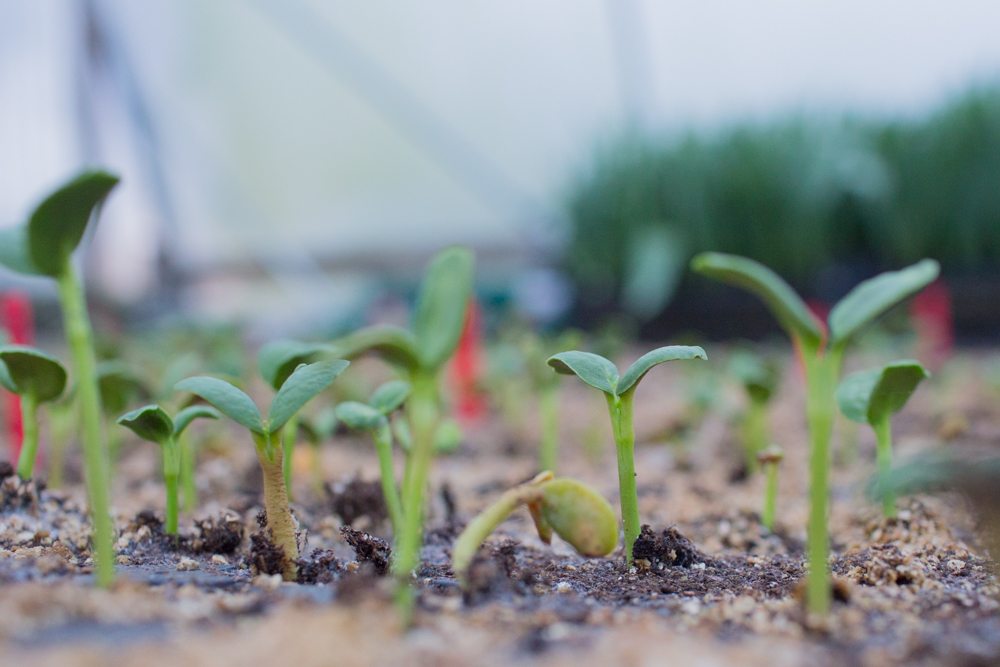
 Starting your own seeds is a great way to get a jump on the season. It also gives you access to hundreds of specialty varieties that you won’t find at your local nursery, and it is the most affordable way to fill a cutting garden fast. You just need to keep a few key things in mind before you start.
Throughout this post I will provide links to the necessary supplies, so if you can’t find them locally you can order them online from the fine folks at Johnny’s Selected Seeds.
Before you go crazy sowing seeds in late winter and early spring, it’s important to know just how early you can start—if in doubt, ask your local Master Gardener group or staff at a trusted nursery for the expected last frost date. Fast-growing annuals that bloom in summer (such as cosmos, sunflowers, and zinnias) shouldn’t be started more than 4 to 6 weeks before the last spring frost, otherwise they’ll get too big for their growing container and have soft, weak foliage and overgrown roots by the time you can plant them out into the garden.
On the other hand, slow-growing plants like perennials can take a couple of weeks to germinate, so sow them indoors 10 to 12 weeks before the last spring frost date. Once you know your last frost date, check the back of each seed packet or catalog description for days-to-harvest to figure out how soon you can start them indoors.
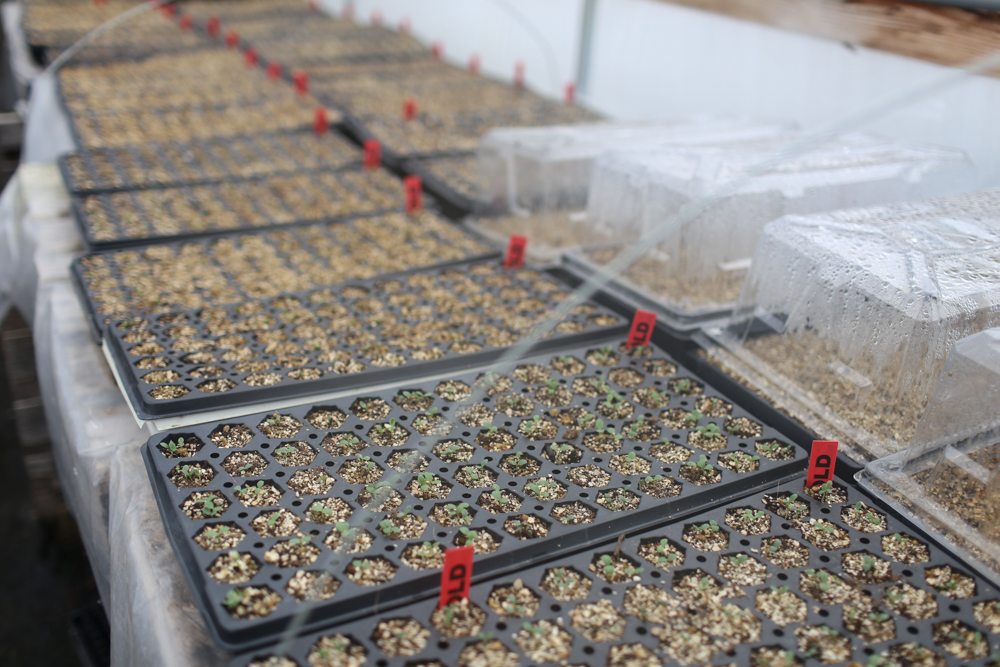 While you can start seeds in just about anything that holds soil and drains water (think egg cartons, Dixie cups, etc.) I recommend getting yourself set up right. For the best results, I highly recommend picking up some seed-starting cell trays and bottom flats since they produce the most uniform results. They can be found at most garden centers this time of year, or online from Johnny’s Selected Seeds.
If you’re reusing old pots or trays, be sure to wash them thoroughly with a 10-percent bleach-water solution to kill any lingering disease-causing pathogens.
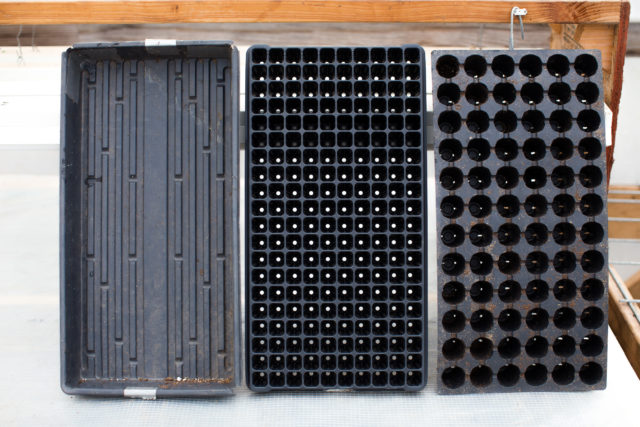 Cell trays come in numerous sizes, so choosing can be a little overwhelming. I’ve tested them all, and my two favorites for both annual and perennial seeds are the 72-cell and 50-cell flats. Both produce large, bulky plants that won’t require repotting before it’s time to transplant them into the garden.
For vines, pumpkins, and sweet peas, I use 4-inch (10-cm) pots; for sweet peas, I also love root trainers (long, skinny growing containers that give vigorous roots room to develop).
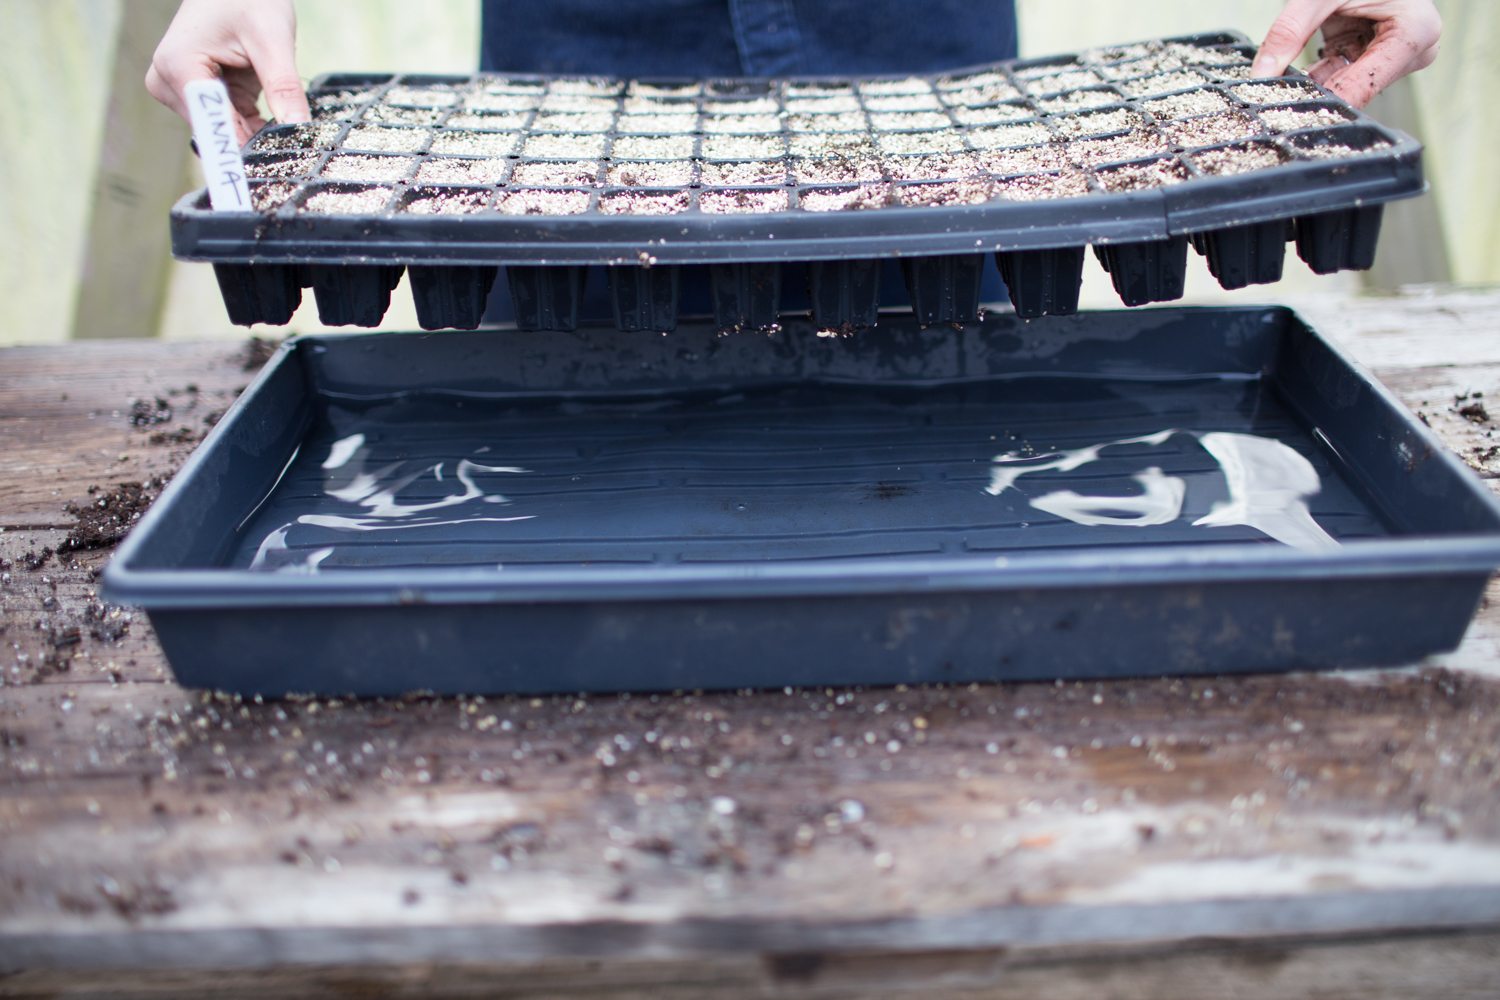 In addition to cell trays and pots, you need flat drainage trays to set the containers on, as well as some type of plastic covering to keep up the humidity seeds need to germinate properly. You can often find kits that include all three components: a cell tray, a flat drainage tray, and plastic dome lid.
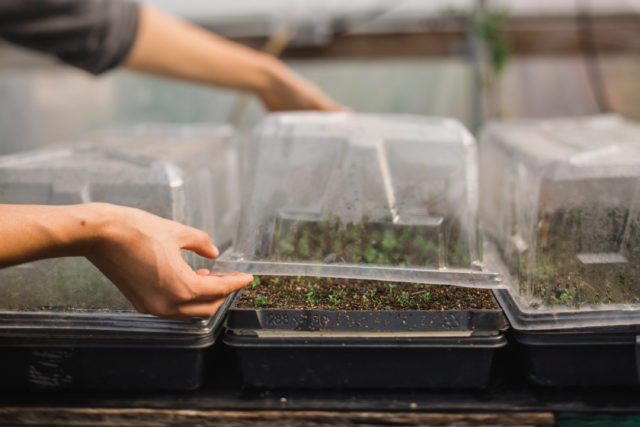 I highly recommend getting a few clear acrylic lids that will fit snugly over your seed trays and flats of pots. These maintain the humidity that will speed up germination and growth significantly.
 It’s important to start plants off right with the highest-quality seed-starting mix. You get what you pay for, so don’t go for the cheapest option. These special blends contain the right mix of ingredients to ensure that your little seedlings get a healthy start.
Be sure to check the ingredients and avoid any products that contain synthetic fertilizers or bark, since young plants can be burned or stunted by either. Seed-starting mix is fine and suited to tiny seeds. For varieties that have larger seeds and will be started in bigger pots, like vines and squash, use a high-quality potting soil.
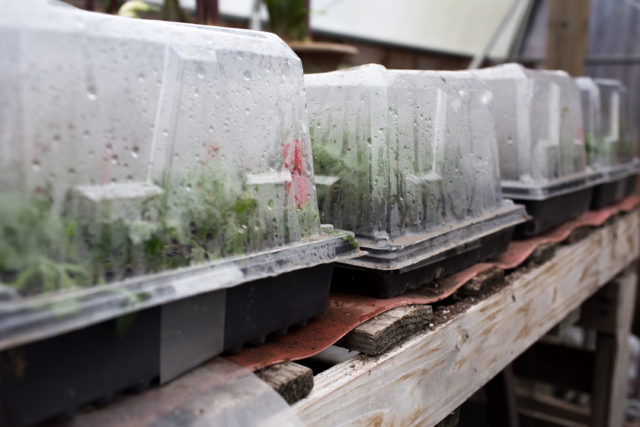 For seeds to germinate rapidly, they need to be kept warm and moist. If you have a cozy spot where you can tuck a few trays, such as the top of the refrigerator or radiator, you can take advantage of this heat to encourage seeds to sprout more quickly.
But if you really get hooked on flower growing, you’ll outgrow these spaces fast. For more consistent results, invest in a heat mat specially designed for seed starting.
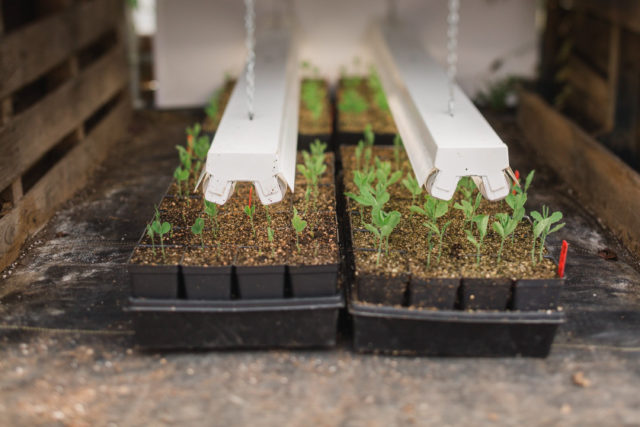 Of course there’s nothing better than having your very own greenhouse or sunroom to propagate plants in, but if you don’t have this kind of space, don’t worry. You can still get great results with a homemade seedling chamber, which can be as simple as a warm indoor spot with shop lights.
The first few years I grew flowers, I started all of my seeds in the basement, on shelves, under lights. For very little money, you can pick up a few shop lights that are available at just about any hardware store. Hang them from some inexpensive chains, and you’re in business. Suspend the lights a few inches above your seedlings and put them on a timer, making sure to give plants about 14 to 16 hours of light a day.
As the plants get taller, be sure to keep raising the lights so they are 2 to 3 inches (5 to 7 cm) above the tallest plant.
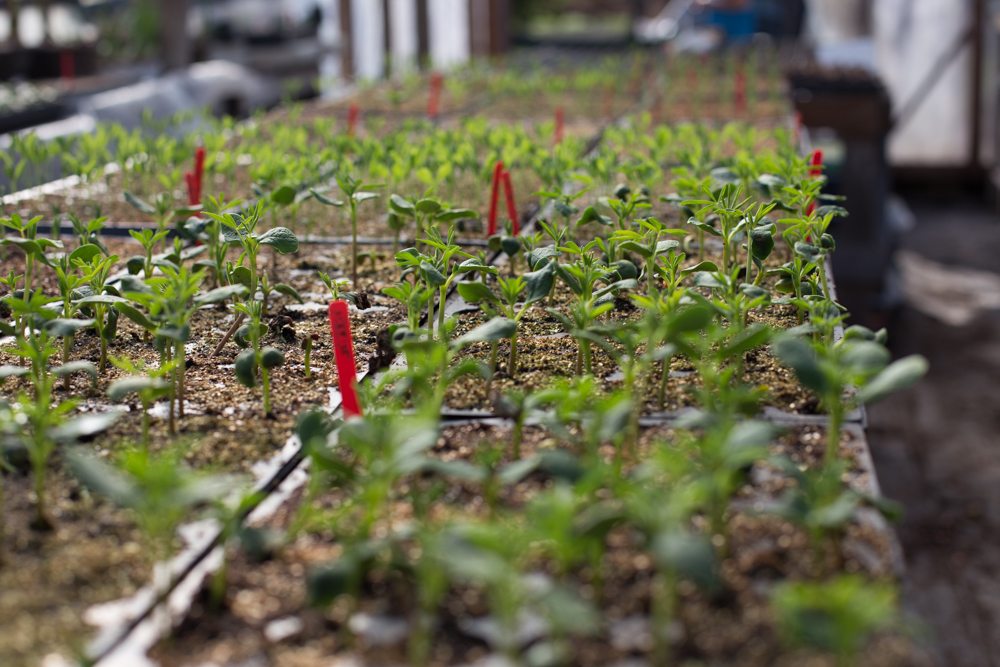 I start roughly 90 percent of my seeds inside the greenhouse or under lights. This gives me a jump on the season, since I can set out larger plants once the weather has warmed. It also helps cut down on weeds, since I’m setting out established plants that have a better chance of contending with the weeds by crowding or shading them out.
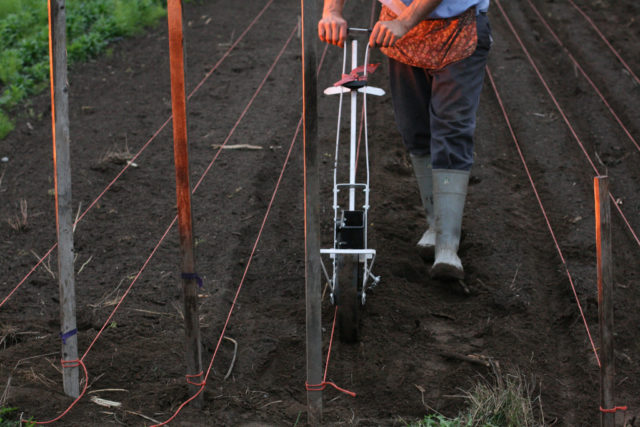 But not all plants need this special treatment. Many gardeners direct seed—that is, they sow seeds directly in the ground outside. This approach can be used for certain varieties including fast-growing summer annuals such as grains, grasses, sunflowers, and zinnias, which all sprout within a few days of seeding. Just be sure to wait to sow them until all danger of frost has passed. Also, many hardy annuals, like bells of Ireland, larkspur, and love-in-a-mist resent transplanting and actually do best when sown directly into the soil.
Direct seeding can be done by hand, but if you have more than a few tiny rows to do, use a walk-behind seeder, like the Earthway, to make this chore a snap. This handy tool digs a furrow, drops the seeds into it, and covers them all with soil while you walk at a normal pace. With it, you can direct seed a 25-foot (7.6 m) row in less than 30 seconds.
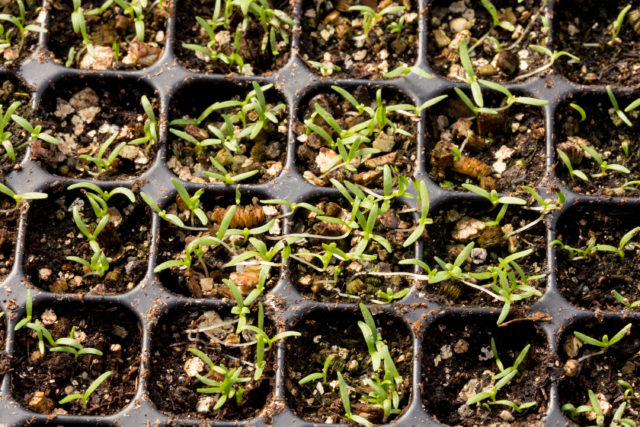 With the right setup and a few essential supplies, your garden possibilities are limitless. Once you get hooked on seed starting, you’ll be a convert for life!
One of my goals here on the site is to provide you with the best information to help you grow great flowers, and I hope dispel the notion that success is only possible for professionals. You can do it!
In addition to the tips included in this post, I want to make sure you know about the following resources:
- My first book, Floret Farm’s Cut Flower Garden: Grow, Harvest & Arrange Stunning Seasonal Blooms has detailed seed starting tips and tricks.
- In the Floret Resources section, I have created a little Starting Seeds 101 tutorial and photo essay (be sure to click the arrows to advance the images) with some of the basics.
- Here on the blog, you’ll find a post that shares more tips plus detailed do’s and don’ts of seed starting.
- In the Floret Shop, I’ve included sowing and growing instructions for dozens of my favorite flowers.
Please share any tips or tricks that you use when it comes to seed starting in the comments below. Please note: If you submit a comment and it doesn’t show up right away, sit tight; we have a spam filter that requires we approve most comments before they are published.
Lastly, if you find this information helpful, I would love it if you would share it with your friends.


Nelly on
Thank you so much for all the wonderful information on the blog! After the seeds have germinated and you move the seedlings under lights, what’s the optimal room temperature to keep them until they can be moved outside? And how about sweet peas sowed in pots in the fall, can they be overwintered in a cool environment like a non-heated basement?