There’s nothing more rewarding than starting your own seeds. The benefits include getting a jump on the season, having access to hundreds of specialty varieties that you won’t find at your local nursery or garden center, and filling up your cutting garden fast in the most inexpensive way.
What You Will Need
Method
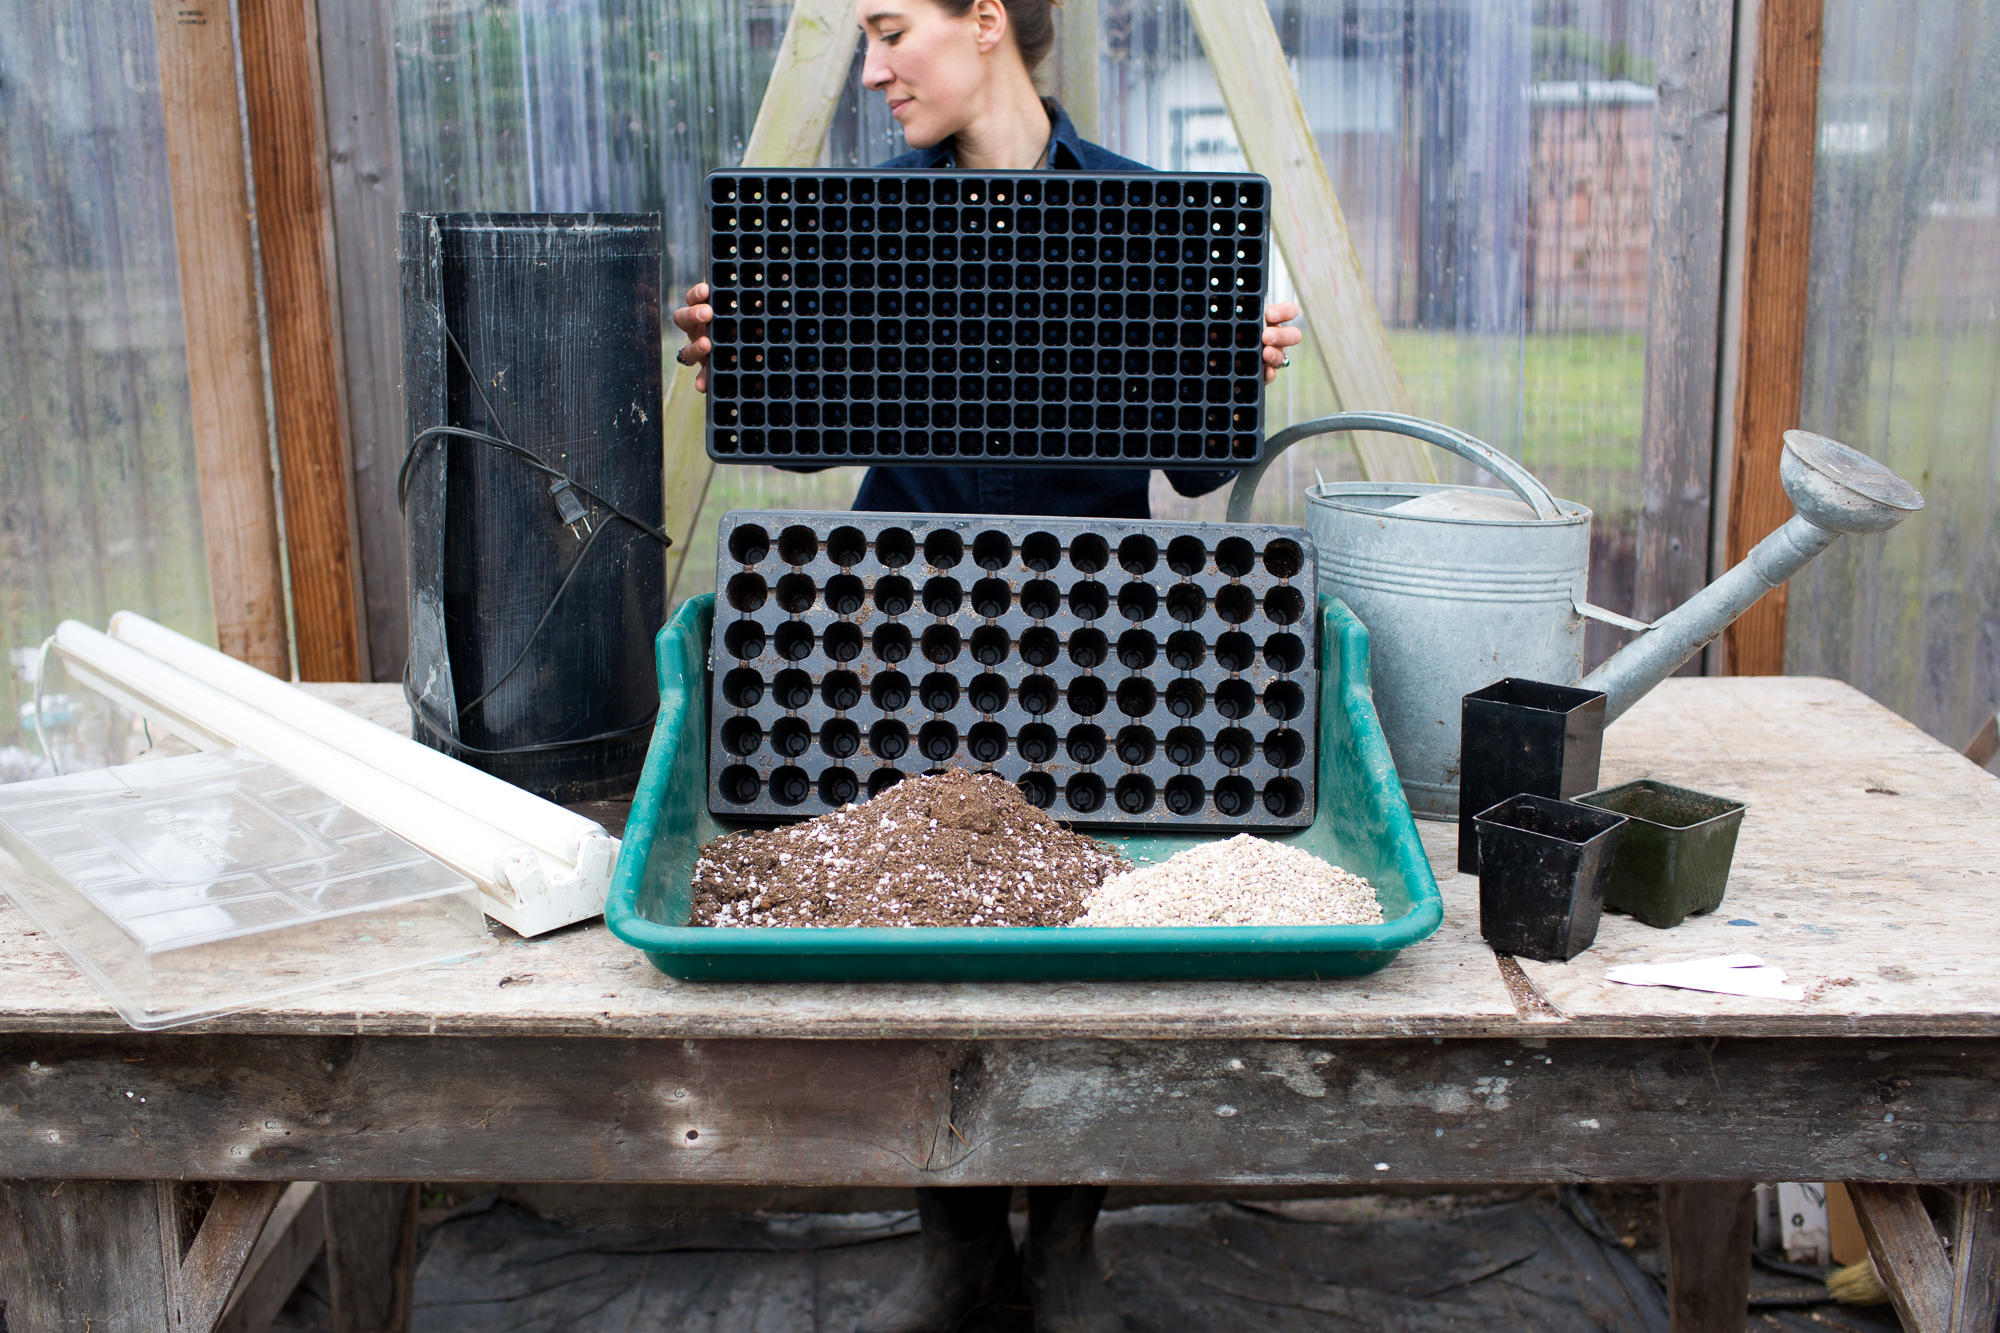
- Before you get started, it's important to gather the proper supplies. You'll need seed-starting mix, plug flats and/or pots, leakproof trays, fine vermiculite, plant tags, clear acrylic dome lids, heat mat(s), and lights.
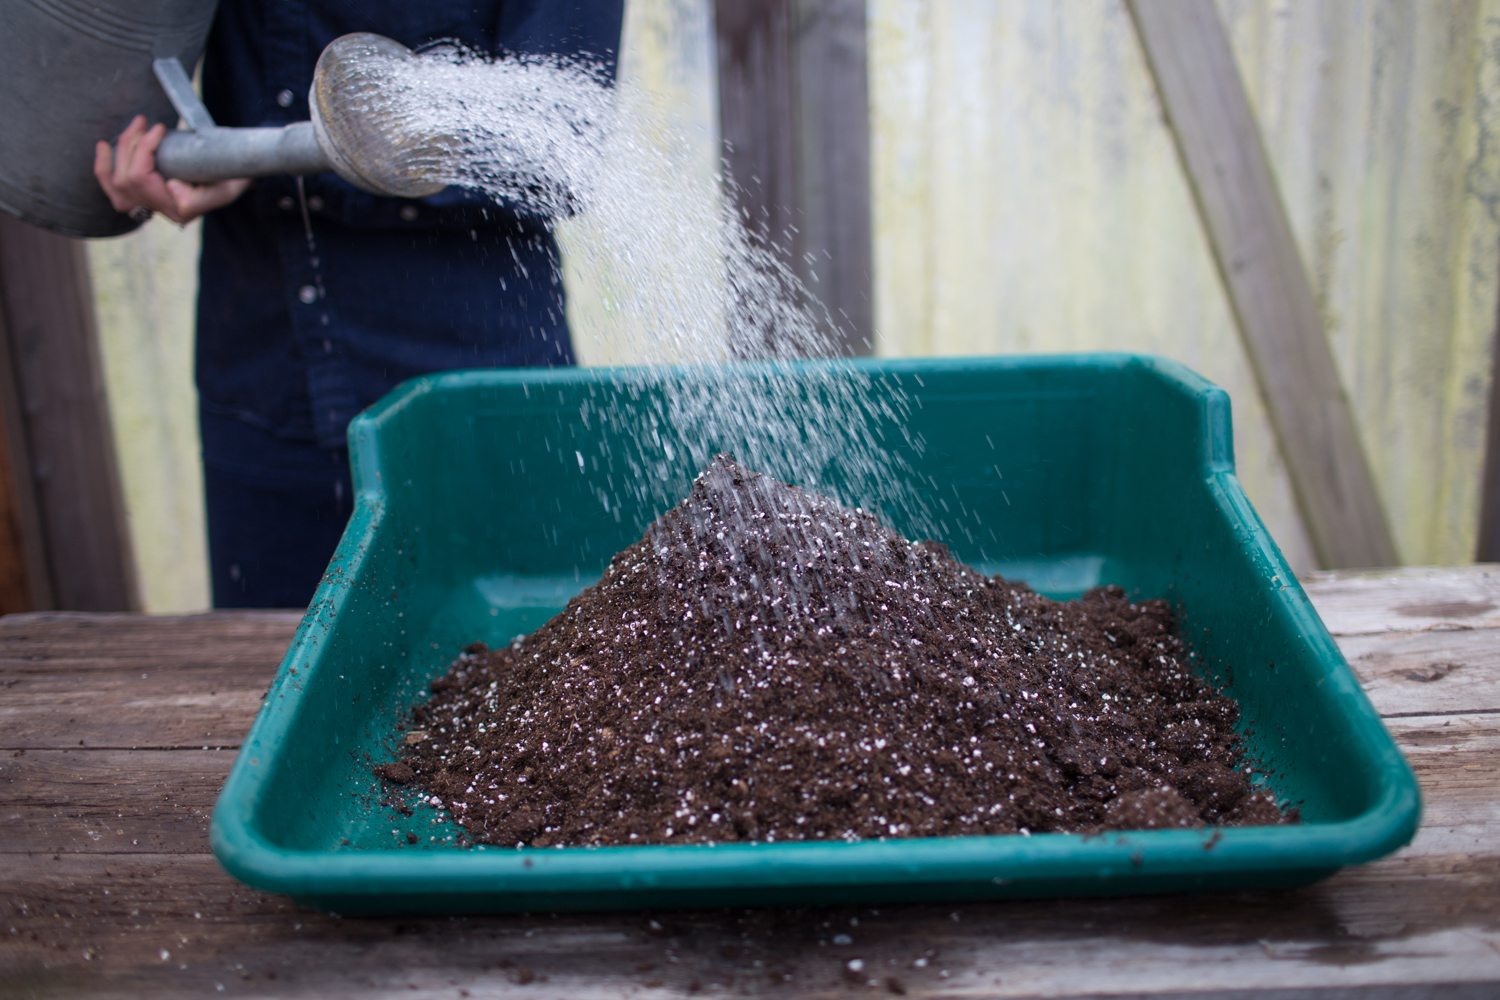
- Moisten seed-starting mix until it's thoroughly damp but not dripping wet.
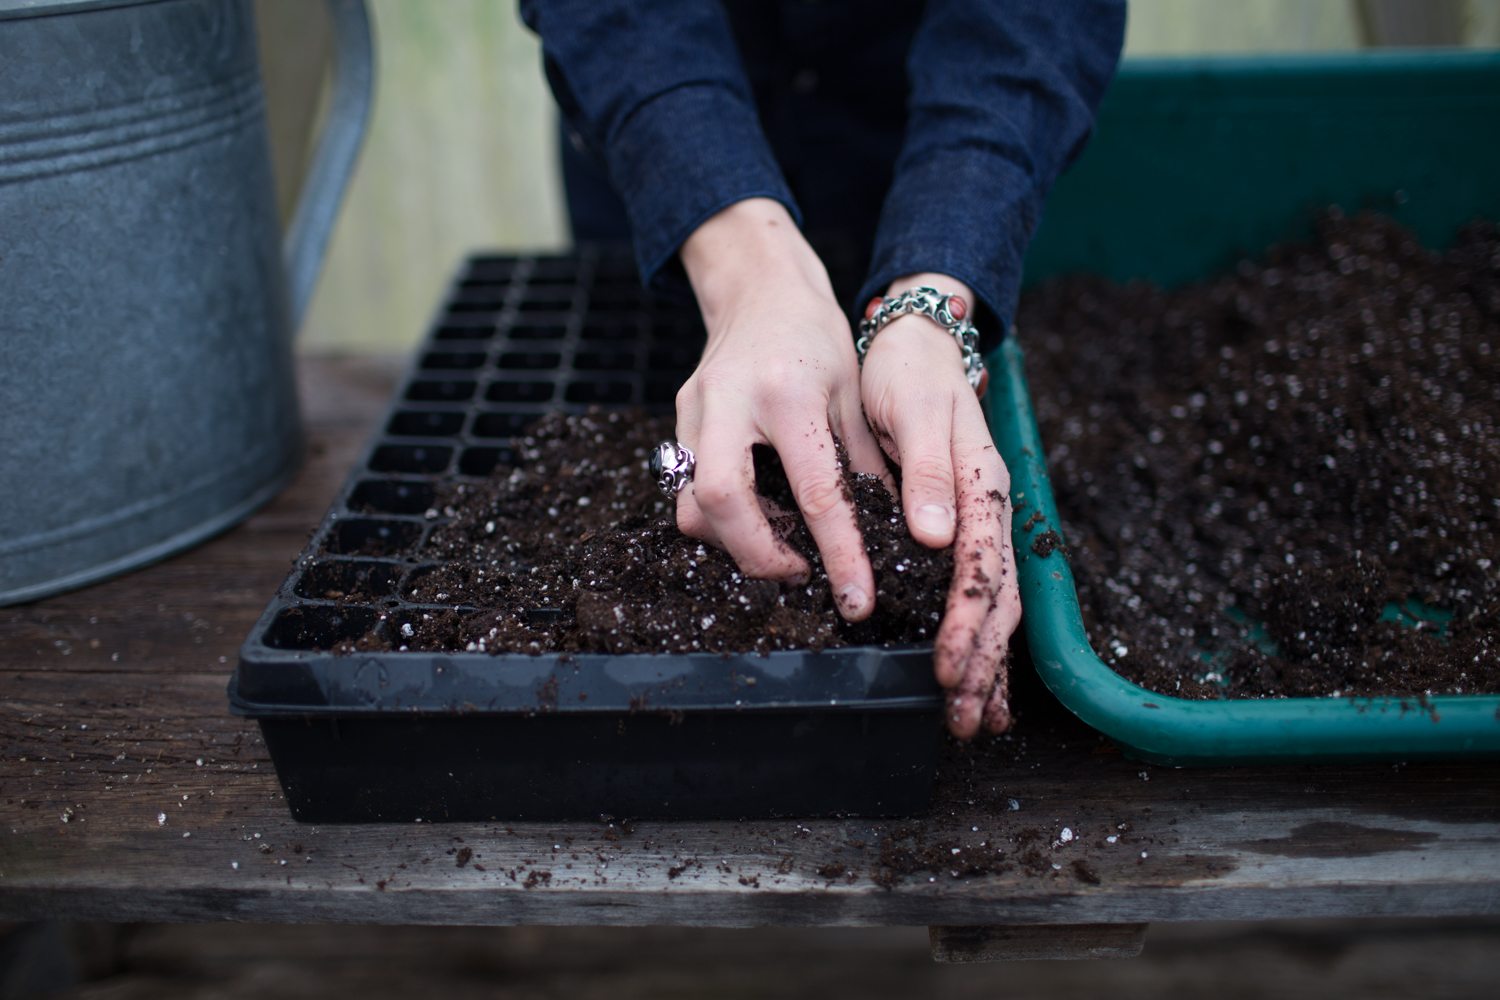
- Fill seed trays or pots to the top with soil, tapping them firmly against the table as you go so that the soil settles and there are no air pockets trapped in the cell trays.
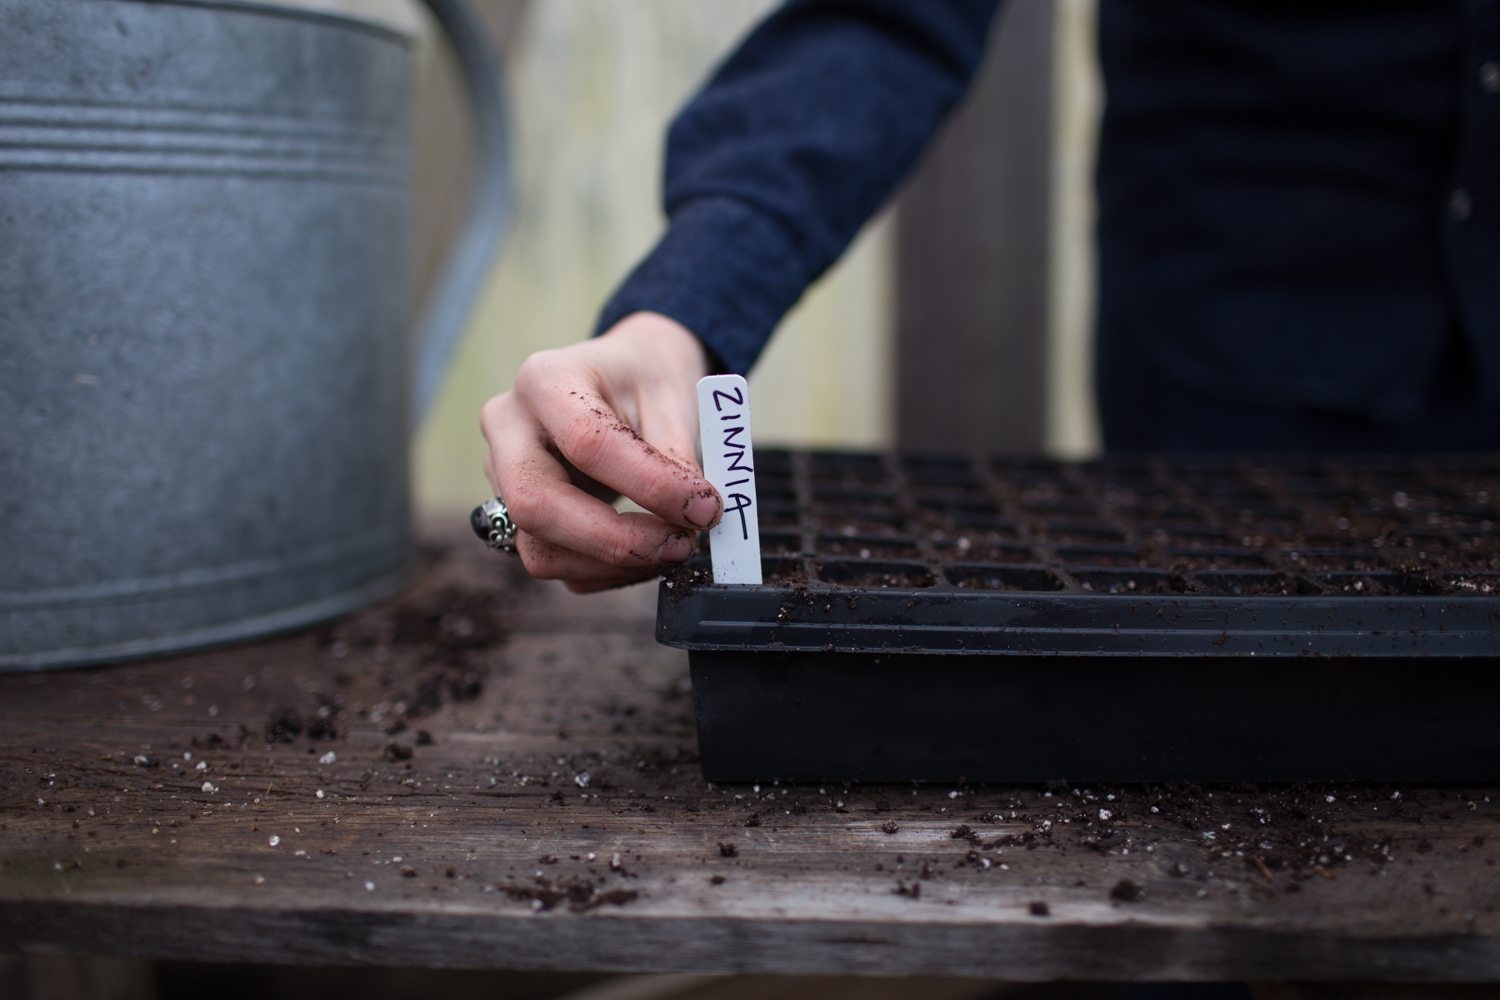
- Label the tray or pot with the name of the variety you plan to sow and the date planted.
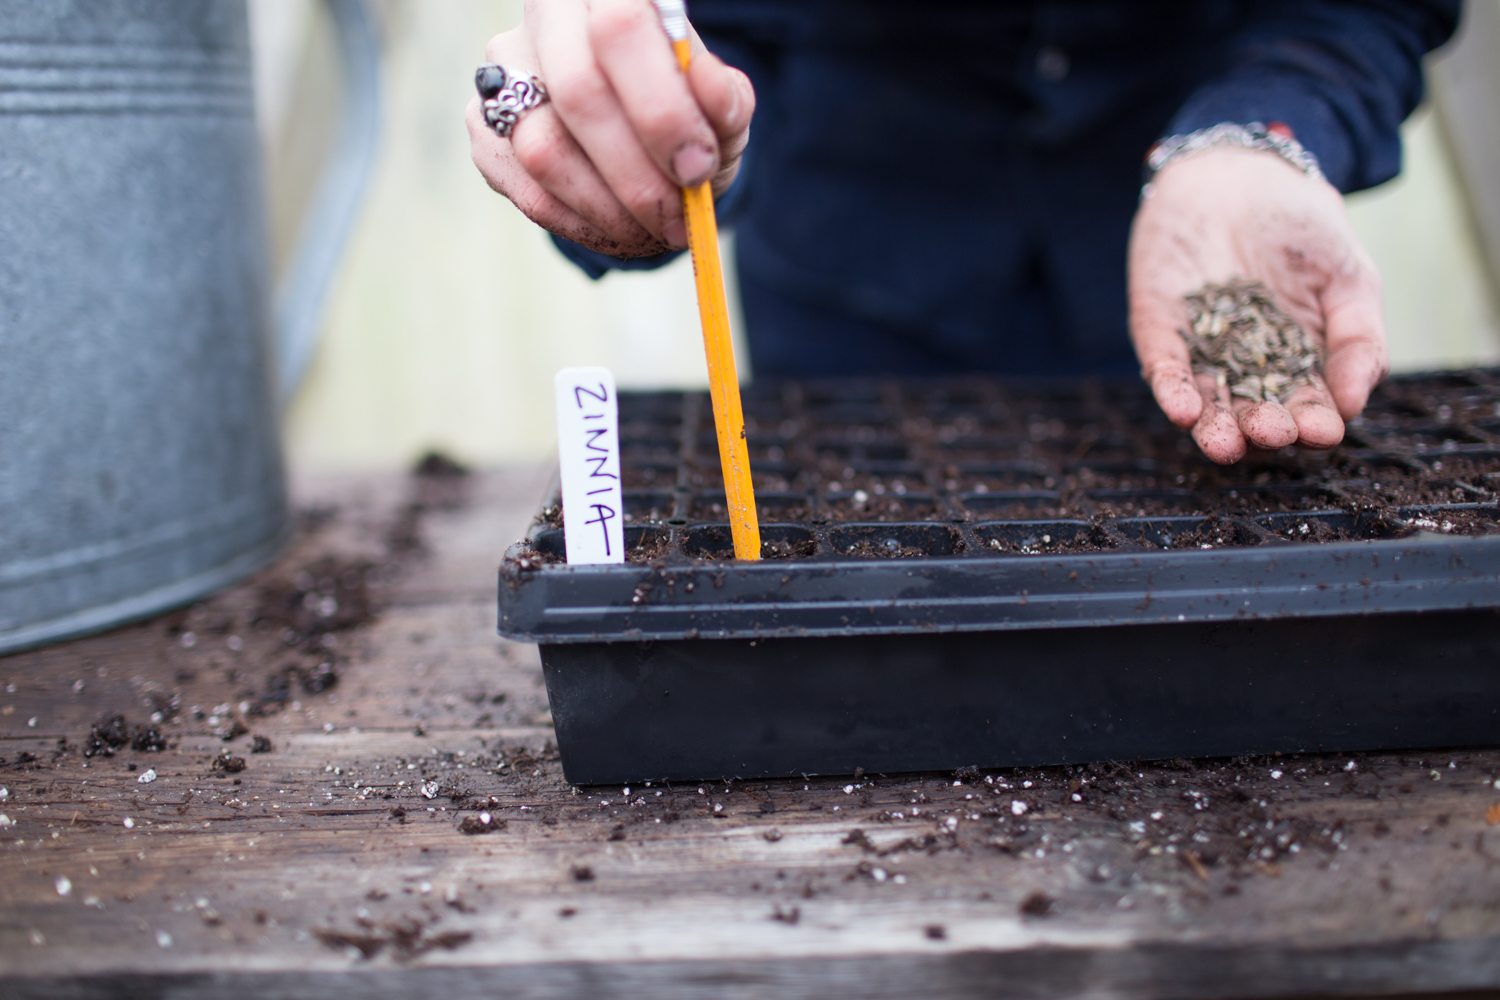
- Make a shallow hole in each cell using your finger, a pencil, or a chopstick. A general rule is to plant the seed twice as deep as its longest side.
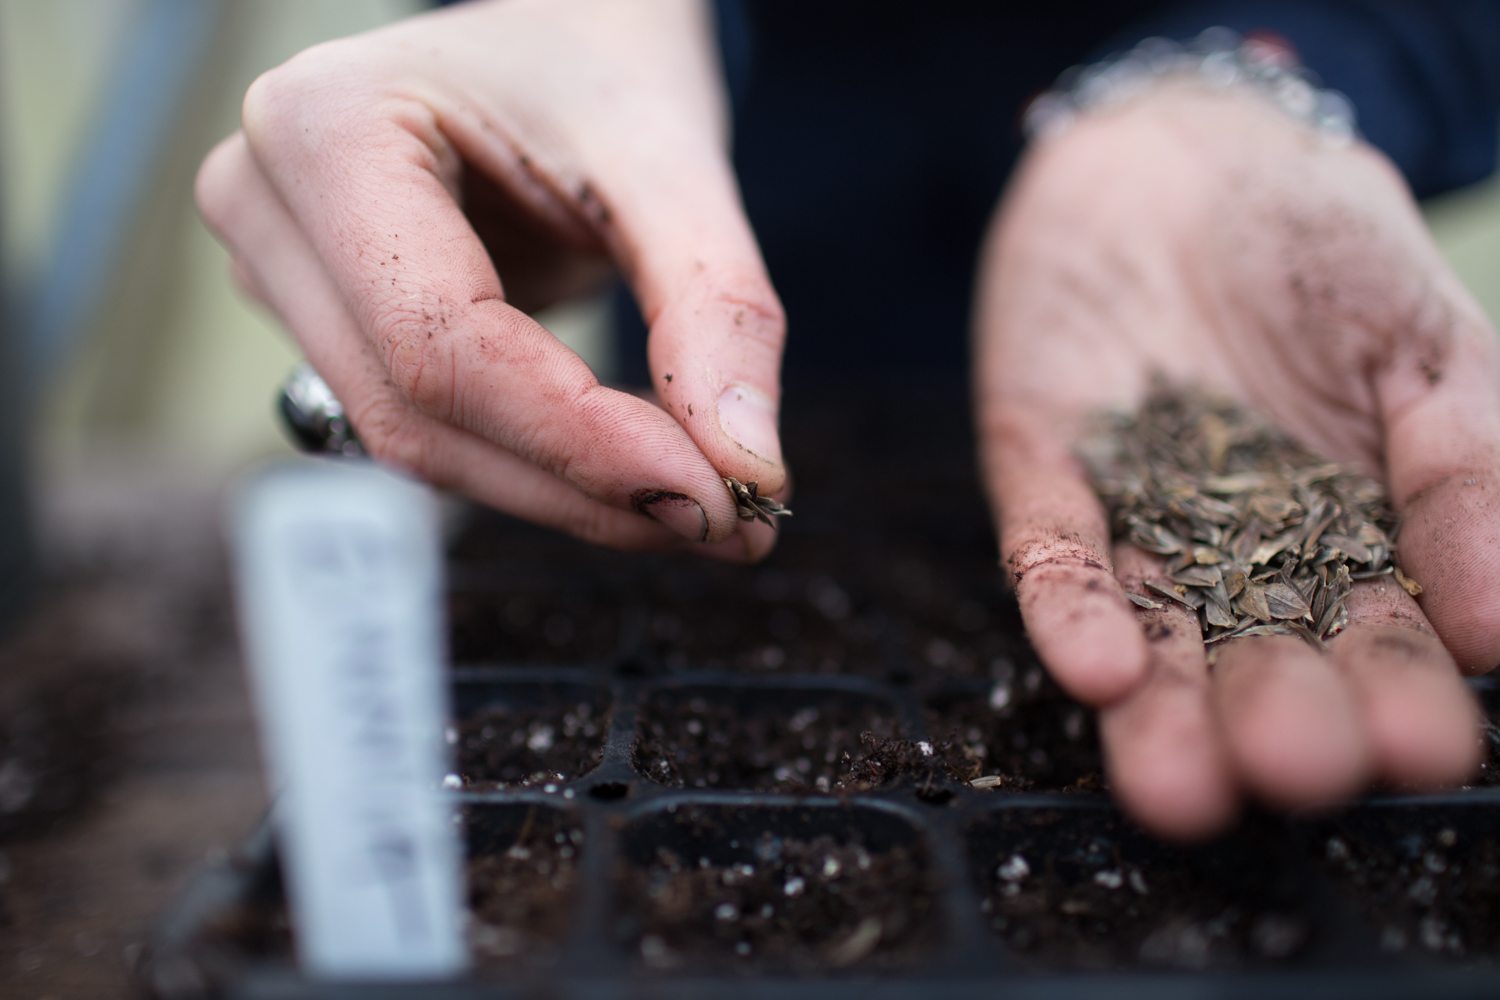
- Drop 1 or 2 seeds (unless it’s a multi-seeded variety) into each hole until the tray is completely full.
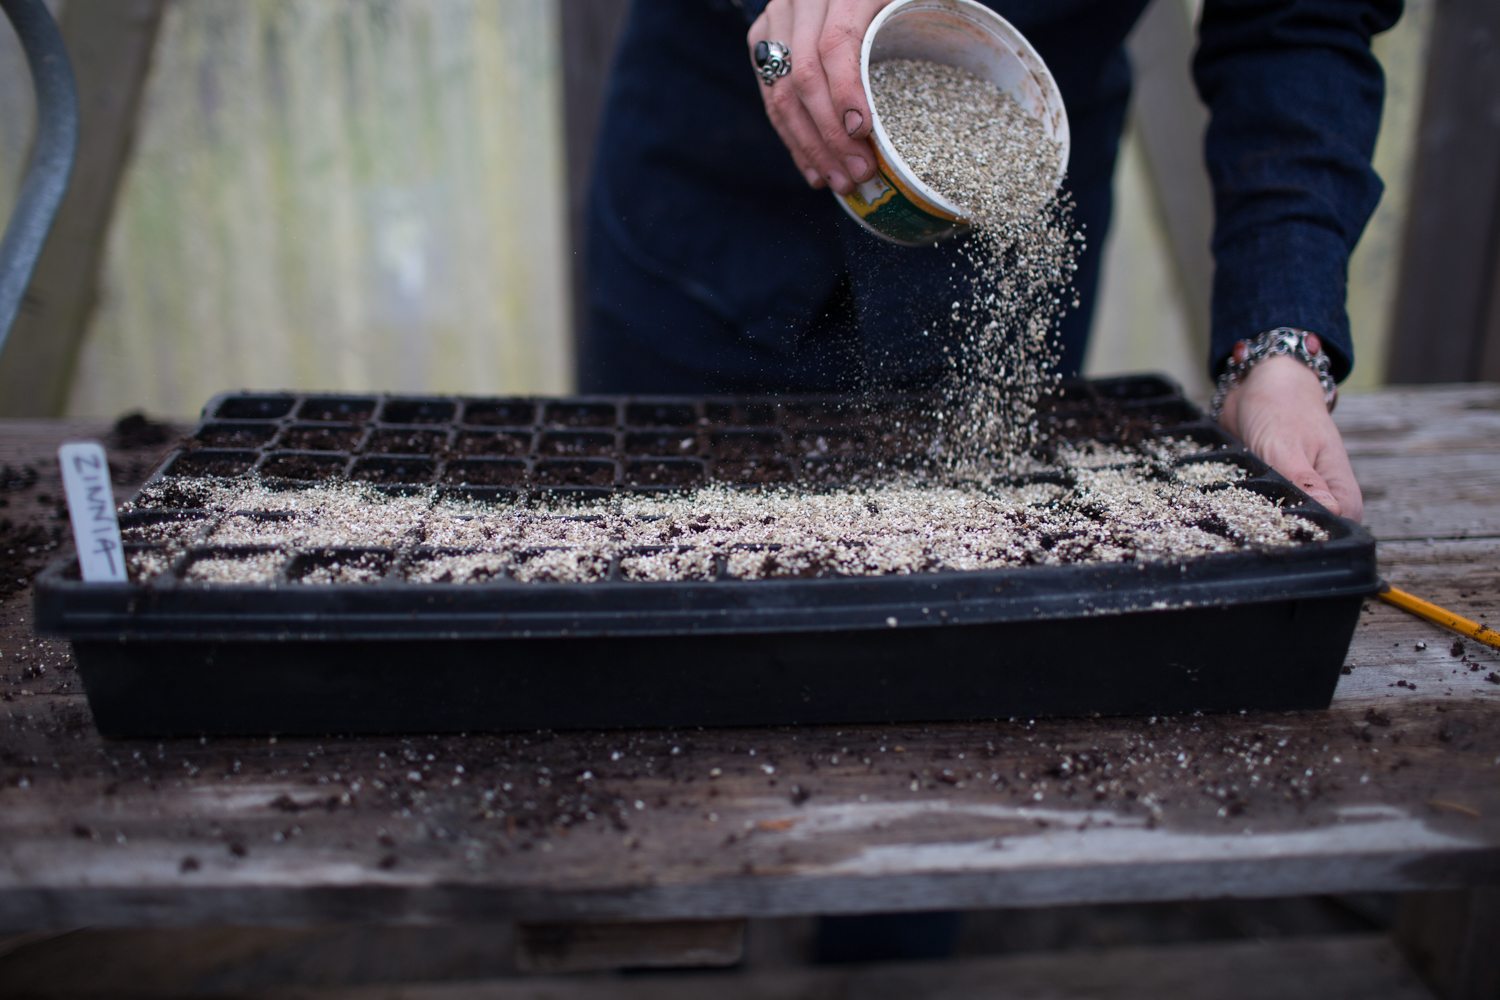
- Cover newly sown seeds with a light dusting of fine vermiculite or seed-starting mix. Be careful to not bury the seeds too deeply.
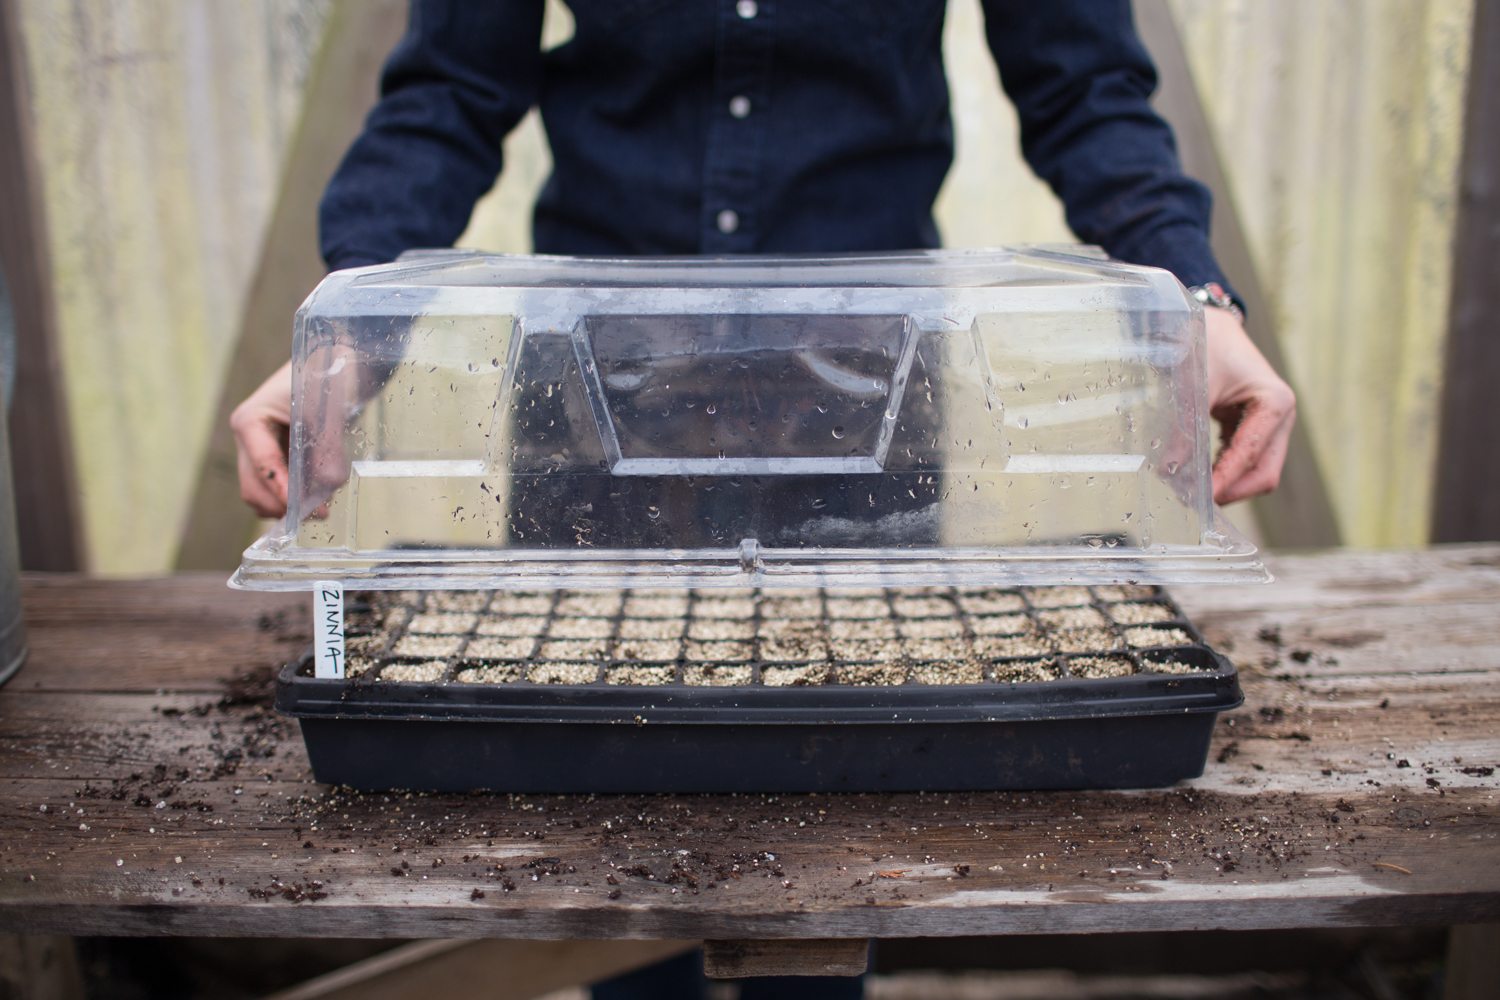
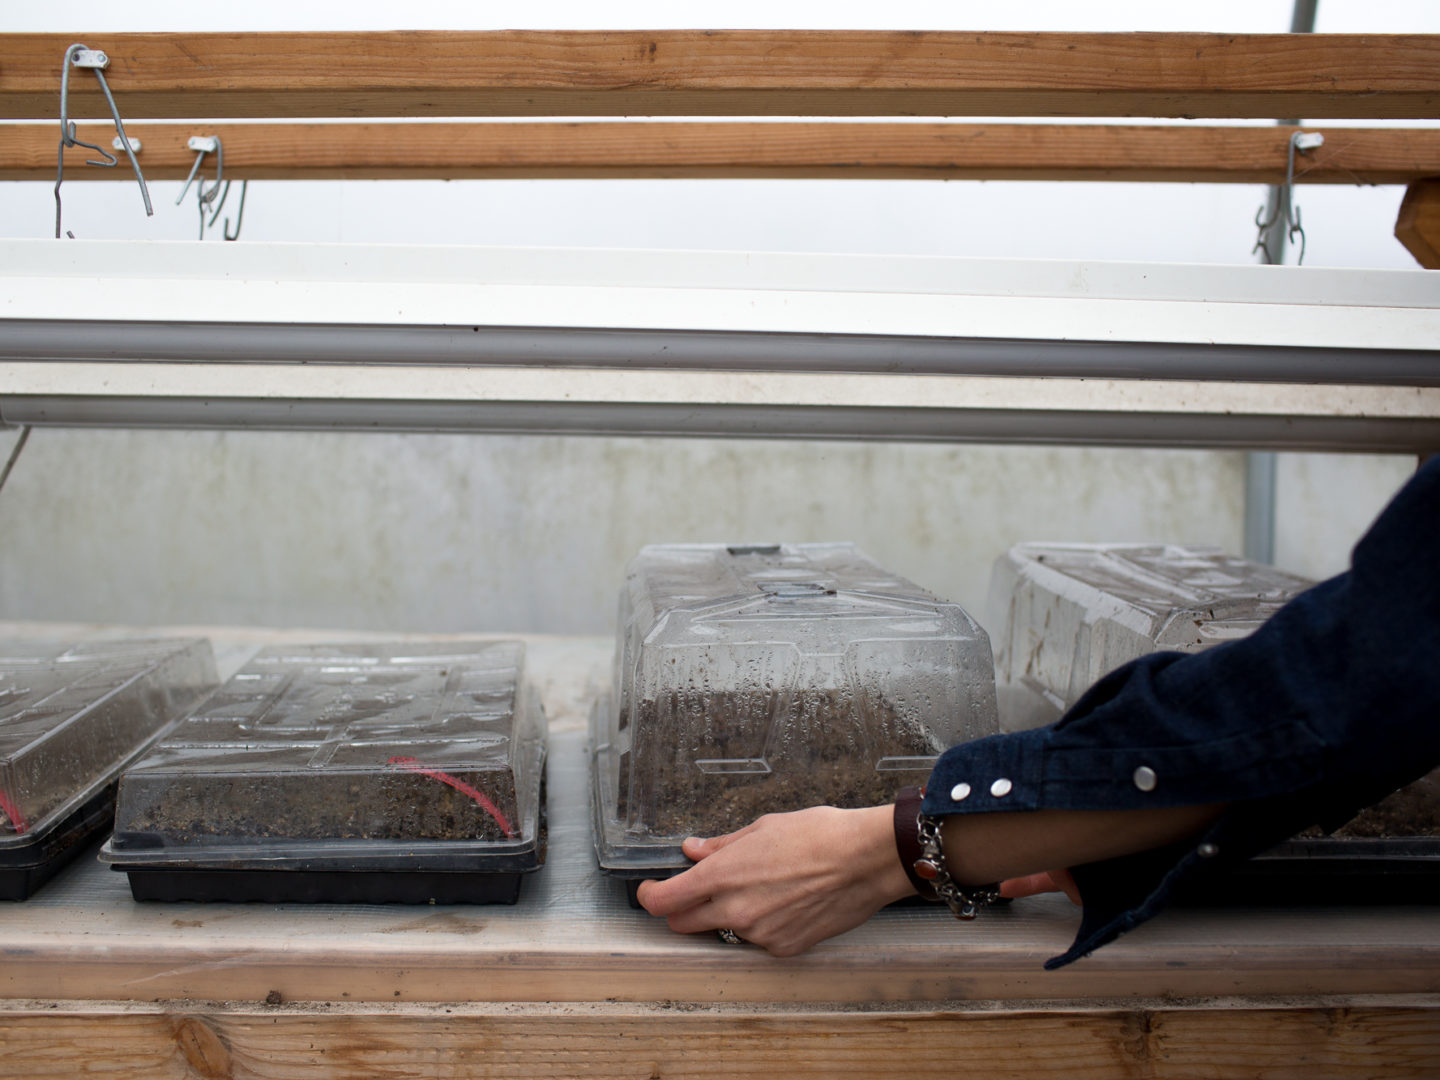
- Cover the trays or pots with a clear acrylic dome lid and set on a 70°F (21°C) heat mat or in a warm corner of the house. Seeds usually sprout before you need to water again, but check the soil for moistness after 2 to 3 days.
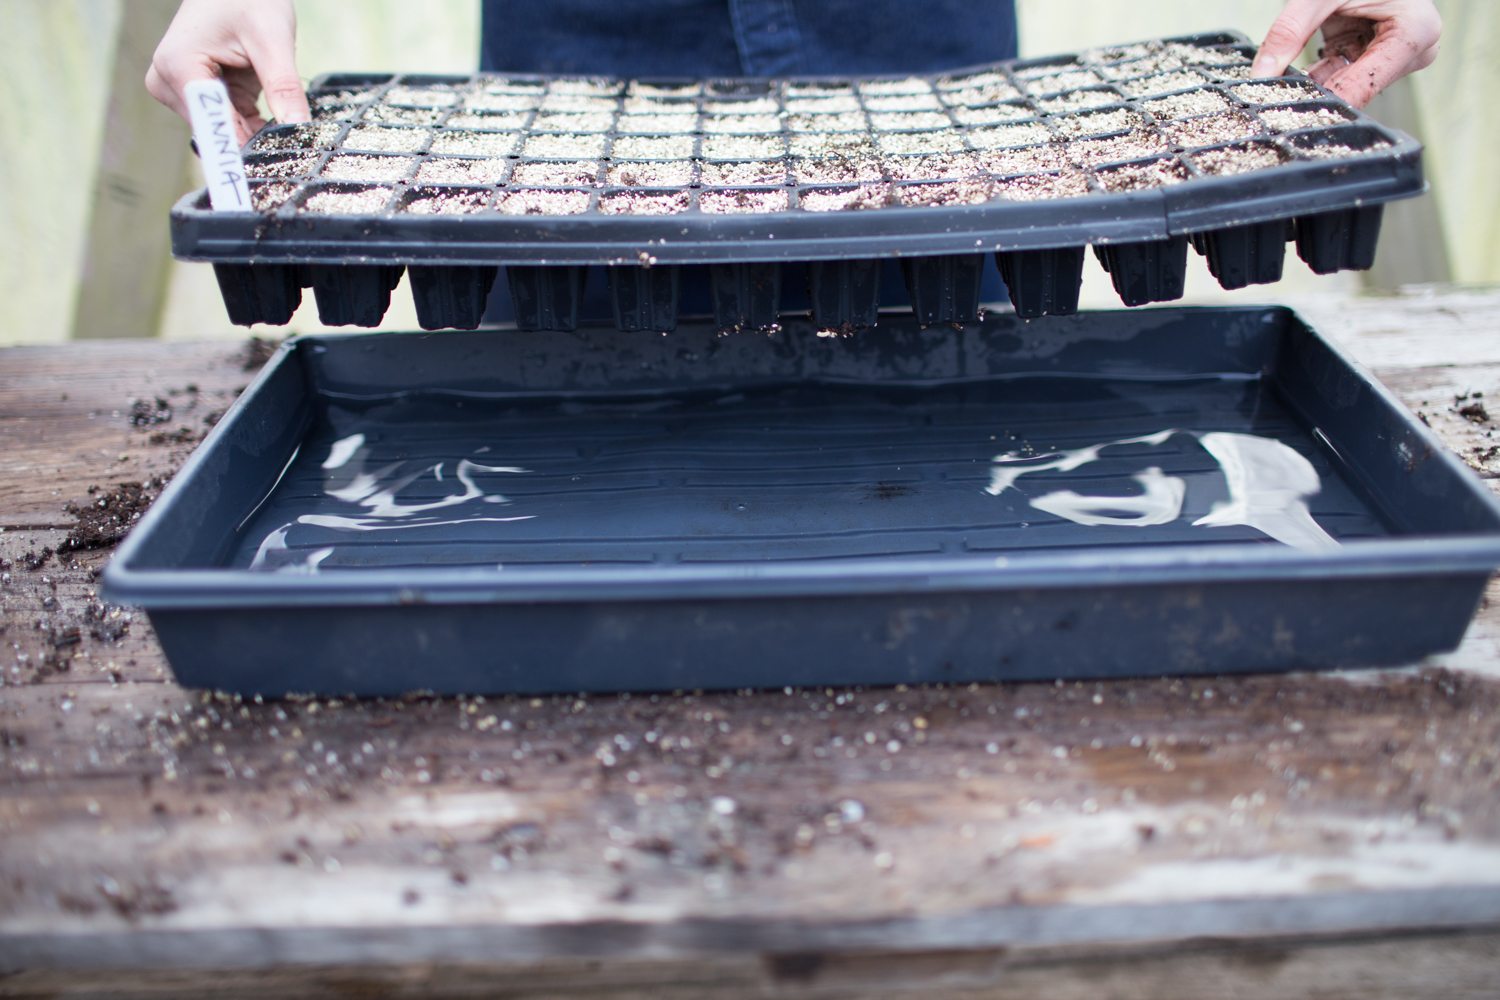
- When the soil starts to become dry, set freshly sown trays into a leakproof tray with 1 in (2.5 cm) of water in the bottom and let the tray soak up the water from below.
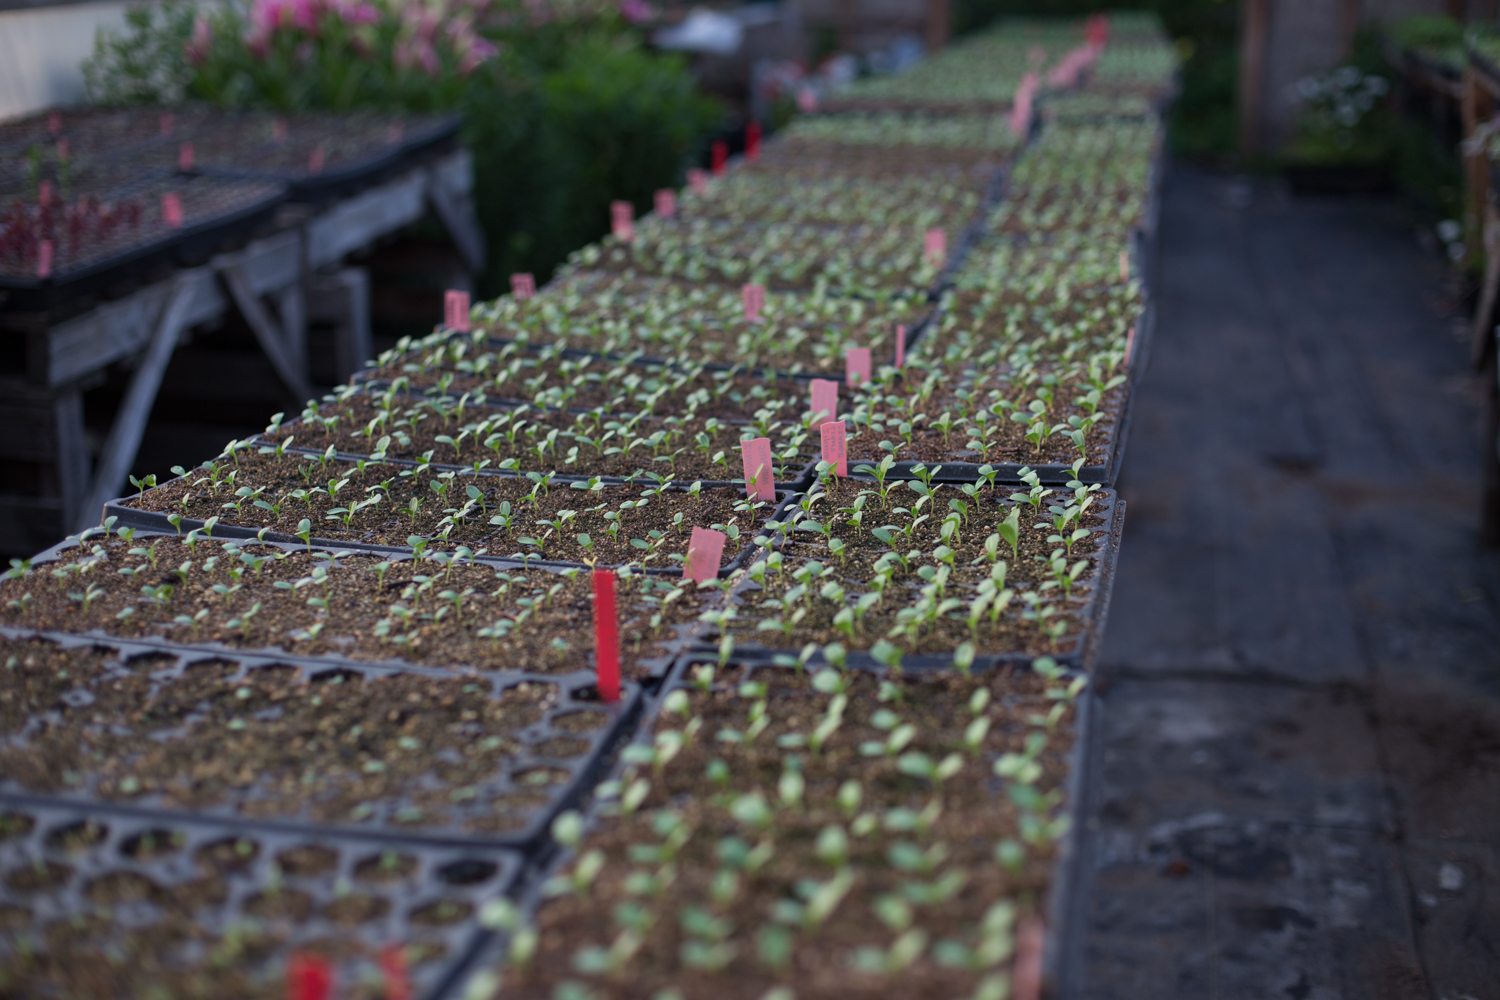
- Check the trays or pots daily. Once 50 to 75 percent of the seeds have sprouted, remove the acrylic dome lids and move trays to a spot with bright light, such as a greenhouse, or set them under lights. If using lights, make sure that they are suspended a few inches above the seedlings and put them on a timer, giving the plants 14 to 16 hours of light a day. As plants get taller, be sure to keep raising the lights so that they are 2 to 3 in (5 to 8 cm) above the tallest plant.
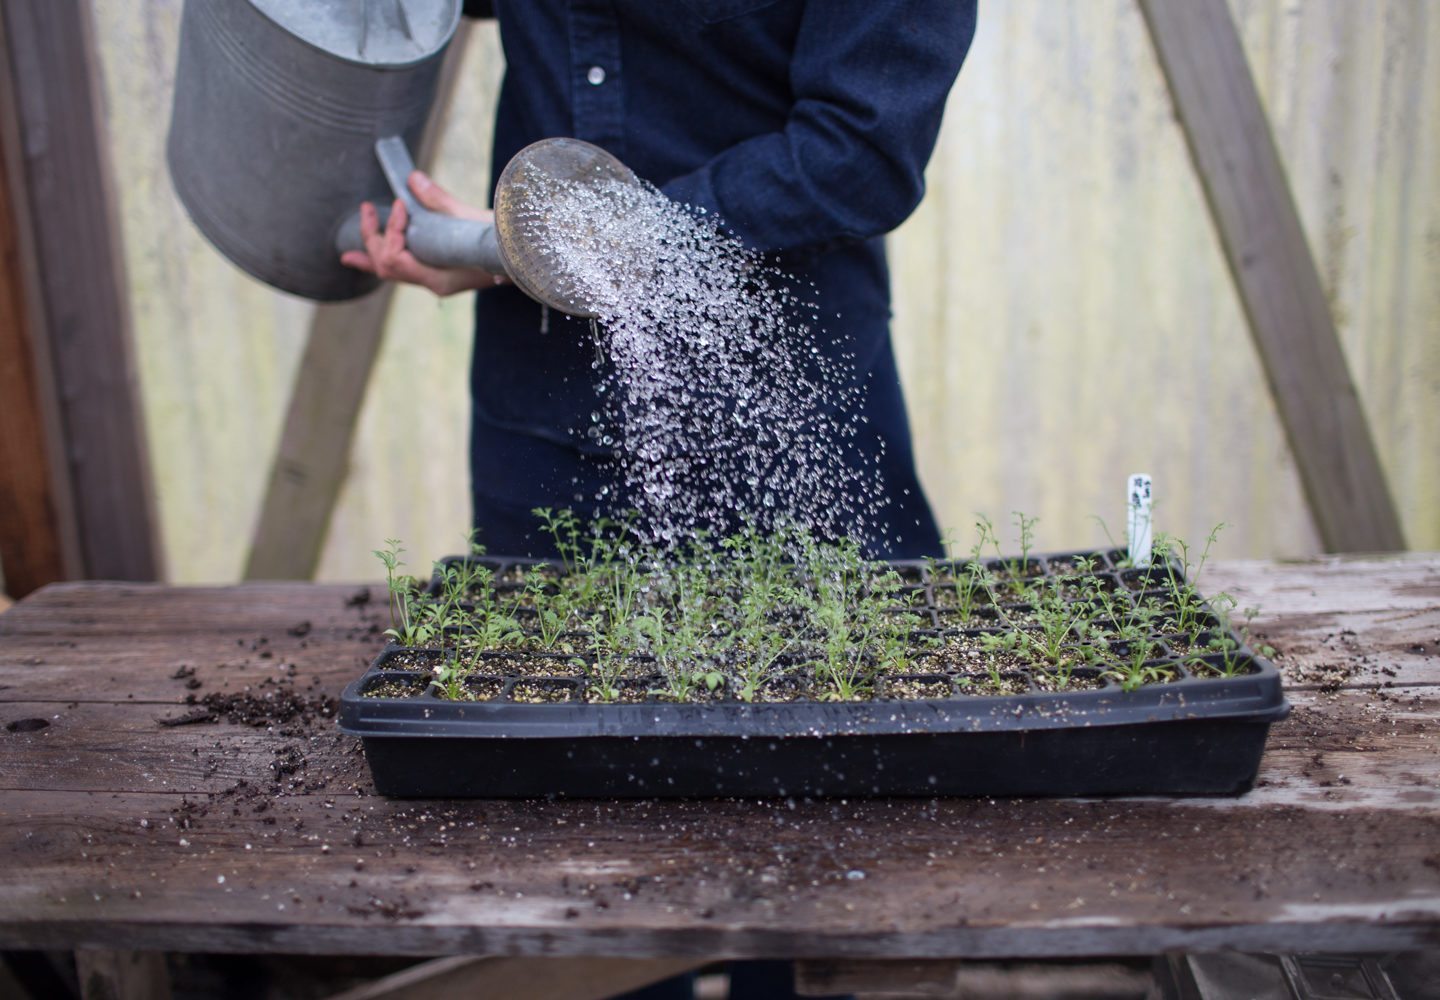
- Check seedlings daily and water when the soil appears dry, which could be every day or two.
- If seedlings begin to outgrow their trays before you’re ready to plant them outside, repot them into larger containers. Or if the weather is warm enough (after all danger of frost has passed), begin transitioning them outside.
- It’s important to harden off young plants before putting them out into the garden; otherwise, they will be shocked by the sudden change in temperature. To do this, set trays in a sheltered spot outside, starting with 2 to 3 hours the first day and then slowly increasing the amount of time they are out each day over the course of a week or two, at which point the seedlings can remain outside.

