When we first got the new farm, it was nothing more than a large, open field without any trees or shrubs as far as the eye could see. A blank slate really. You can read more about it here.
So one of the first things we did was to plant hundreds of trees and a series of hedges and hedgerows throughout the property to help create a sense of place and permanence and encourage more wildlife to make the farm their home.
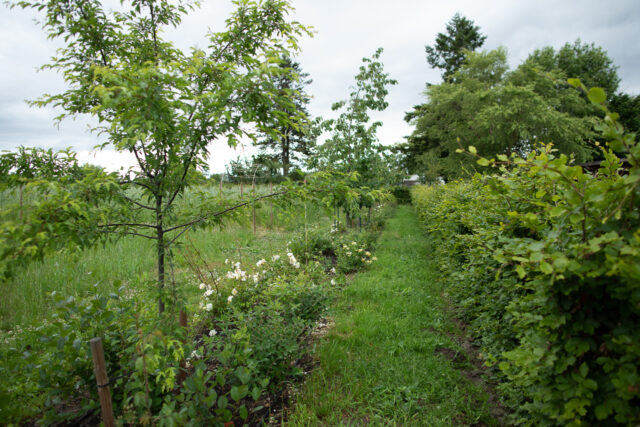 Hedges and hedgerows are often described as living corridors for wildlife, helping them safely travel from one place to another.
These plantings have many benefits, but some of the most important are that they help slow down harsh winds, prevent erosion and damage to field crops, provide a nectar source for pollinators, and food and shelter for songbirds.
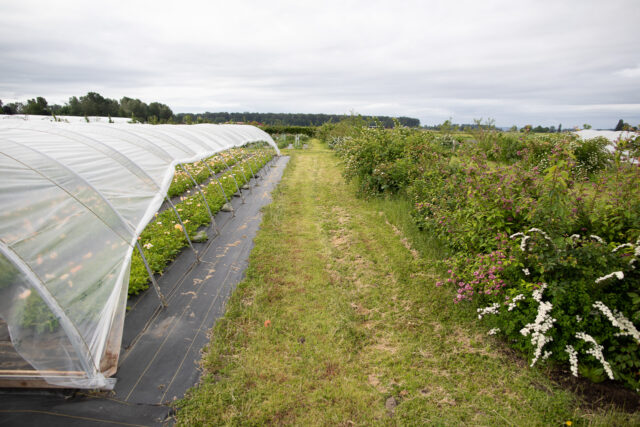 By definition, a hedgerow is a mixed planting of shrubs and small trees that eventually grows together to become a living wall. Hedgerows have a much more wild, unkempt look, whereas hedges are typically pruned yearly to maintain a tidy and uniform shape.
I prefer to use hedges to mark the boundaries of a garden area or as a backdrop for a decorative planting, and I like using hedgerows in places where they have room to spread out, such as along a roadway or field edge.
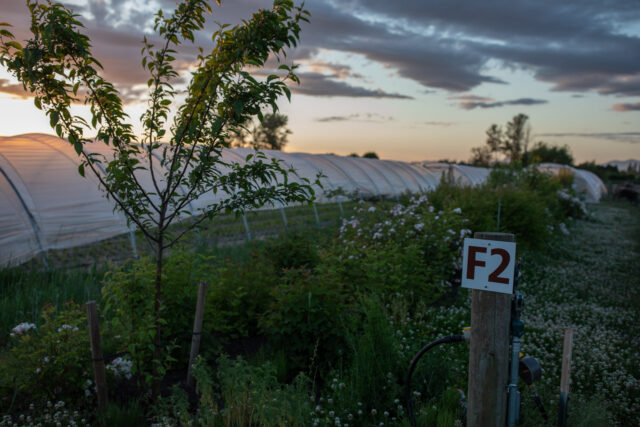 Both hedgerows and hedges have many benefits and choosing which one works in your situation will really depend on your needs and design.
When we started looking for information about designing hedgerows, there weren’t a lot of examples available that used non-native plants. While native hedgerow plantings are amazing, I wanted to experiment with using ornamental shrubs and small trees to see if we could get the same benefits of a traditional hedgerow, with the addition of more beauty.
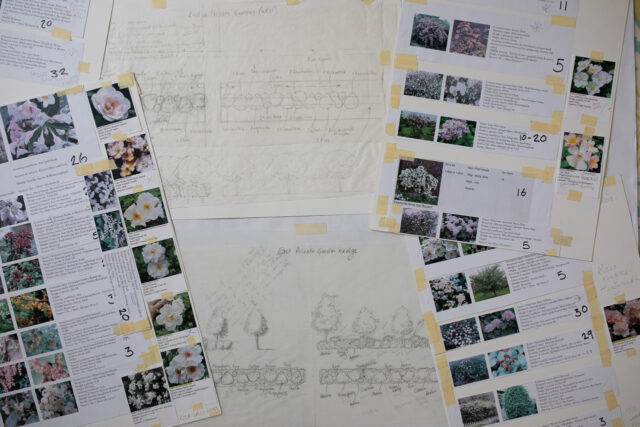
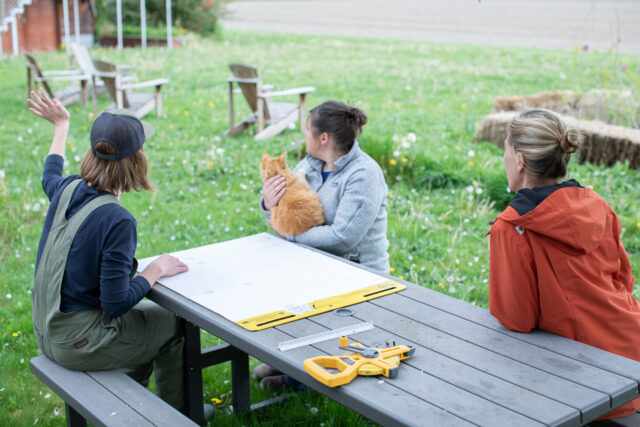 When selecting plants for the ornamental hedgerows I tried to choose things that were vigorous, disease resistant, put on a beautiful floral show, and either left behind some type of fruit or seeds that could be eaten by songbirds and other wildlife.
While we used many different types of plants, in order to simplify the design process and test out which ones performed best, we decided to use the same plant spacing for each hedgerow combination so that we could test out which ones performed the best.
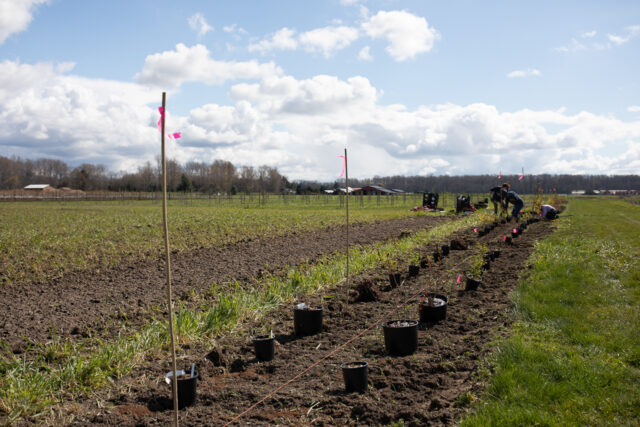 Before planting, the ground was prepared by putting down a thick layer of compost, plus some natural fertilizer, which was incorporated into the soil using the rototiller attachment on our tractor.
Each planting bed measured 6 ft wide and 80 ft long and consisted of two rows of plants spaced roughly 3 ft apart, off-center. Individual plants within each of the rows were also spaced 3 ft apart.
The reason we used such close plant spacing was because we wanted the hedgerows to fill in quickly.
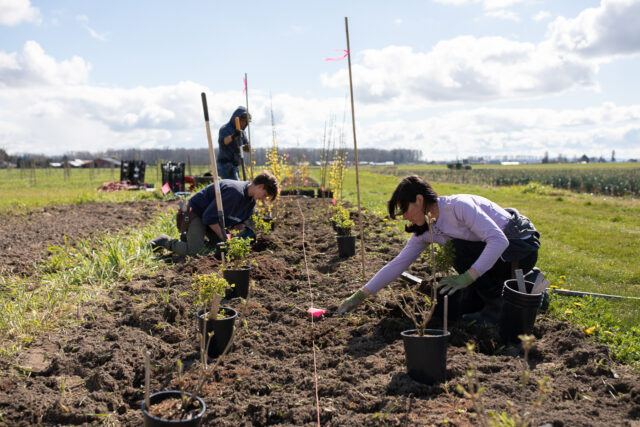 We opted to use smaller plants in 1- and 2- gallon pots along with bare root shrubs and trees because they would encounter less transplant shock and were also more affordable.
After the plants went into the ground we mulched all of the bare dirt with a layer of cardboard and compost to help suppress weeds and feed the plants. Drip irrigation was then installed and run twice weekly from May through September.
The taller trees were staked for the first 2 years to help their roots take hold more quickly and keep them from blowing over in heavy winds.
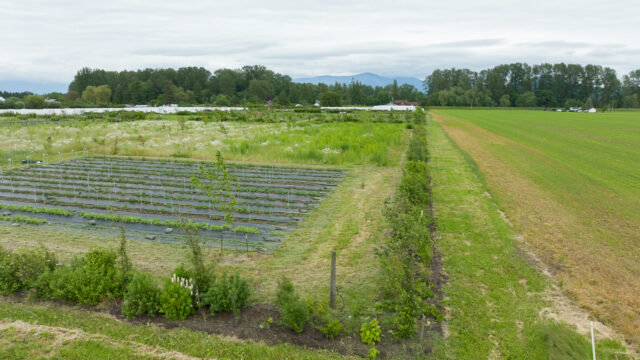
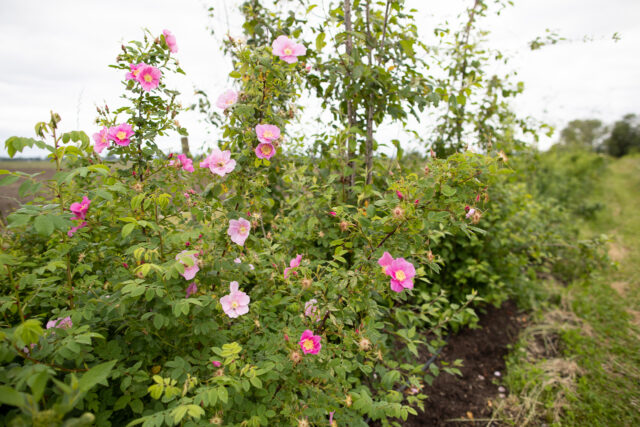 Along the back border of the farm, which is the most exposed site, we planted a long L-shaped hedgerow made up of plants that are native to the Pacific Northwest, including swamp crabapple, Western spiraea, roses, dogwood, snowberry, willow, and mock orange.
So far this planting has done remarkably well and in just two growing seasons, large swaths of it are already filled in.
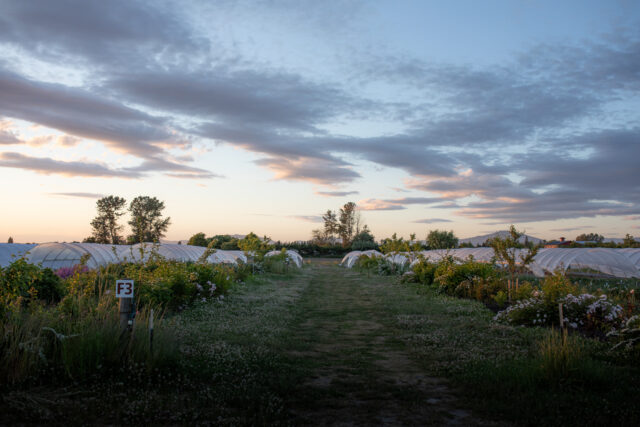
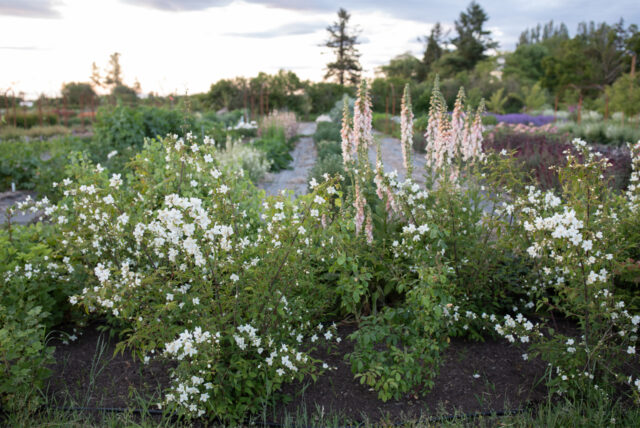
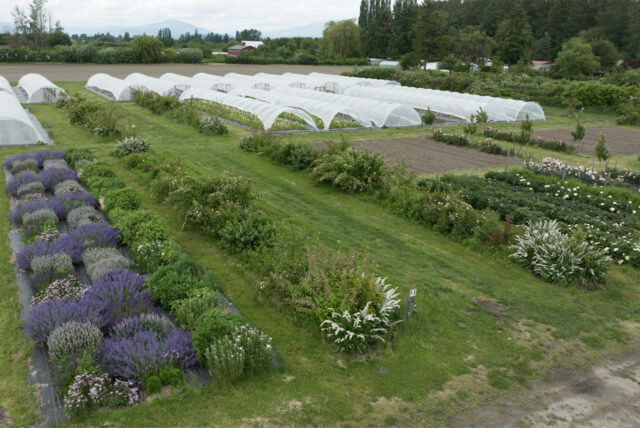 Flanking the roadways and our field growing blocks are a series of hedgerows that include a mix of ornamental shrubs and small fruiting trees. After trialing numerous varieties in this setting, I have discovered some real standouts in the process.
At the bottom of this post, you can find a printable list of all my favorites!
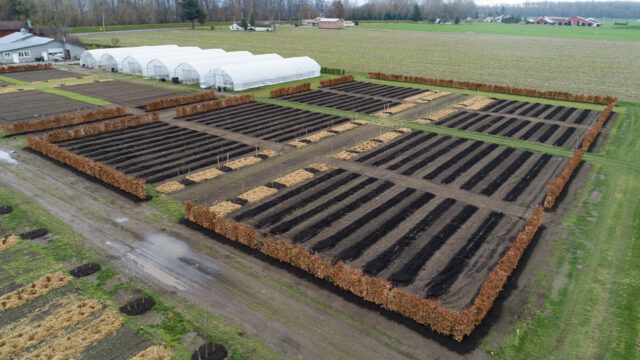 When it came to the single-species hedges around the garden spaces, we approached things a bit differently. Rather than choosing small plants and waiting for them to grow in we instead opted for larger, partially established hedges to create a more immediate sense of place.
We worked with a wonderful company called Instant Hedge that specializes in this type of hedging and their innovative packaging allows the hedges to be transplanted any time of the year without experiencing transplant shock. I was quite skeptical when we first discovered them, but Becky kept reassuring me that this type of hedging was commonly available in England and I’ve been so impressed with how quickly they’ve established.
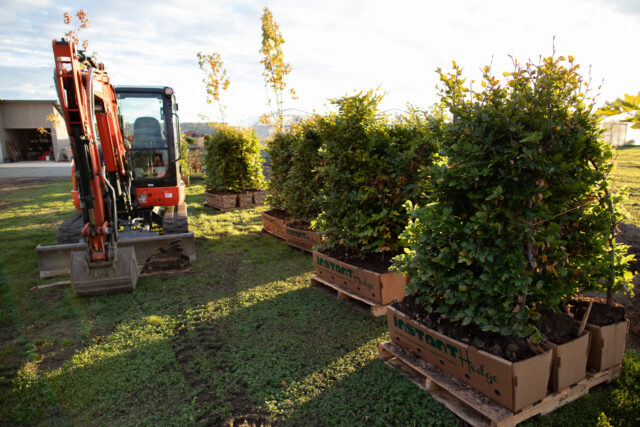
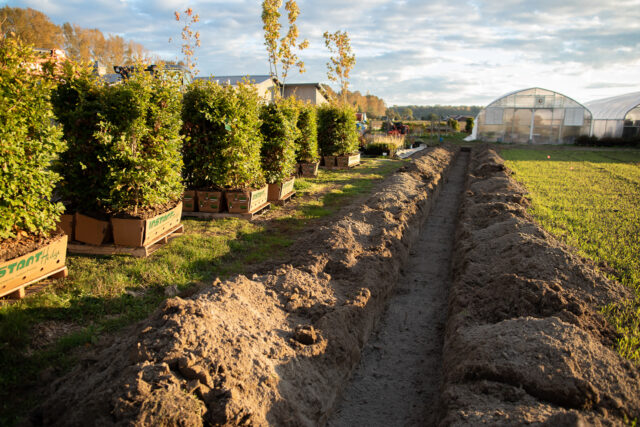 We’ve since planted nearly half a mile of their hedges, including European beech, Portuguese laurel, and schip laurel, and all of them have done remarkably well.
One of the things I love about the beech hedge is that if you keep it trimmed under 6 ft in height, the plants will hold their dead leaves through the winter, which creates the most beautiful brown hedges that sound like running water when the wind blows through them.
The downside to going this route is that it requires the use of a forklift for moving the heavy boxes of hedges and a backhoe for digging the trench, but if you have access to this type of heavy equipment, their hedges truly are “instant.”
Here’s a short video we made with them about our experience working with their company.
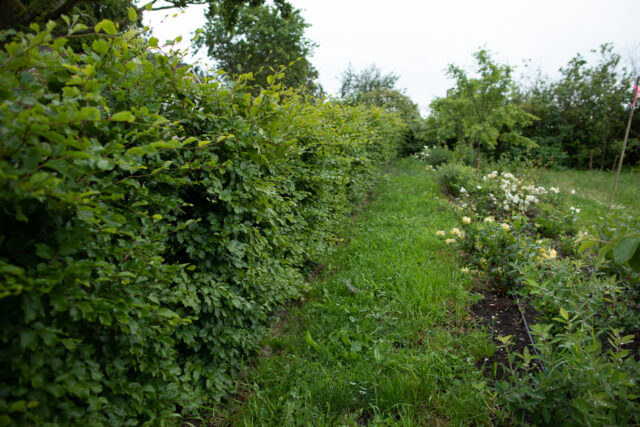 Going into this project I knew that not all of the varieties that we planted would thrive. But I wanted to try enough different plants and planting combinations to observe their performance and evaluate which were truly suited for this type of approach.
My hope was that I could identify the best varieties so that home gardeners might be inspired to consider adding a hedgerow to their garden. I also thought this approach would work well for flower farmers who are short on space but want to add more woodies into their operation.
Additionally, I wanted to see if this type of approach would work in a more traditional farm setting noting the yearly labor requirement and maintenance involved, plus the upfront investment needed for plants.
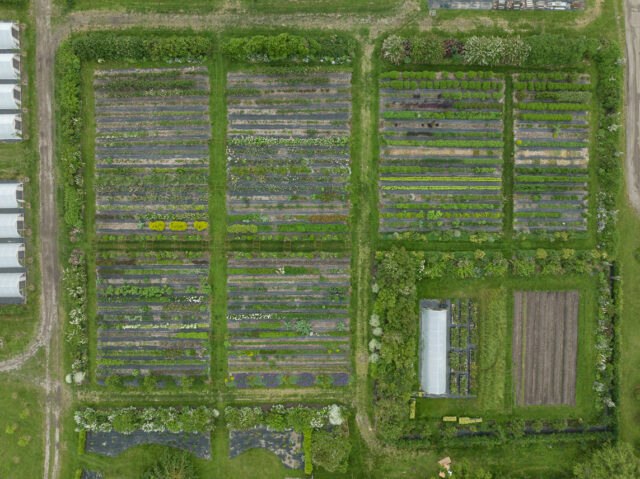
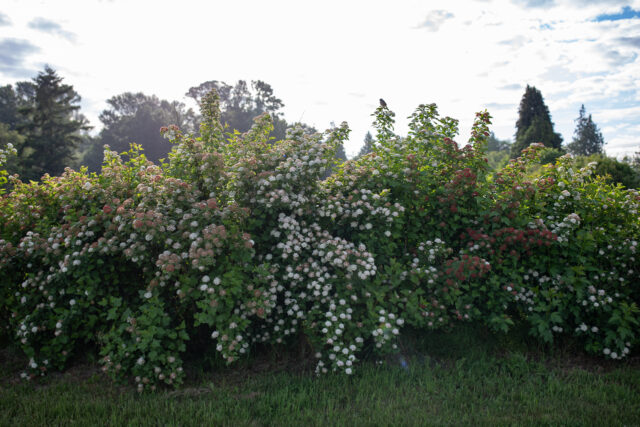 To date, we have planted 1.12 miles of hedges and hedgerows throughout the farm and I have plans to add more this autumn.
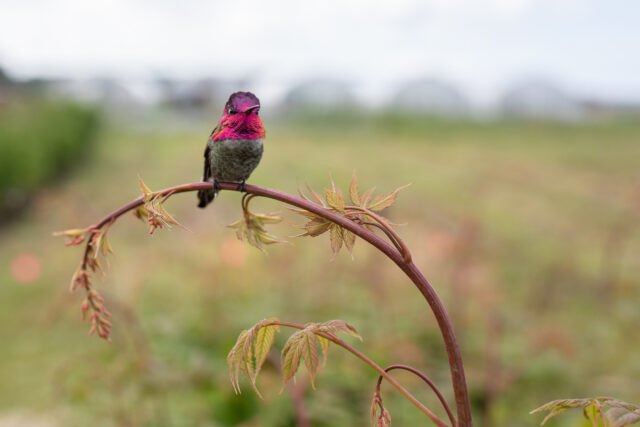
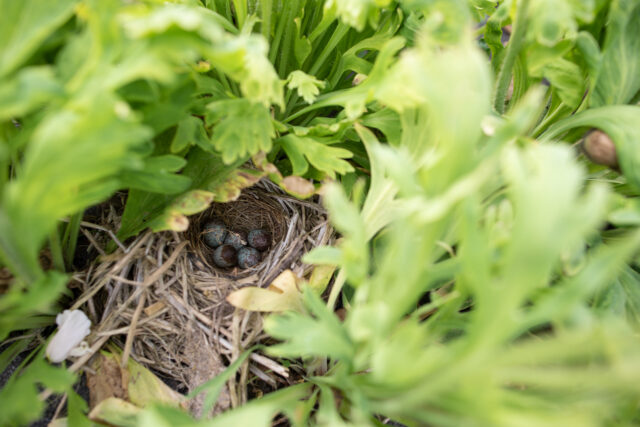
Overall, this project has exceeded my expectations and we’re only three growing seasons in. The number of songbirds and new wildlife we’ve seen on the farm since planting these has been incredible and I’m excited to see who shows up next.
In addition to the beauty that the hedgerows offer when in full bloom, they are also humming with life all season long.
 As this project continues, I will be sure to share any new findings. If you would like to download a printable planting plan and plant list for my favorite ornamental hedgerow combination, you can sign up to receive it below.
I would love to know if you have any experience growing hedgerows or if you have a favorite tree or shrub when it comes to attracting wildlife to your garden.
Please note: If your comment doesn’t show up right away, sit tight; we have a spam filter that requires us to approve comments before they are published.


Elizabeth on
Do you keep your hedgerows mulched?