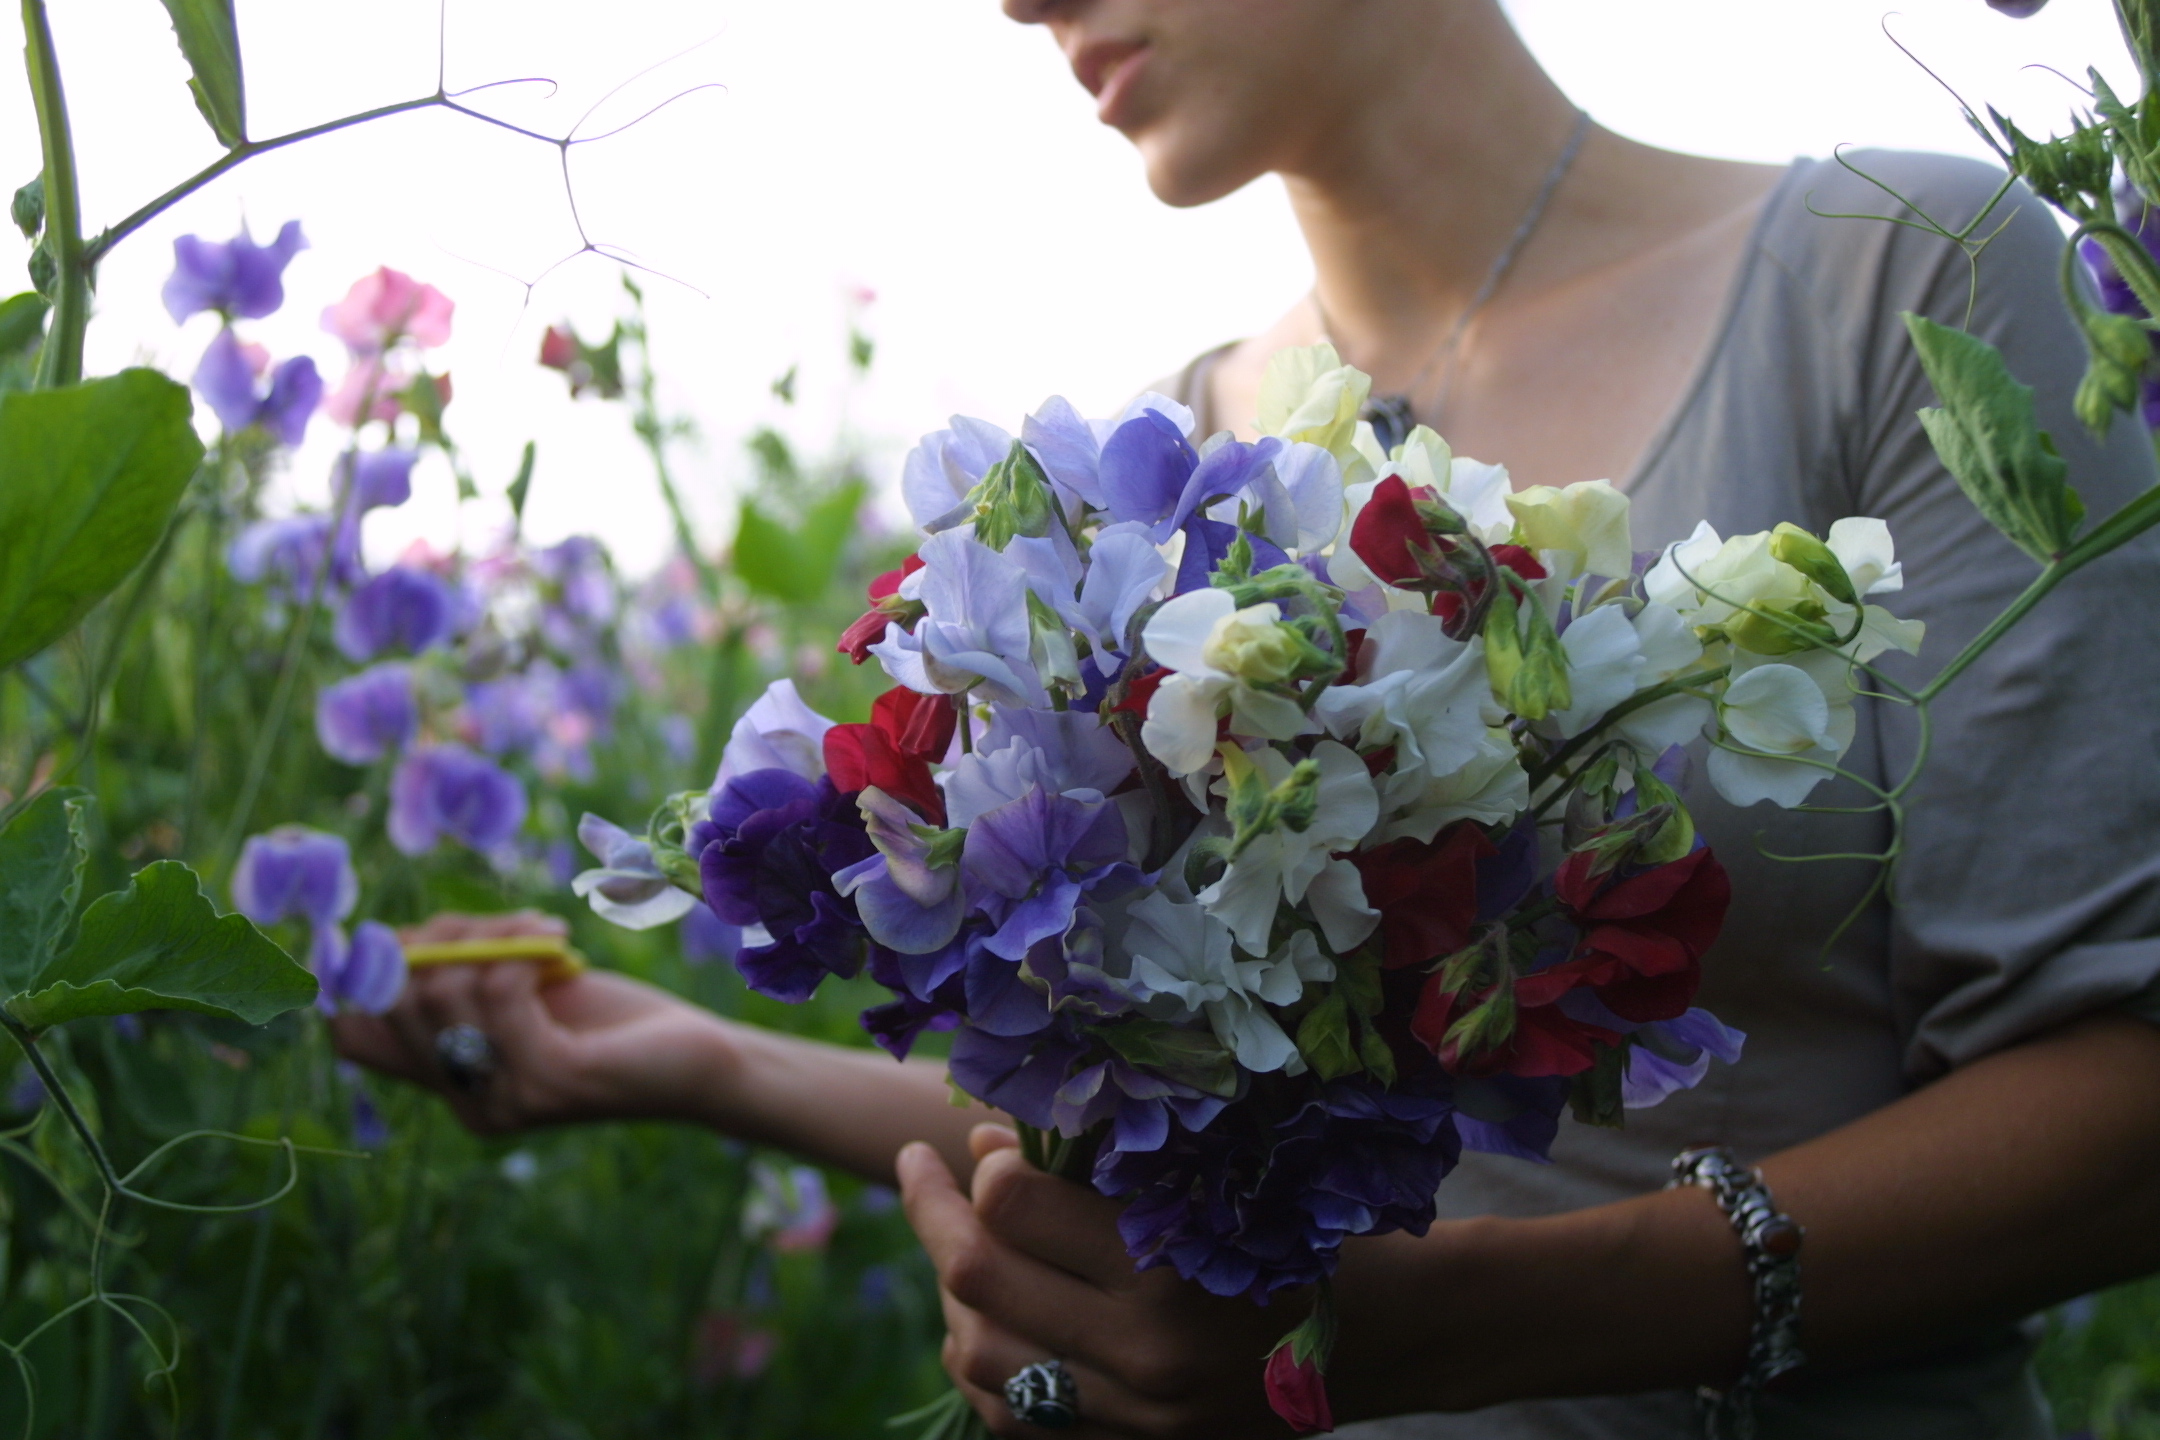
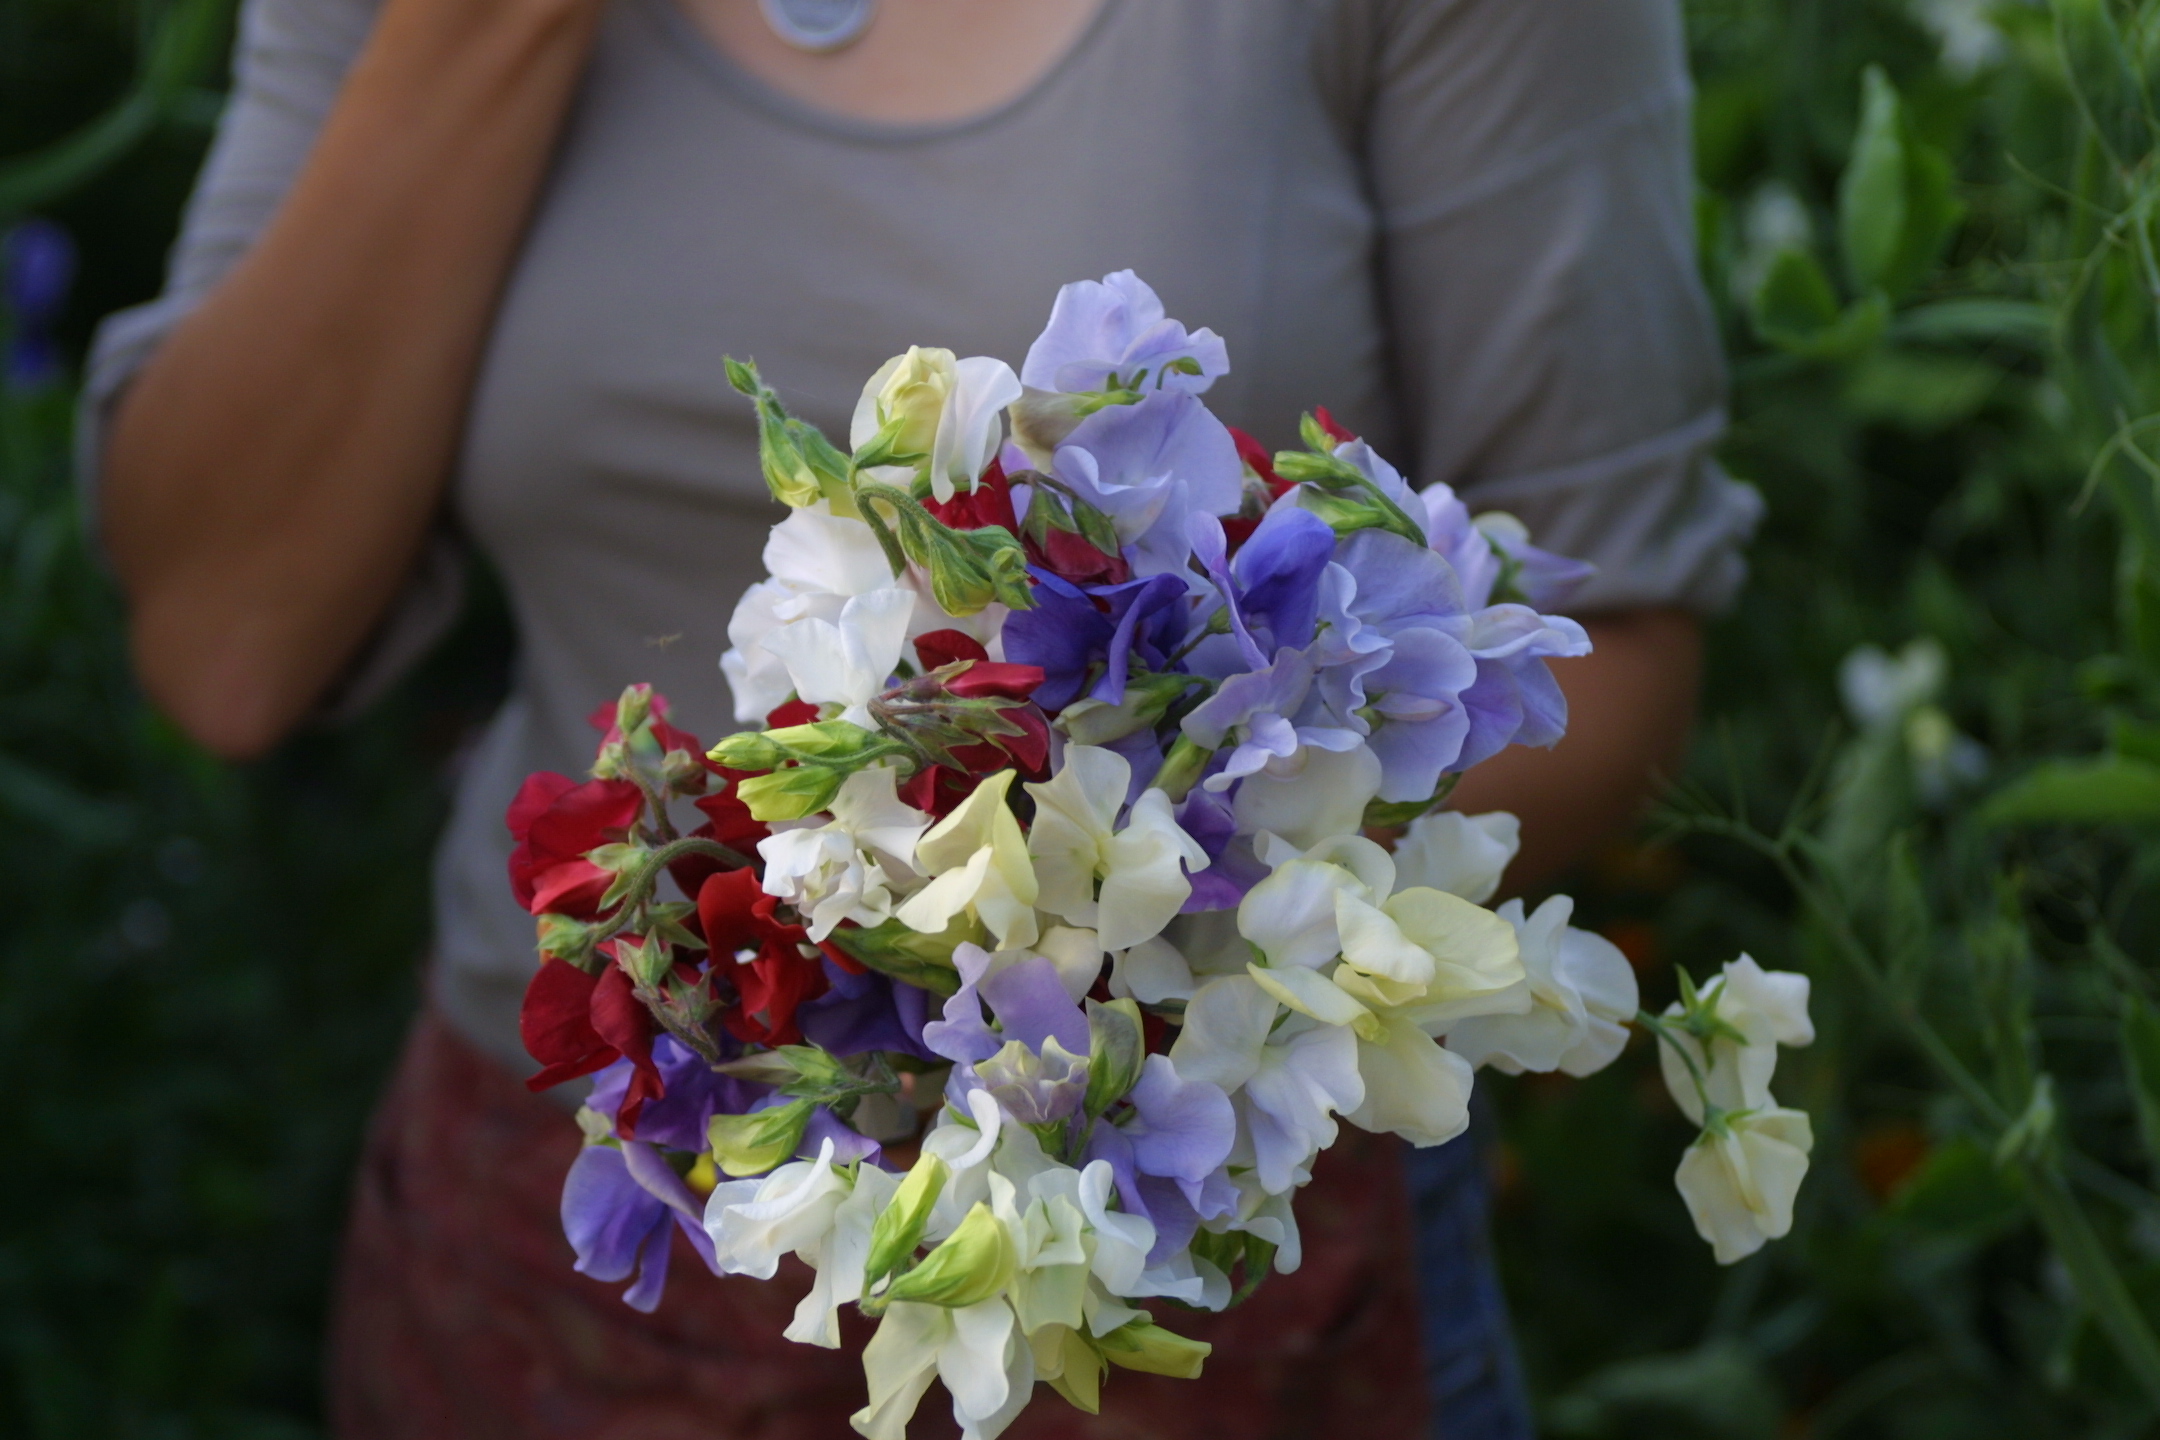
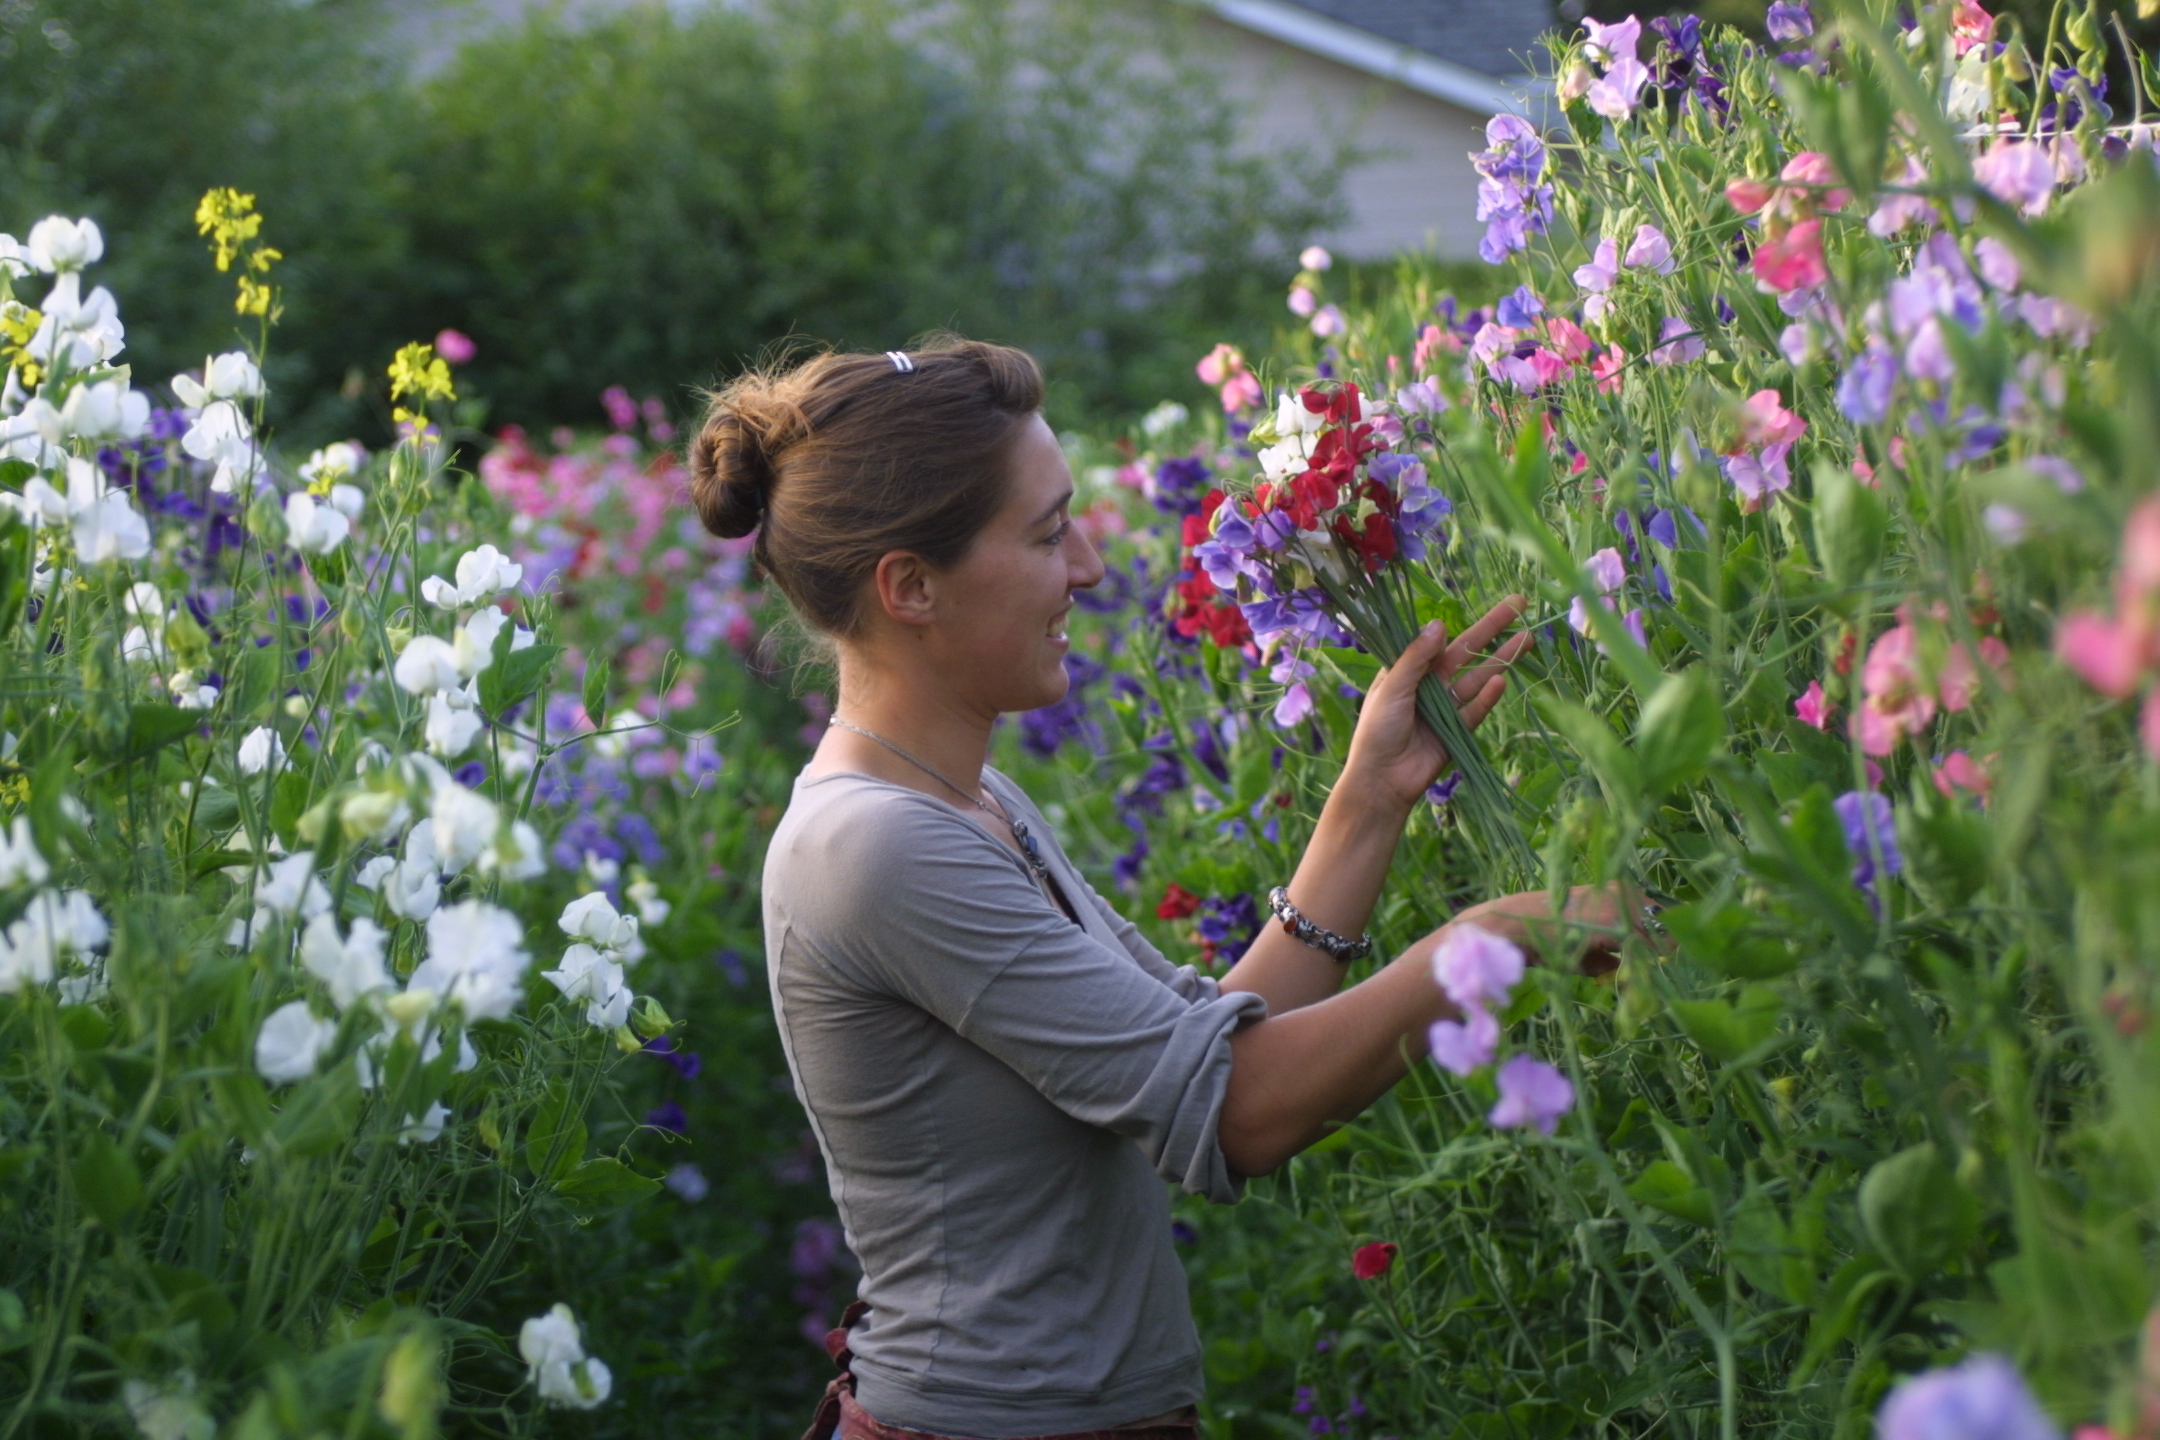
A bouquet of Spencer sweet peas
For the purpose of visually illustrating our growing process, and since I don’t have a complete sequence of shots from any one season (dang it!), I’ve woven together both hoophouse and field production photos in this post. Hopefully it isn’t too confusing!
*Be sure to leave any questions down below in the comments section and I’ll do my best to clarify.
I’ve been growing sweet peas for what seems like a lifetime now and as you read earlier, they were what got me into this crazy flower farming adventure in the first place. Each spring as they climb their trellises it’s like seeing my dear old friends once again.
But in the early days I had really mixed results with my crops. Some years they’d be spectacular and others the vines would only grow to 3ft tall and produced inferior, short stemmed blooms.
As I learned to choose varieties that were better suited for commercial production (or exhibition) my odds improved dramatically but it was still a little hit and miss. As their popularity grew with our customer base, I really needed to find the magic secret for getting a consistently high quality crop outdoors.

My hoop house (or unheated greenhouse) vines yielded the best crops of all, with long strong stems, enormous plant growth (many touching the 10 ft ceilings) and perfect flowers. But as I ran out of covered space, a new approach was needed.
I scoured every article, flower growing bulletin board, chat room and book I could get my hands on, in hopes of discovering the secret answer to growing top quality sweet peas in the field. But the more I searched, the less I found.
After days of digging through old library archives online I finally stumbled upon a small pamphlet written in the early 1900’s by George J. Ball called Better Sweet Peas.
You should have heard the whooping and hollering coming out of my office that day. That tiny book was loaded with so many useful, low input ideas on how to produce sweet peas for the local market. The operations of the early 1900’s are very similar to mine so it was truly like winning the lottery.
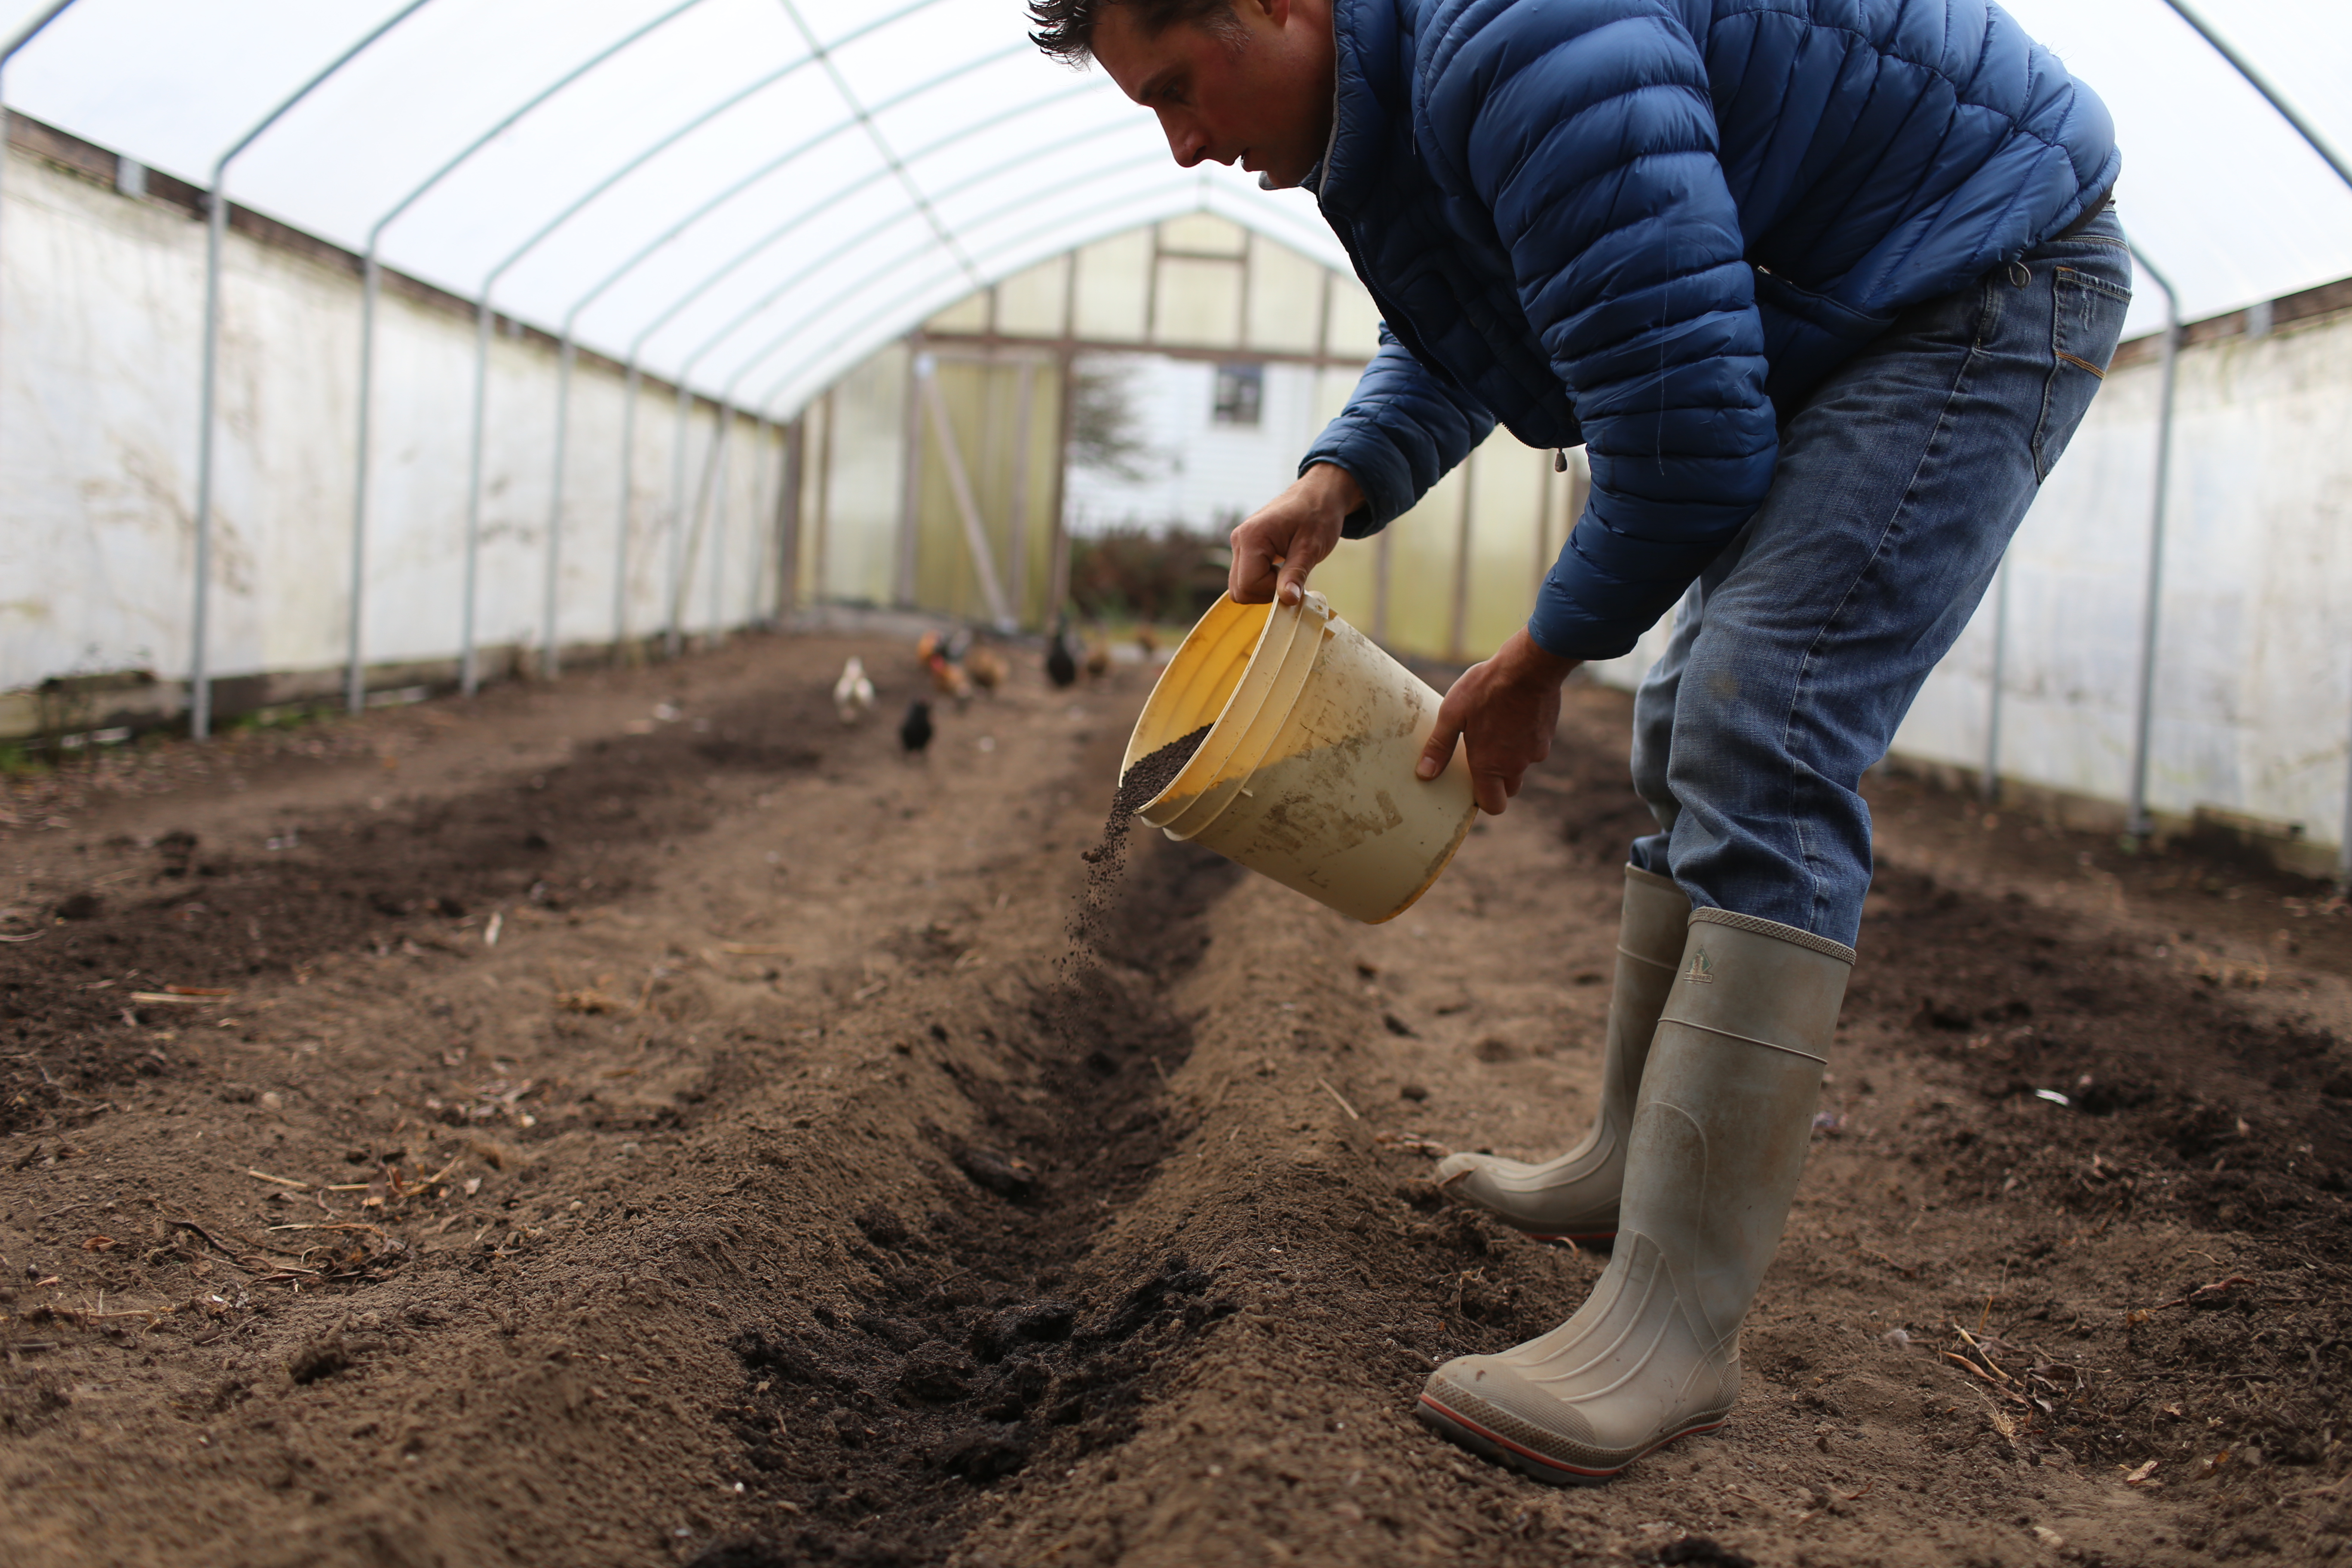
Immediately after devouring the booklet, I dug into improving the soil. Before that time I was doing very little to prepare the field beds prior to planting. Looking back, many crop failures corresponded with the plants being grown in poorer, unamended areas of the garden. Our original hoophouses were constructed atop richer plots of ground and when combined with the protection they gave the plants, this combo was likely the reason for the superior indoor crop.
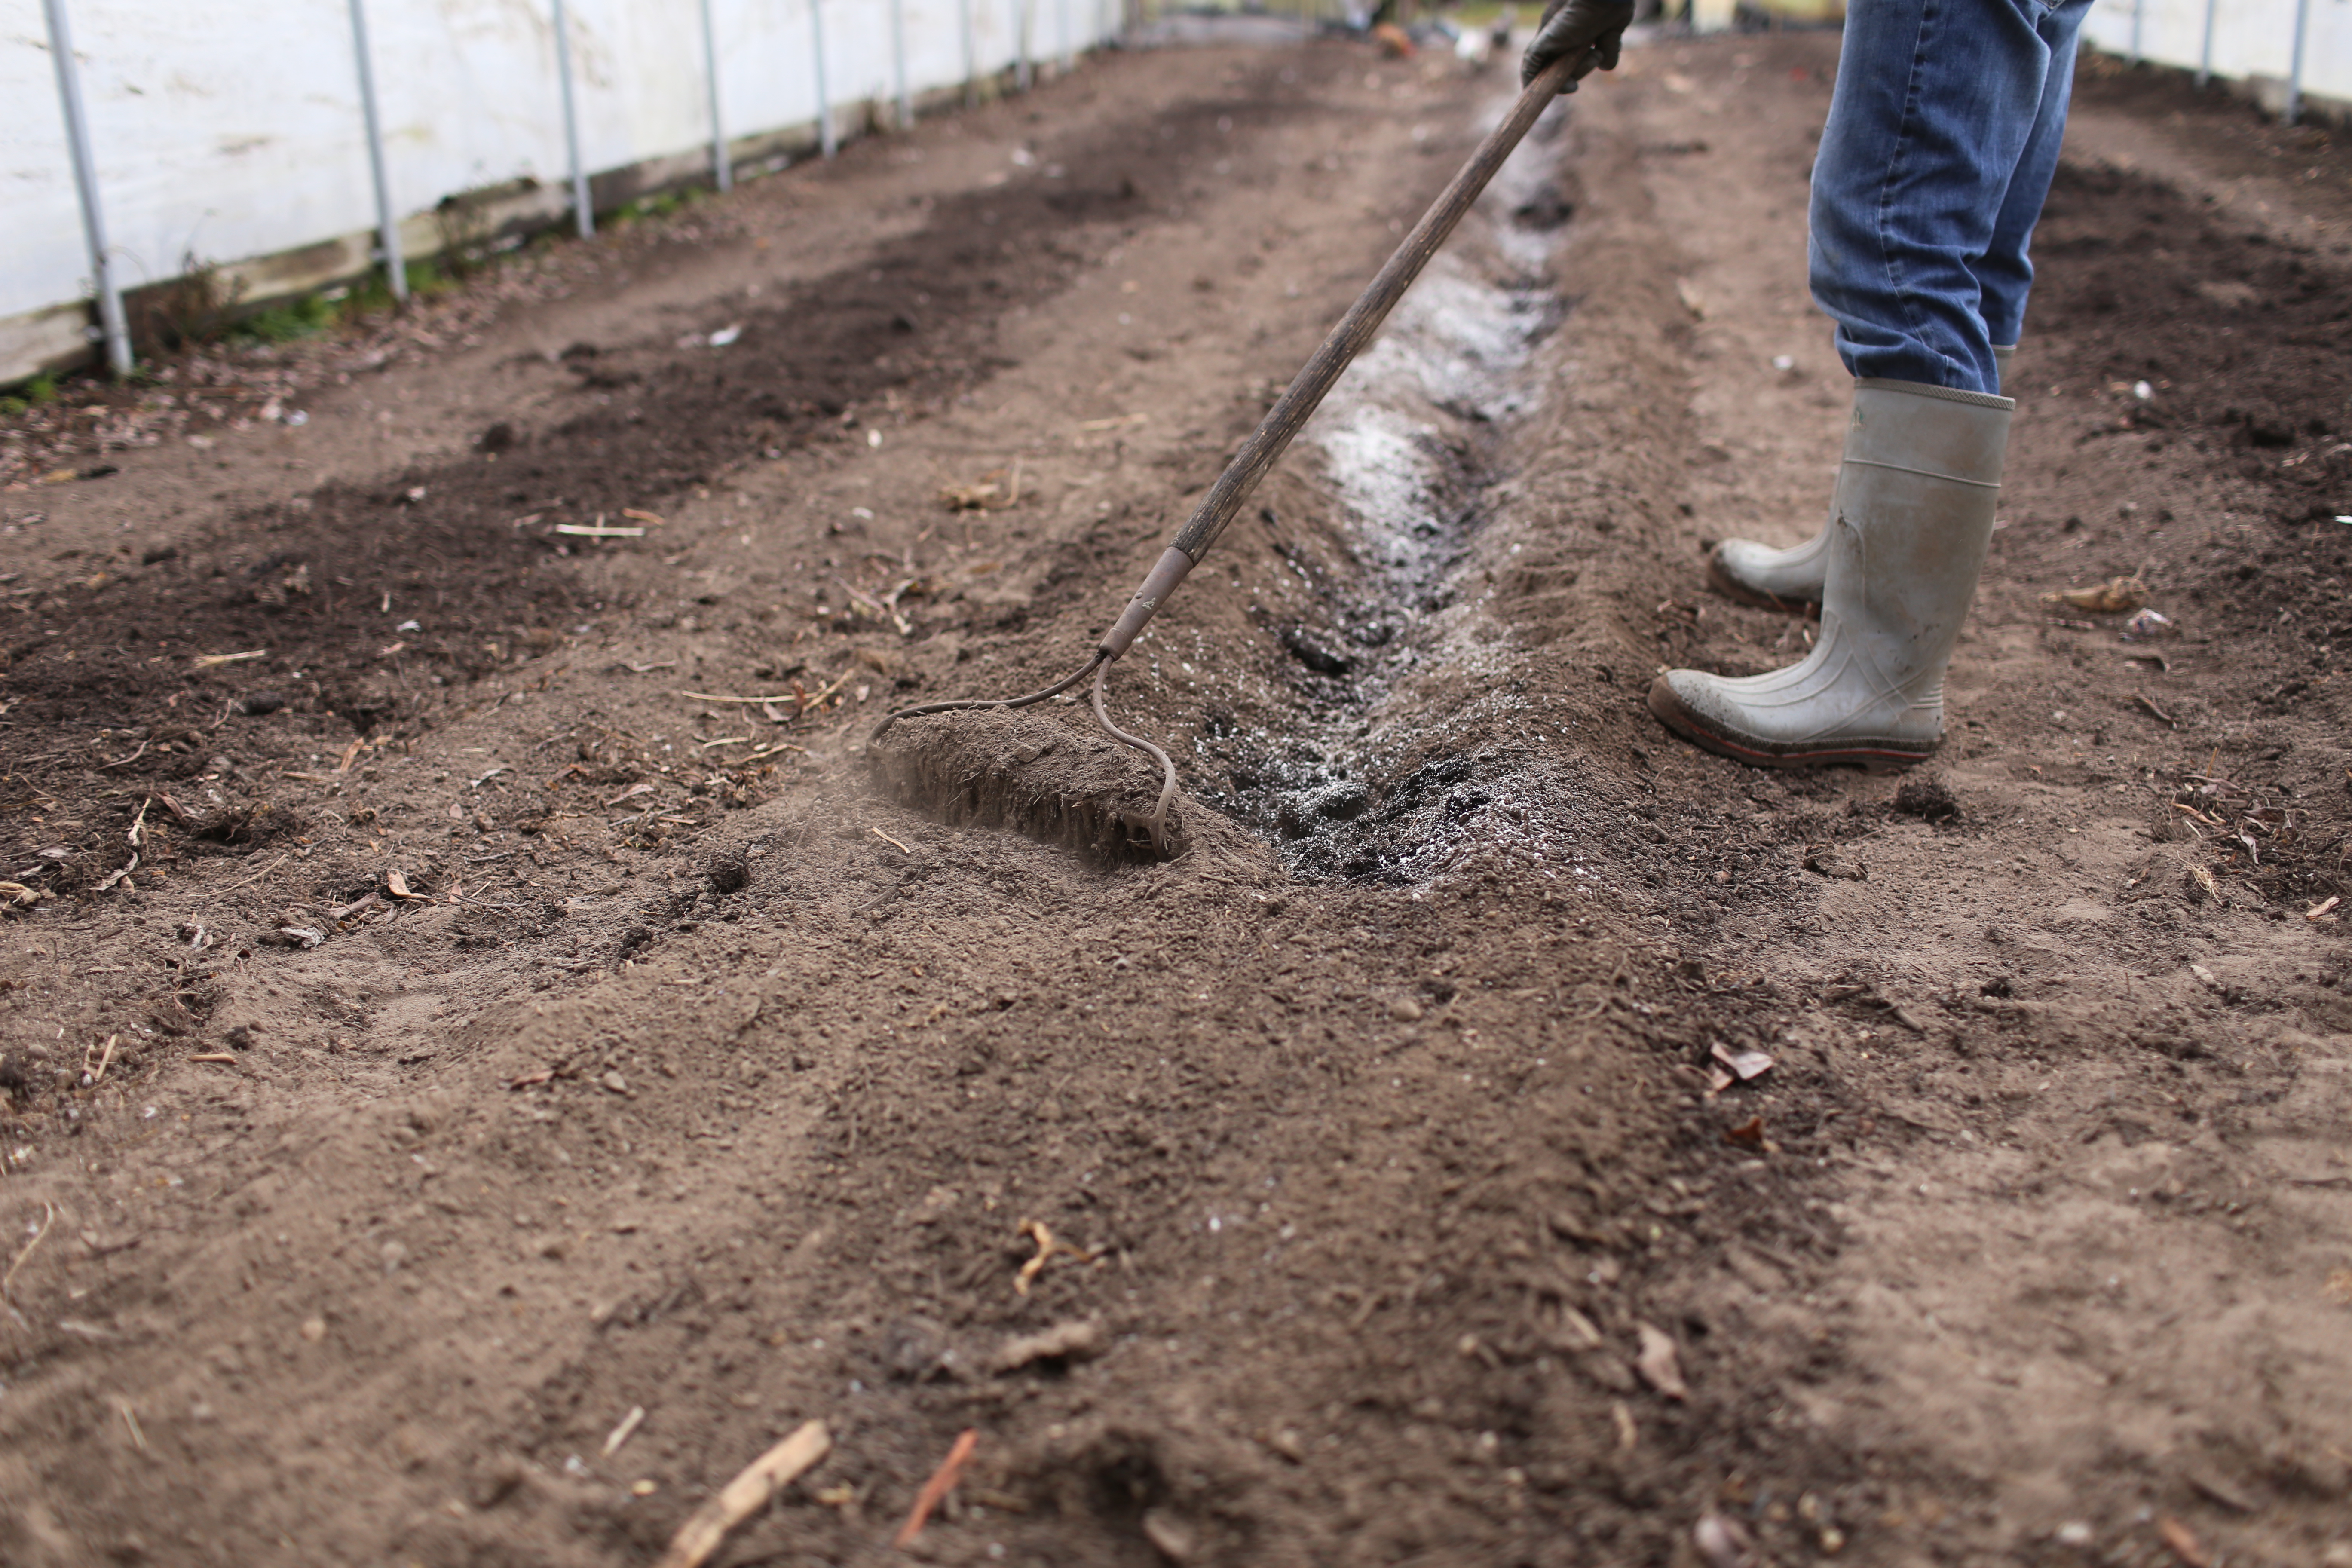
So after having our soil tested (you can get this done for around $50 at your local Ag. extension), a large dose of lime flour was applied, which brought the soils ph into a more neutral range. Since our garden sits atop a pretty acidic sandbar, liming is essential. Then each bed was given a thick dusting of rock phosphate, bone meal and a balanced organic fertilizer (Nature’s Intent 7-2-4) to help promote strong root growth.
Mr. Ball declared that “getting the plants deeply rooted before warm weather drove up growth was the secret to long stemmed outdoor peas.”

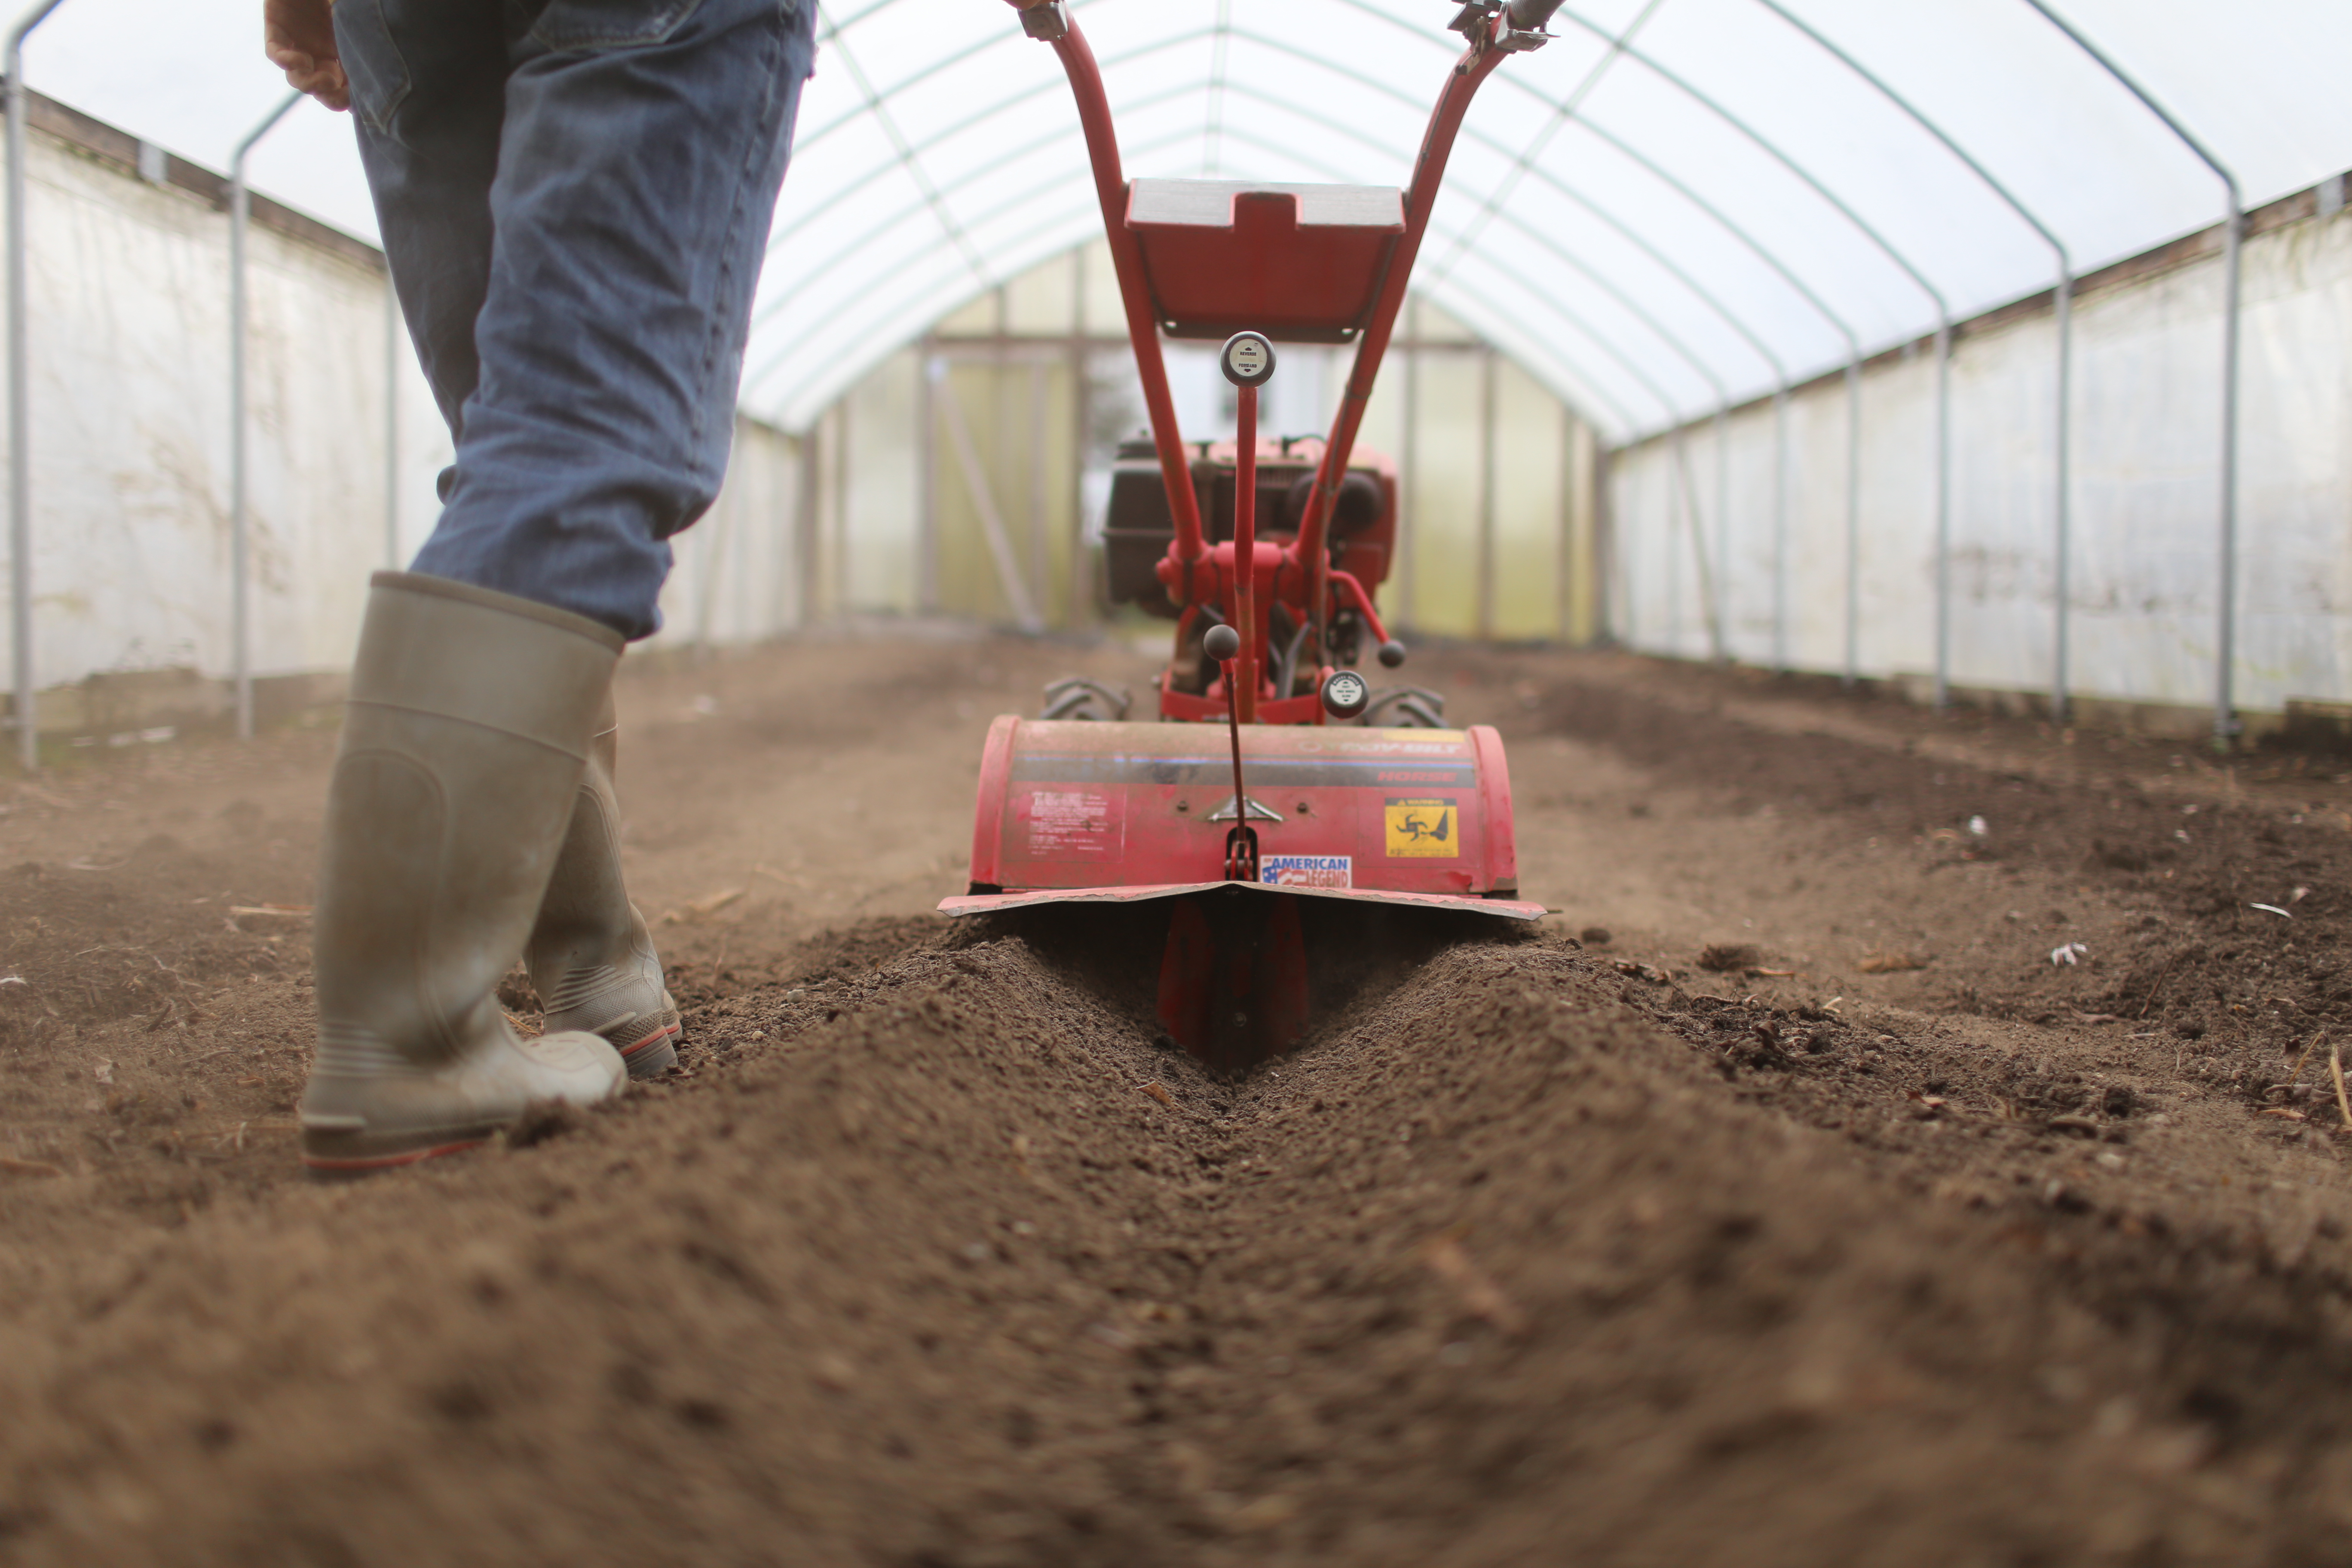
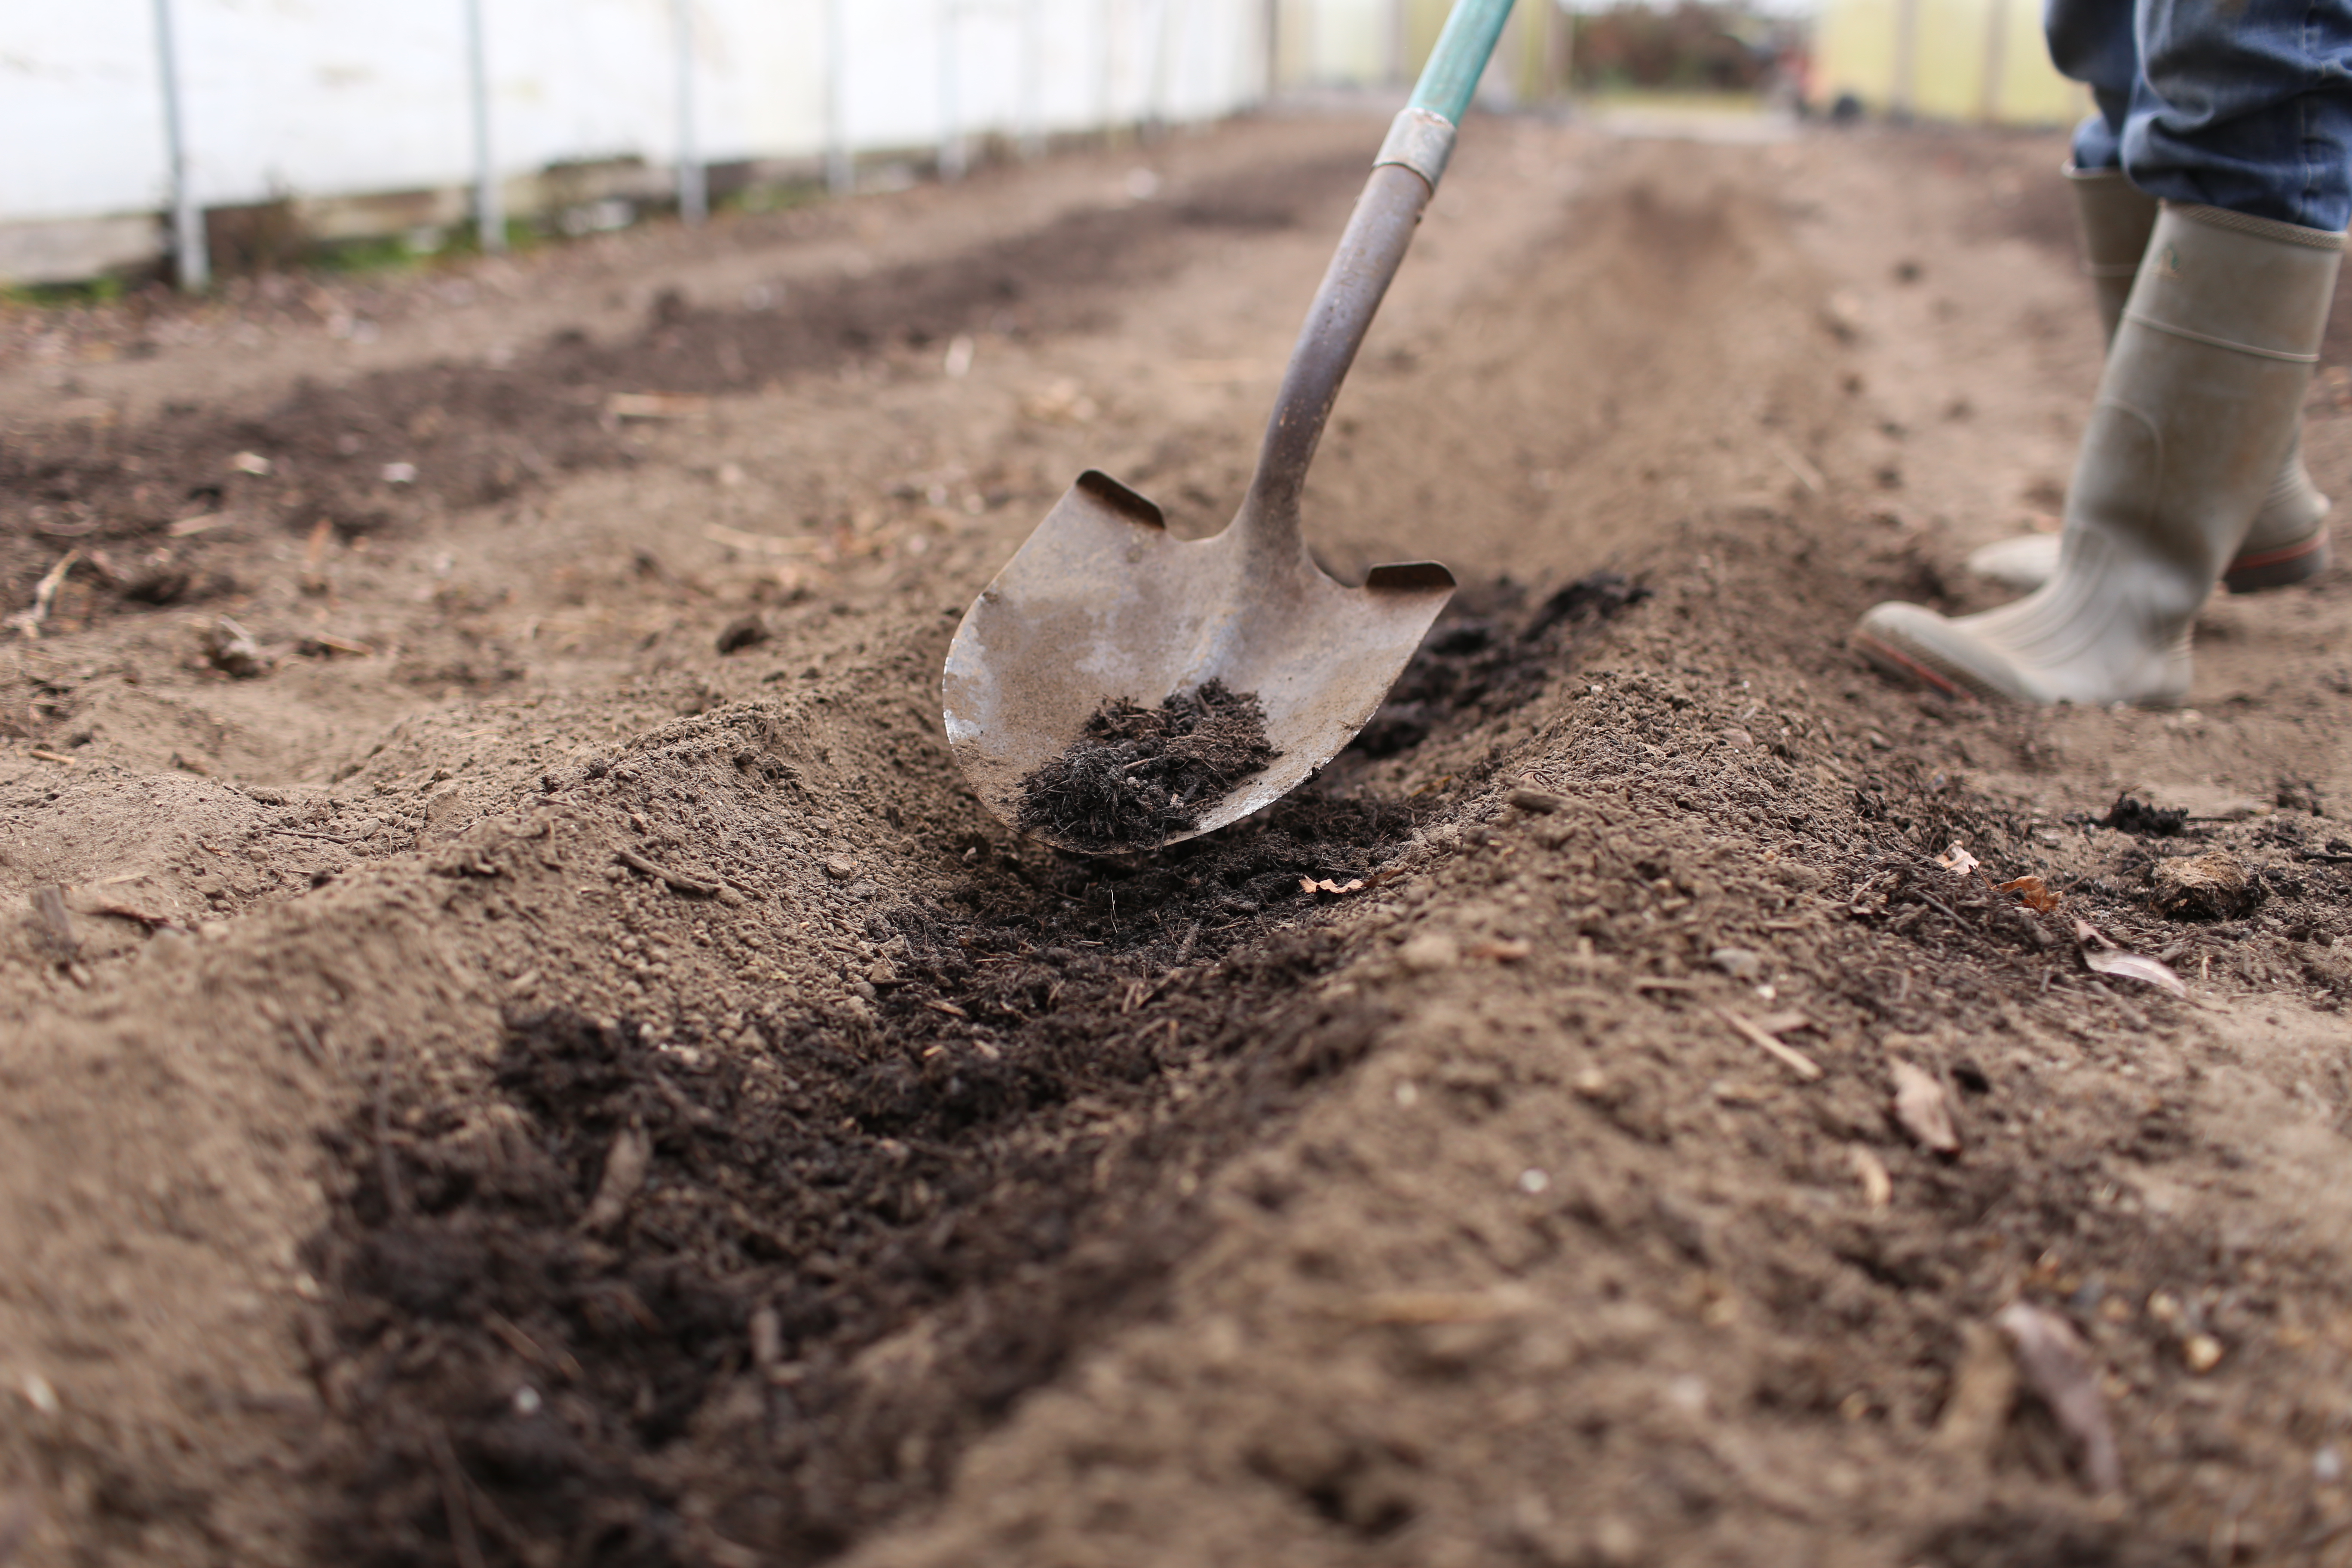
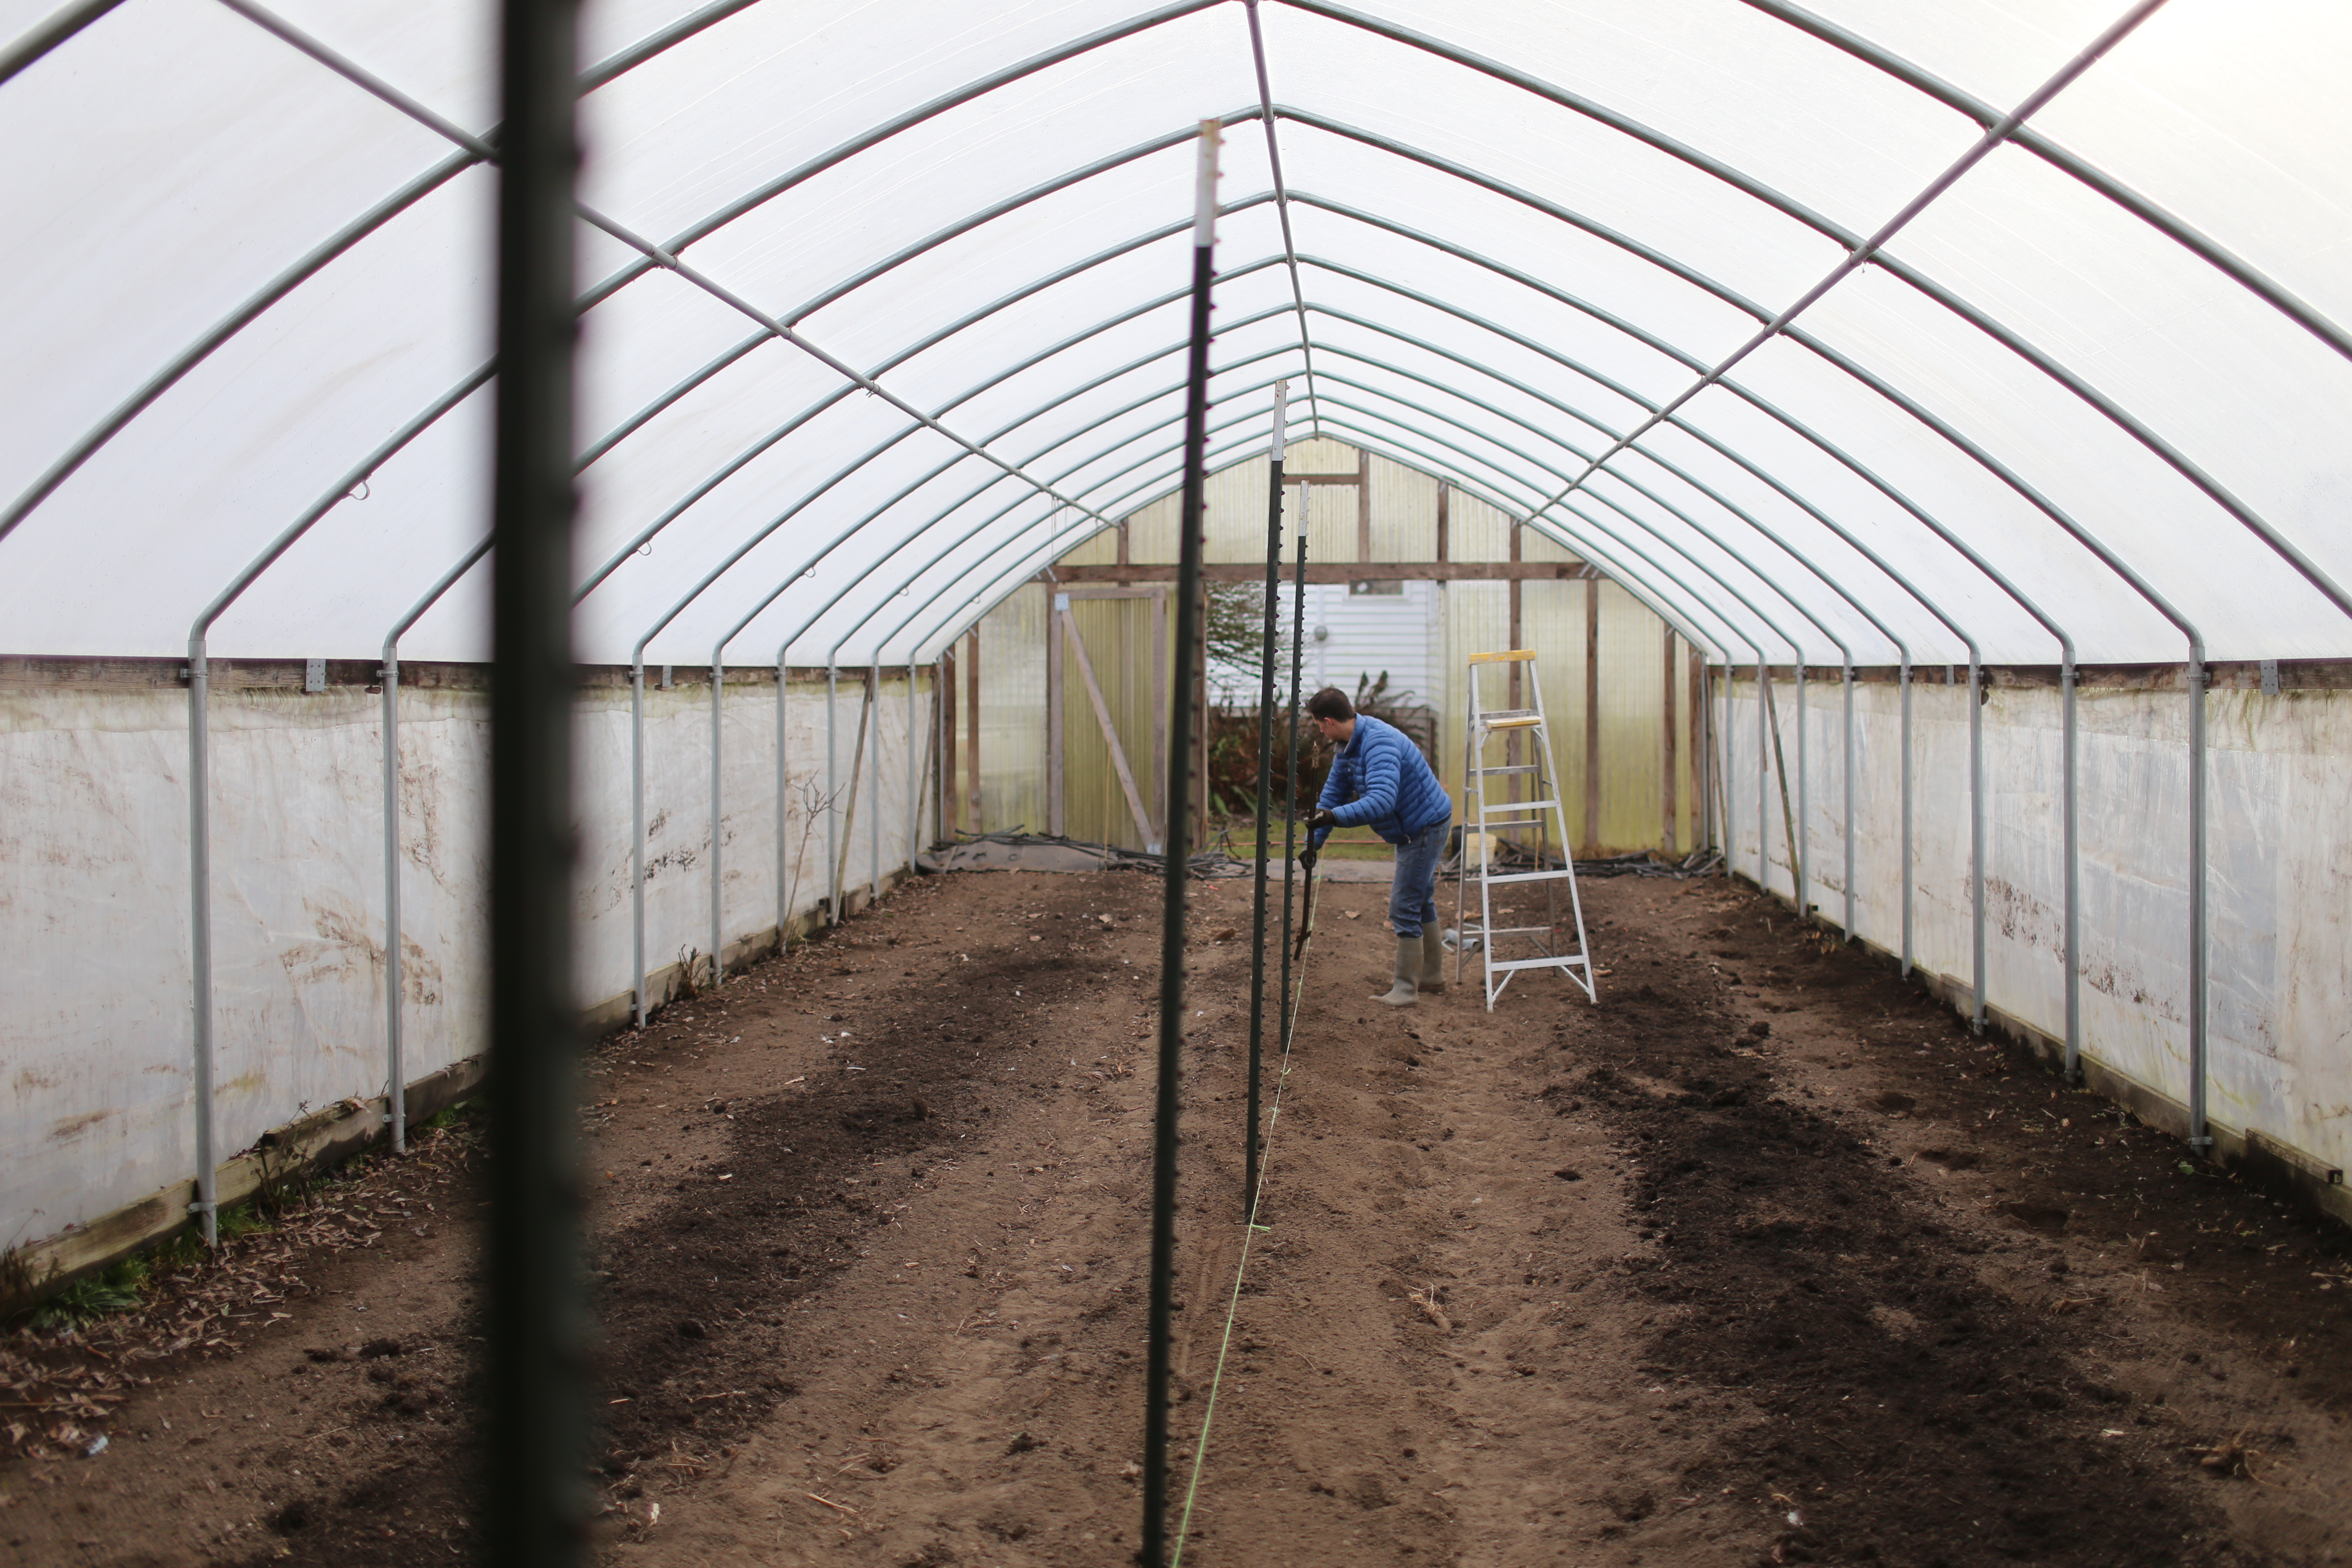
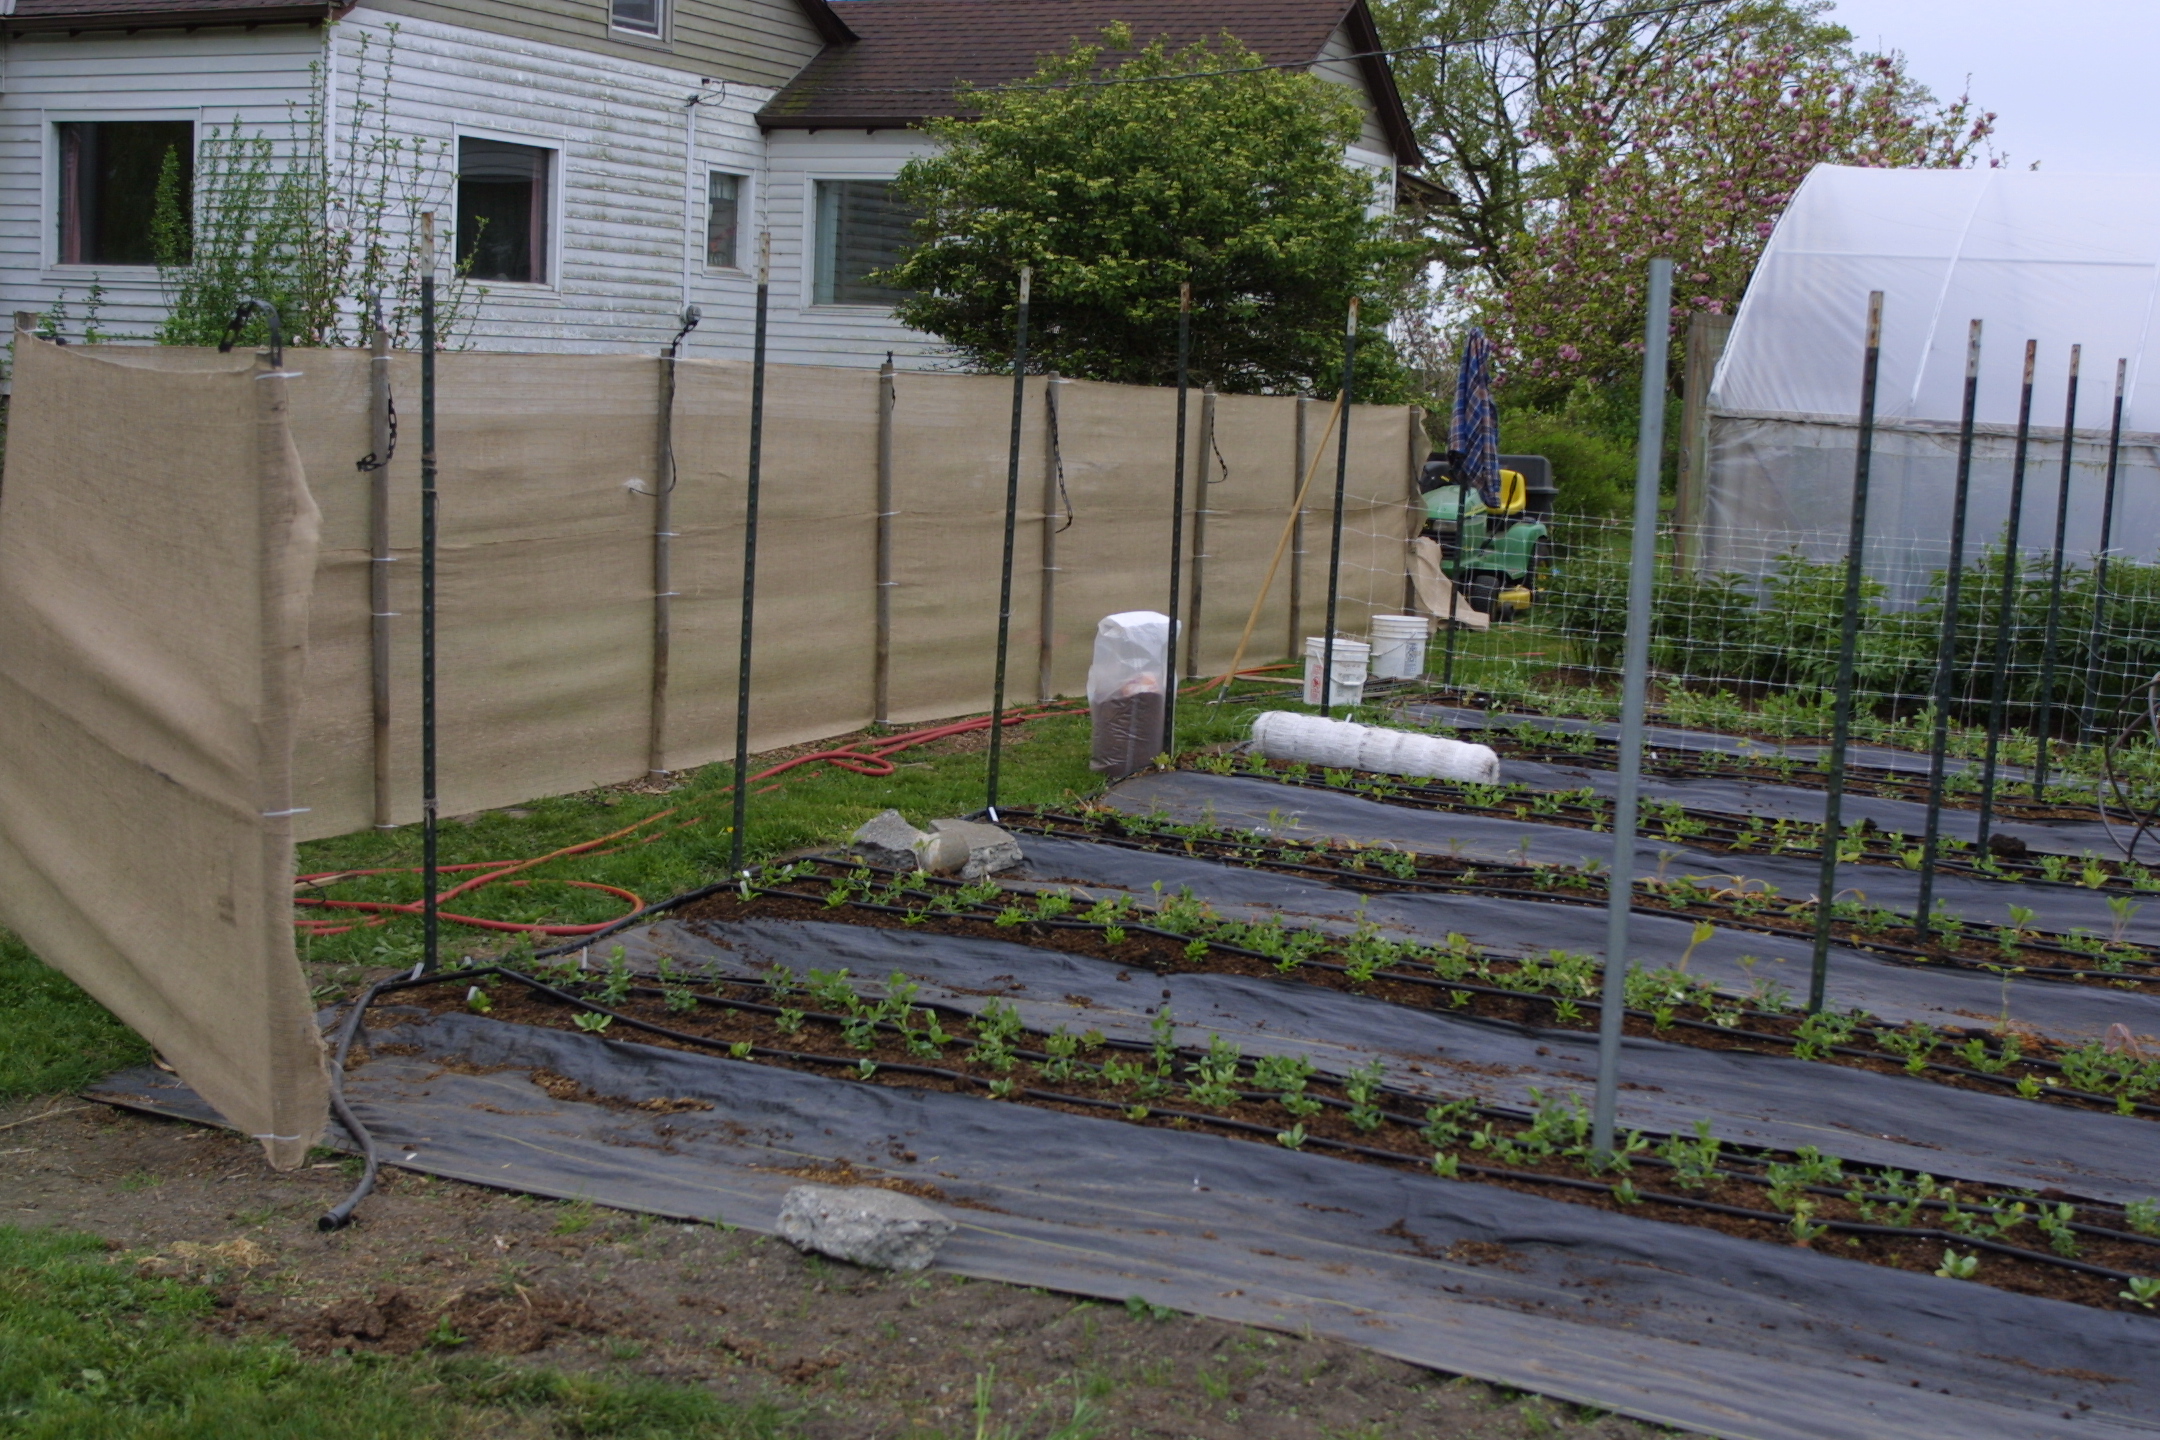
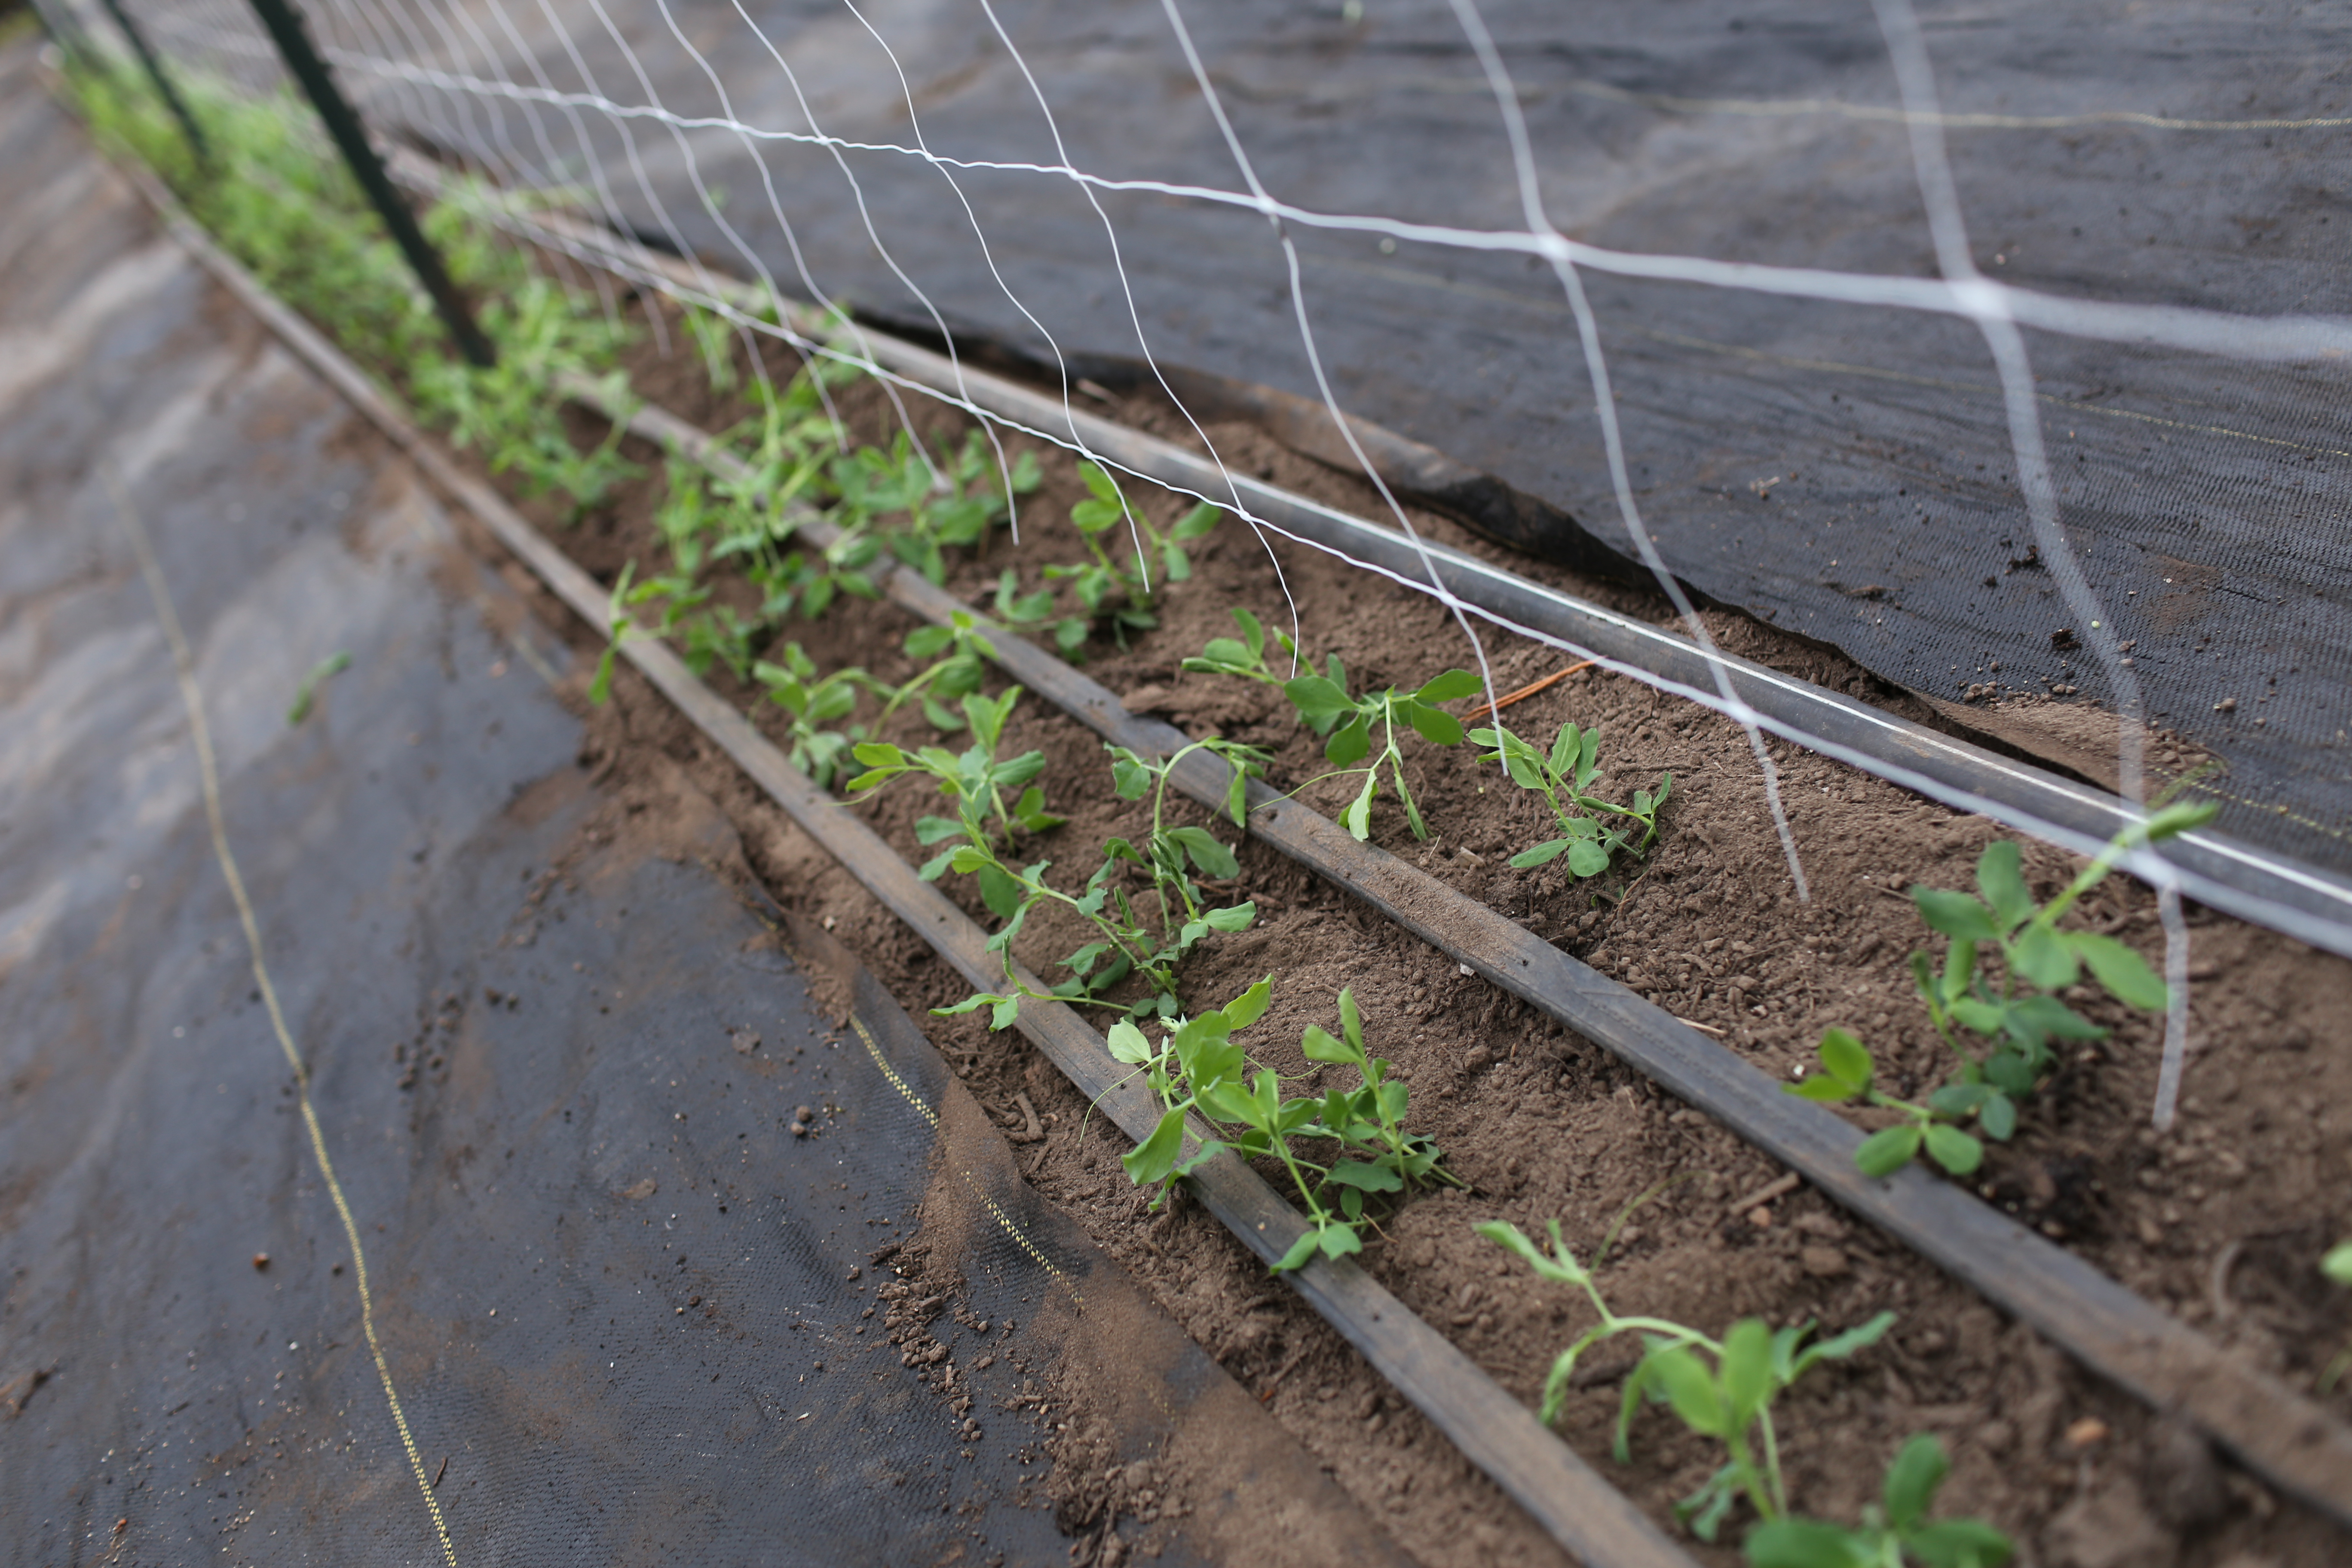
Next we carved a trench down the center of each bed with our walk behind tiller. This trench was filled with rich compost and then covered over again with soil. The idea being once the sweet peas sent their roots down deep, there would be a feast awaiting them below.
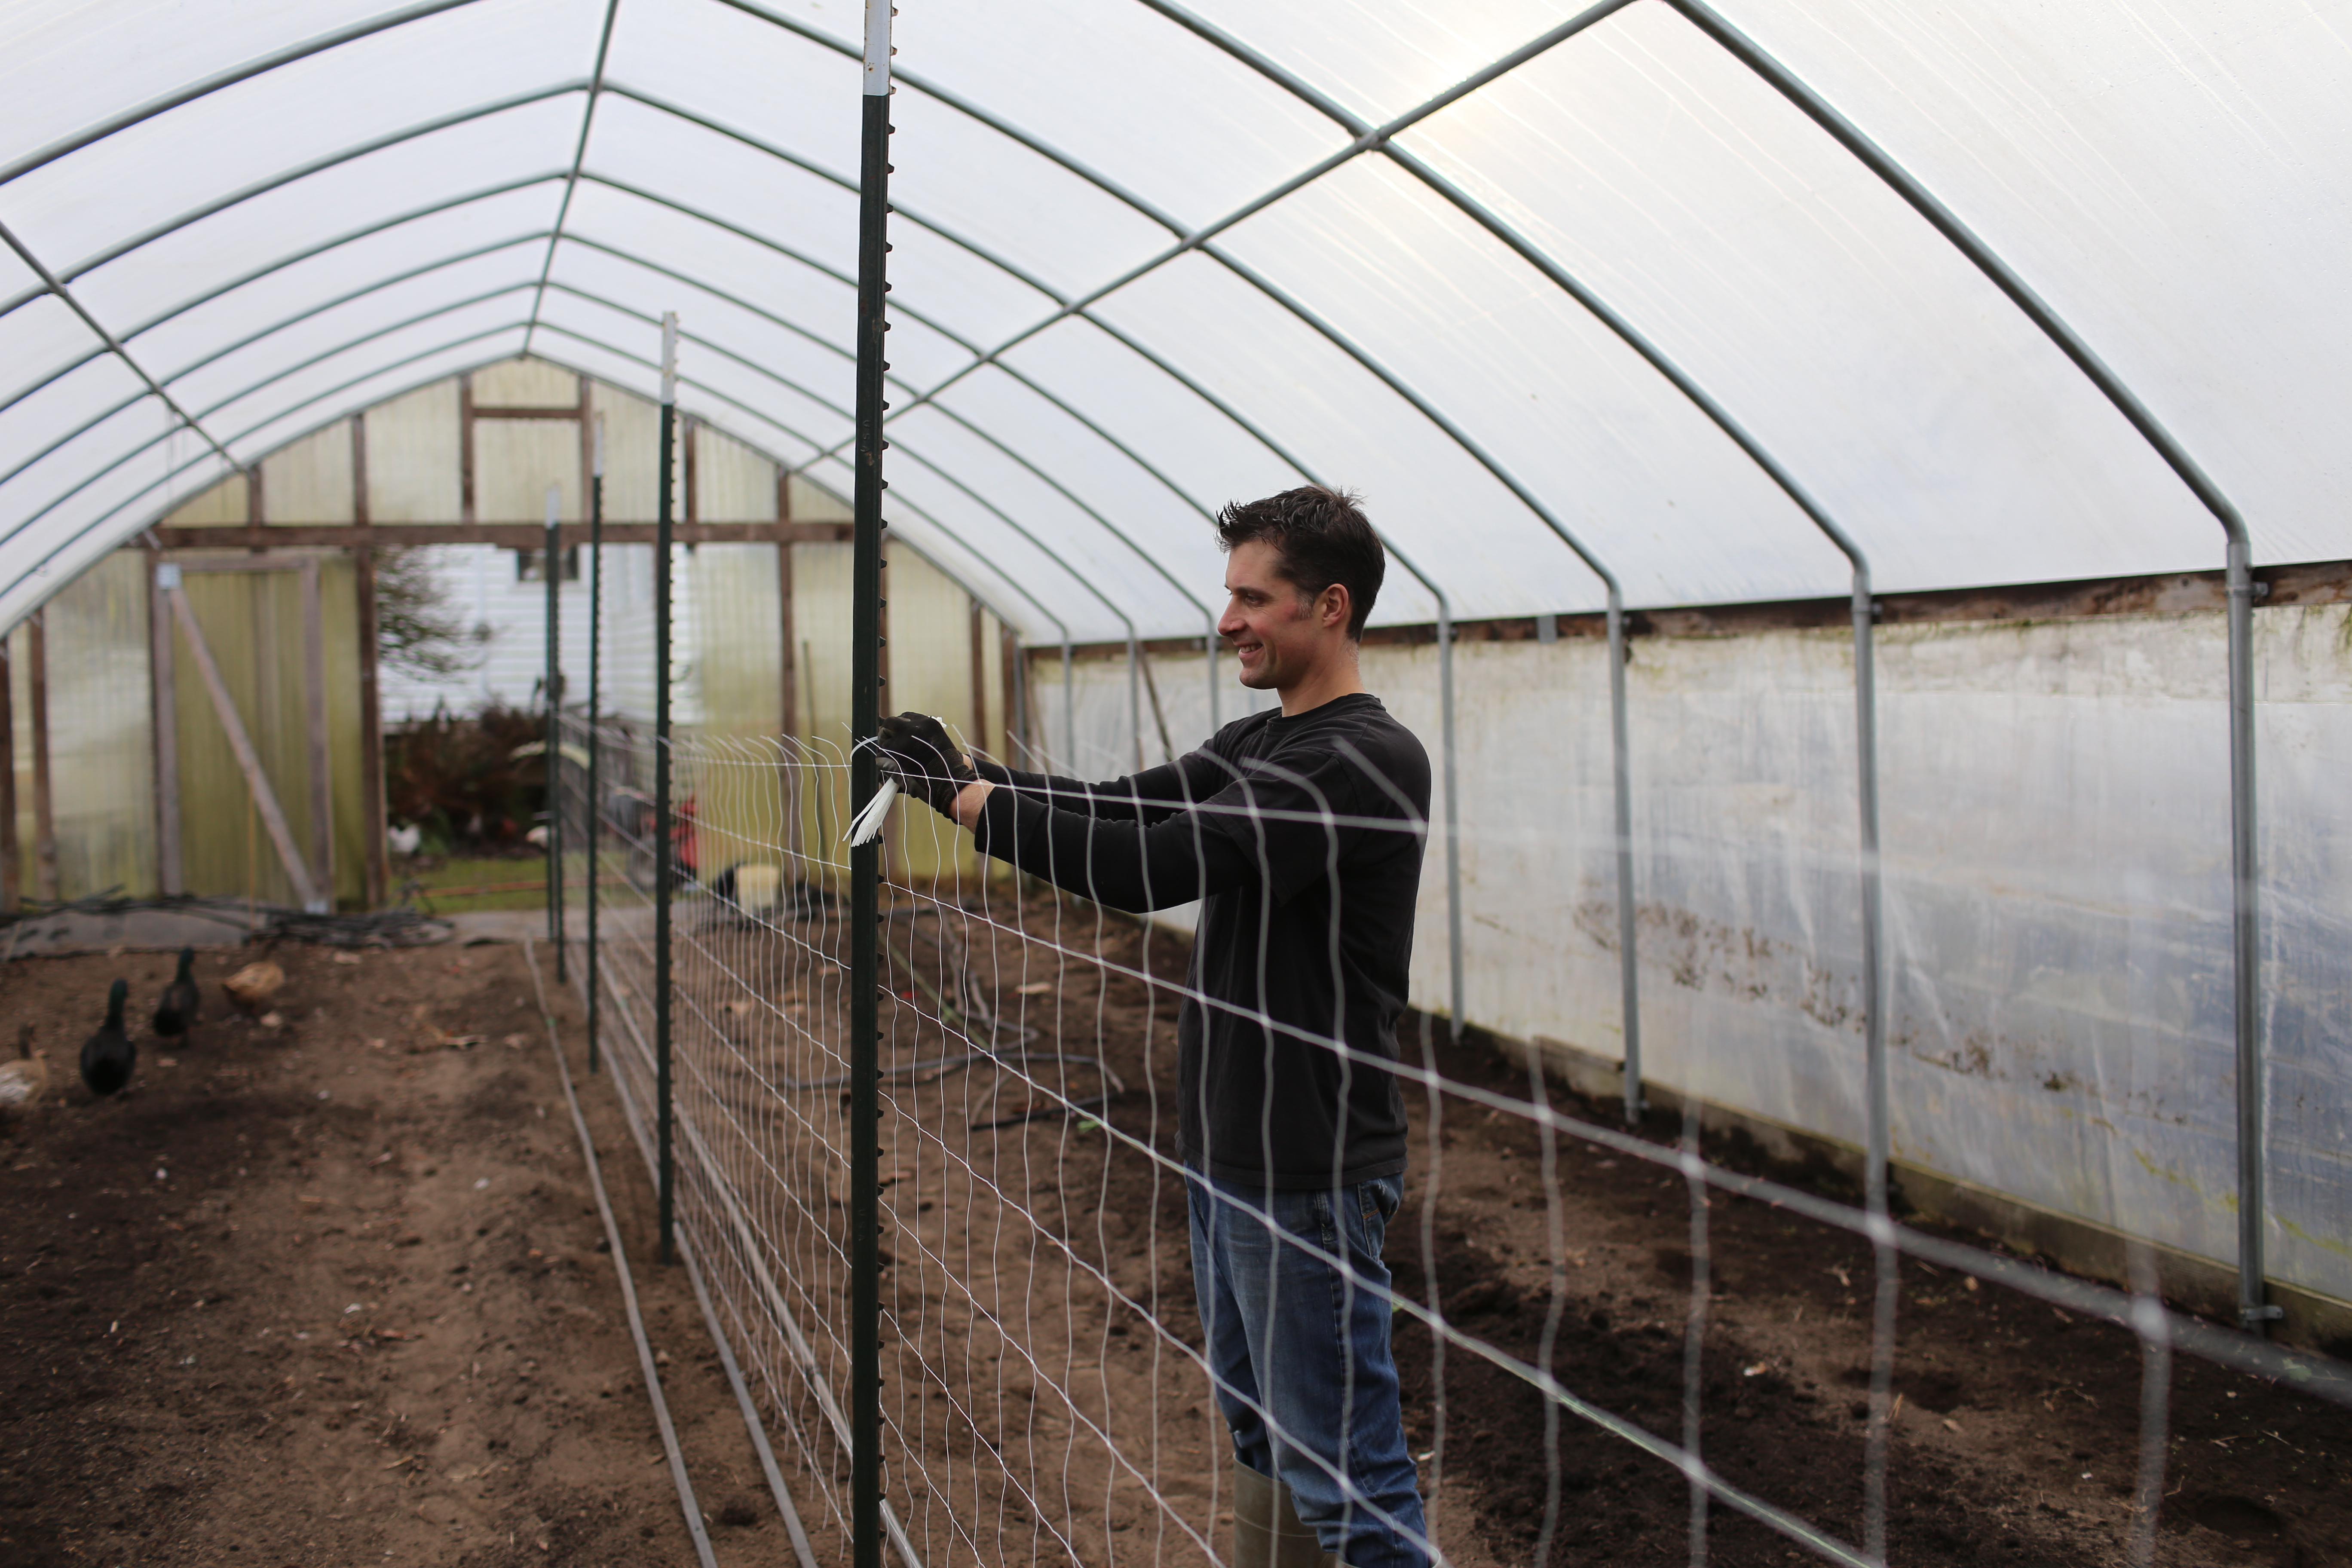
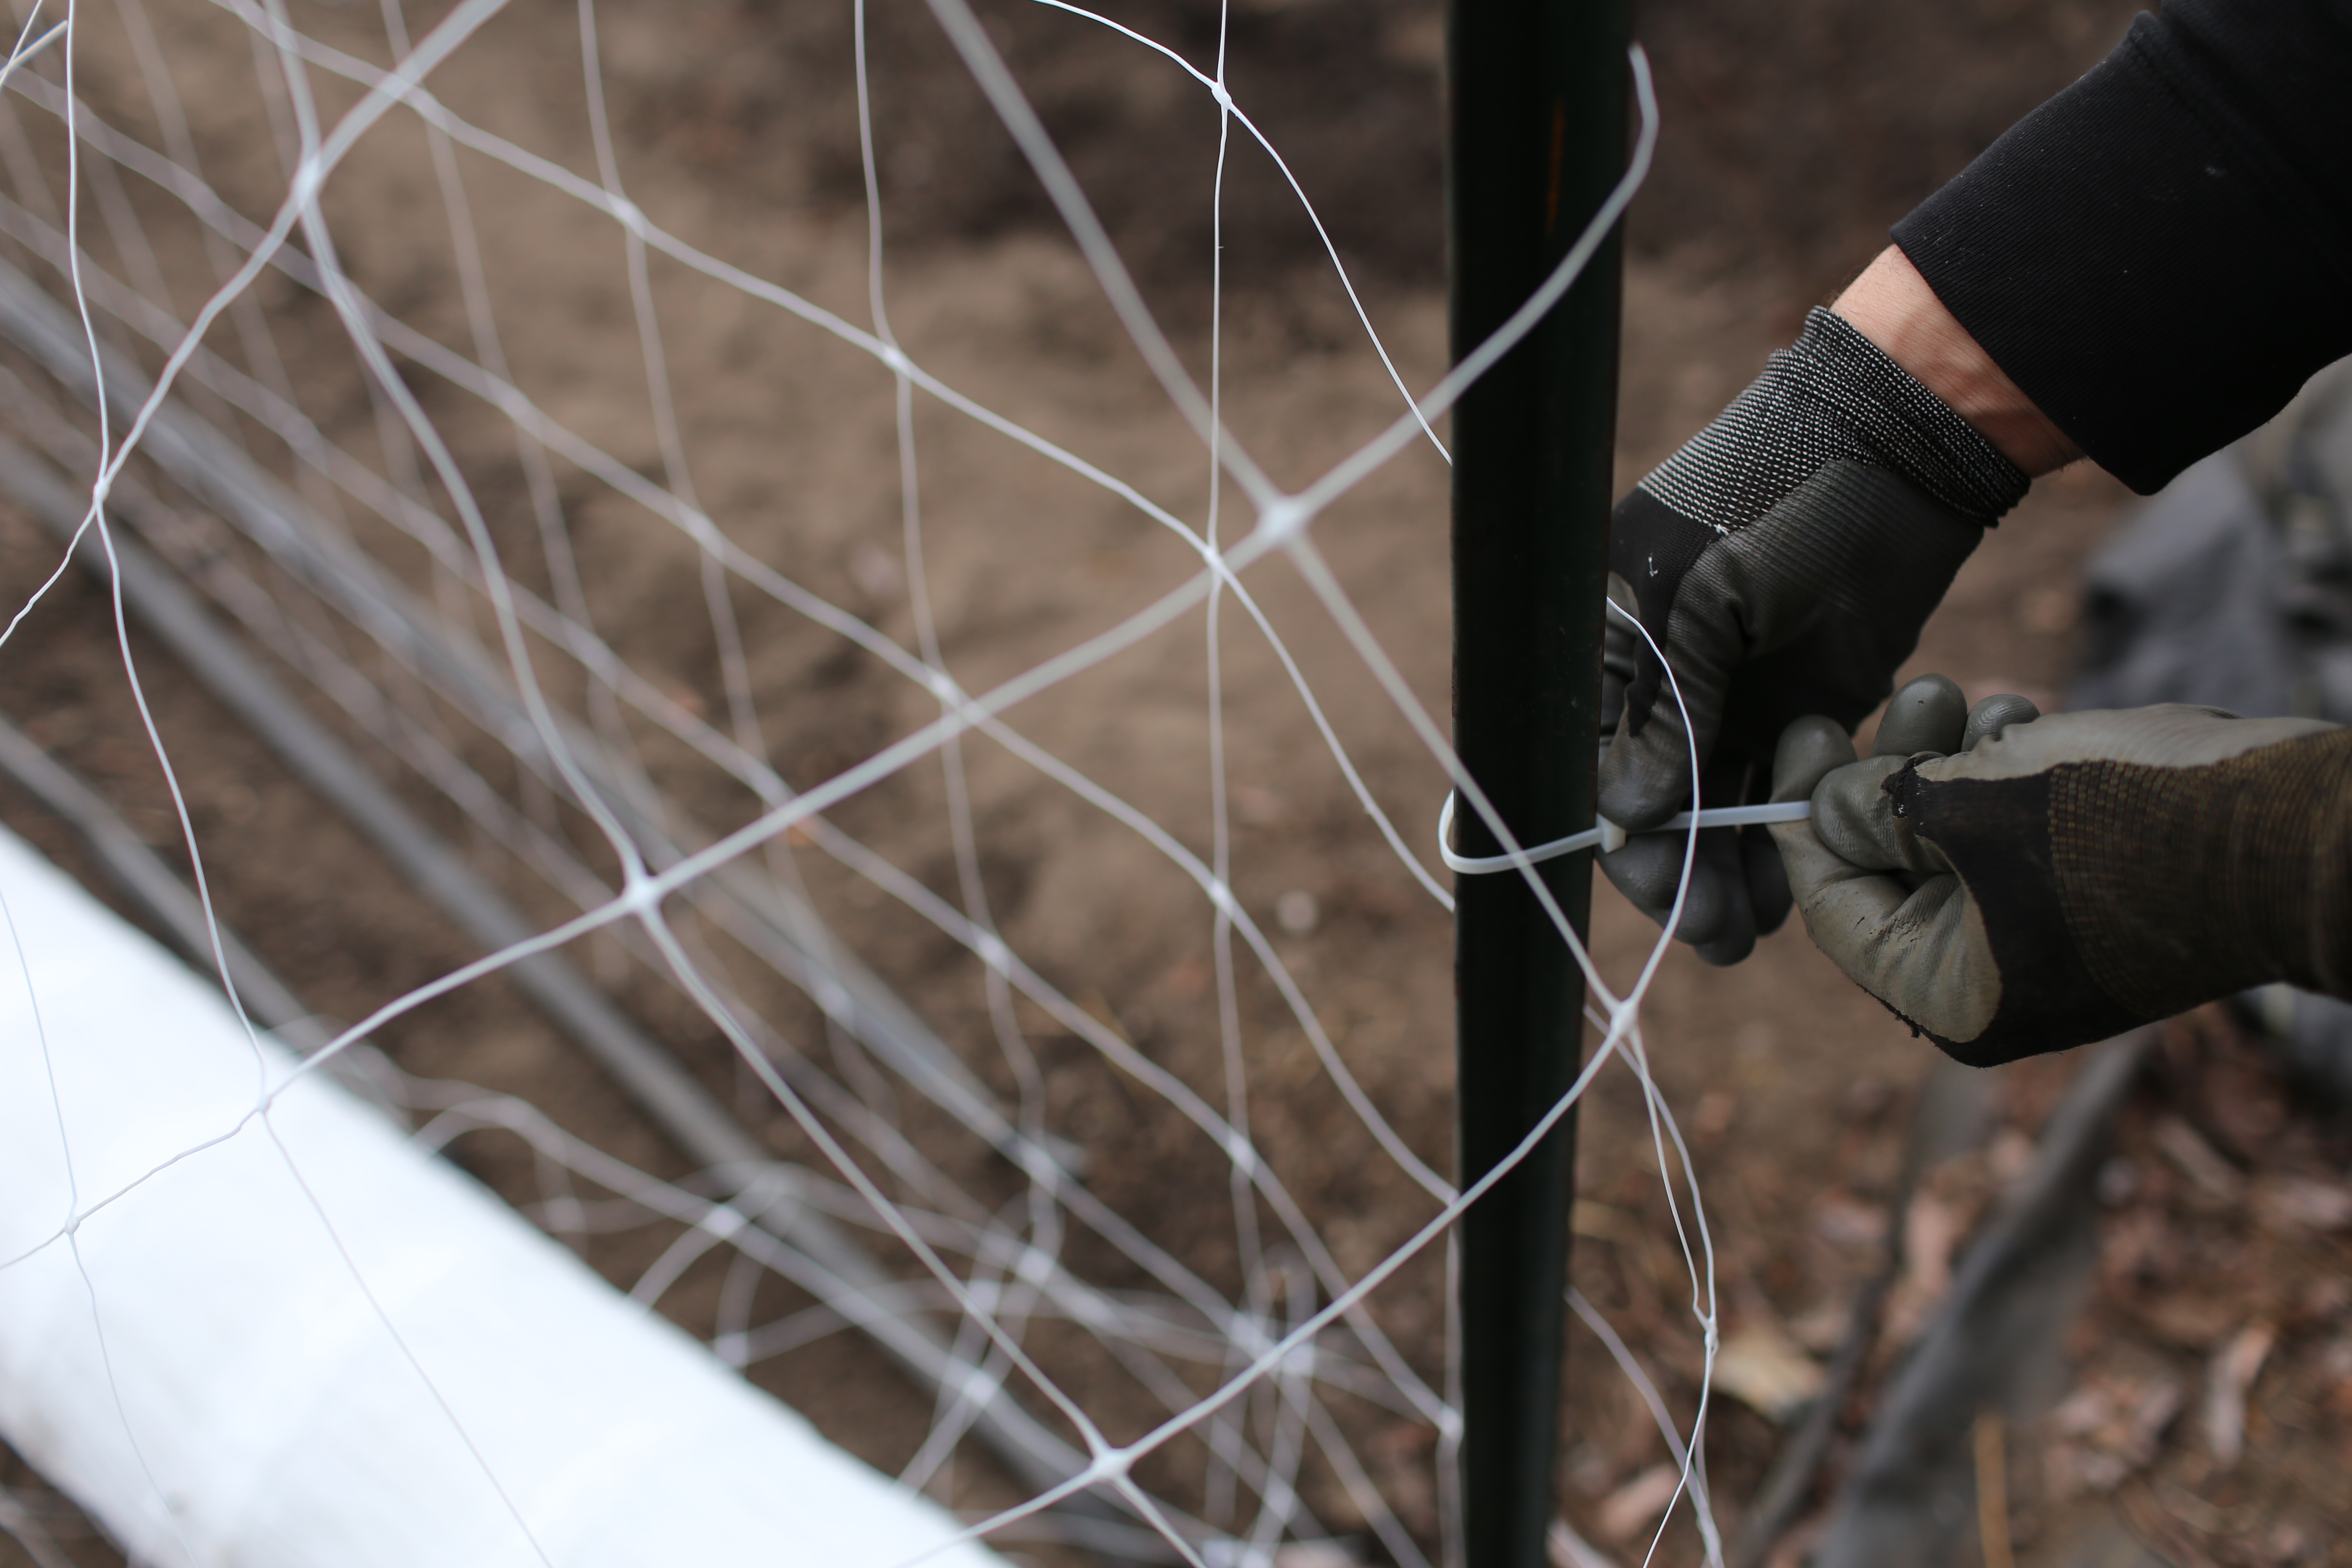
Then we pounded in our t-posts roughly 8-10 feet apart down the rows, attached two layers of Tenax netting to them with zip ties and top dressed each bed with a little more compost. At the time all of this intensive soil prep seemed a bit overkill but we crossed our fingers and hoped Mr. Ball wouldn’t lead us astray.
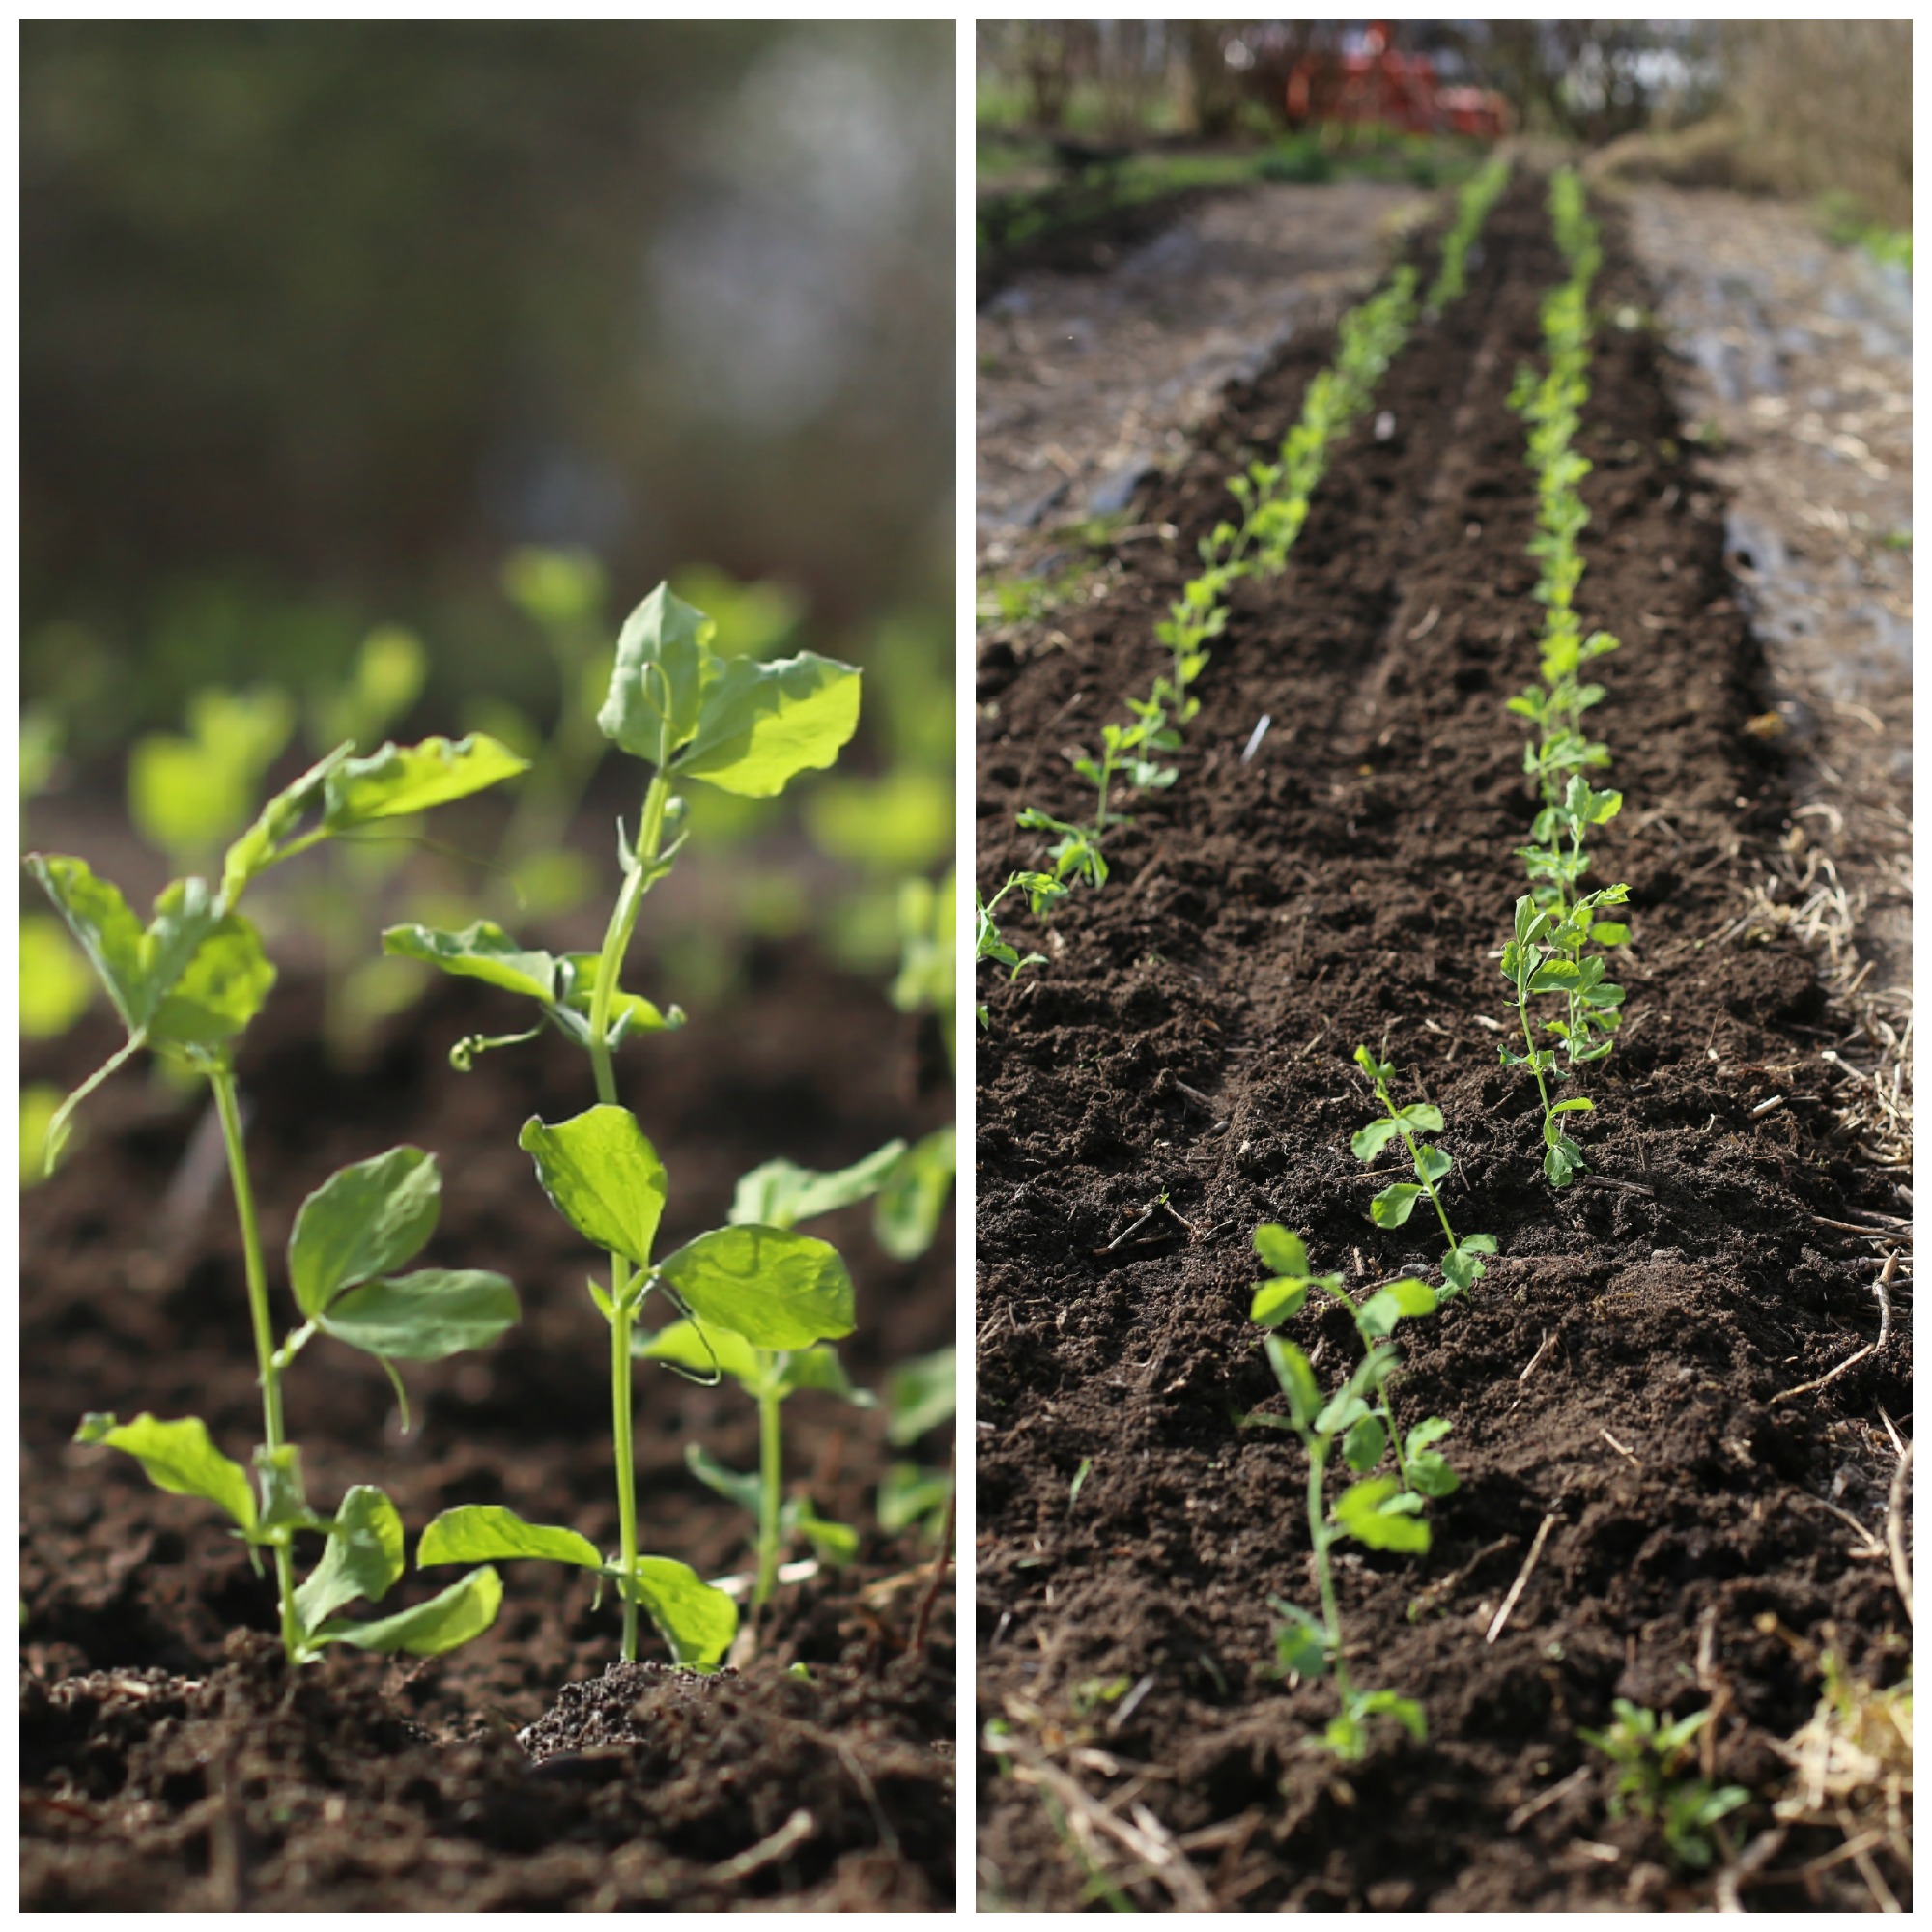
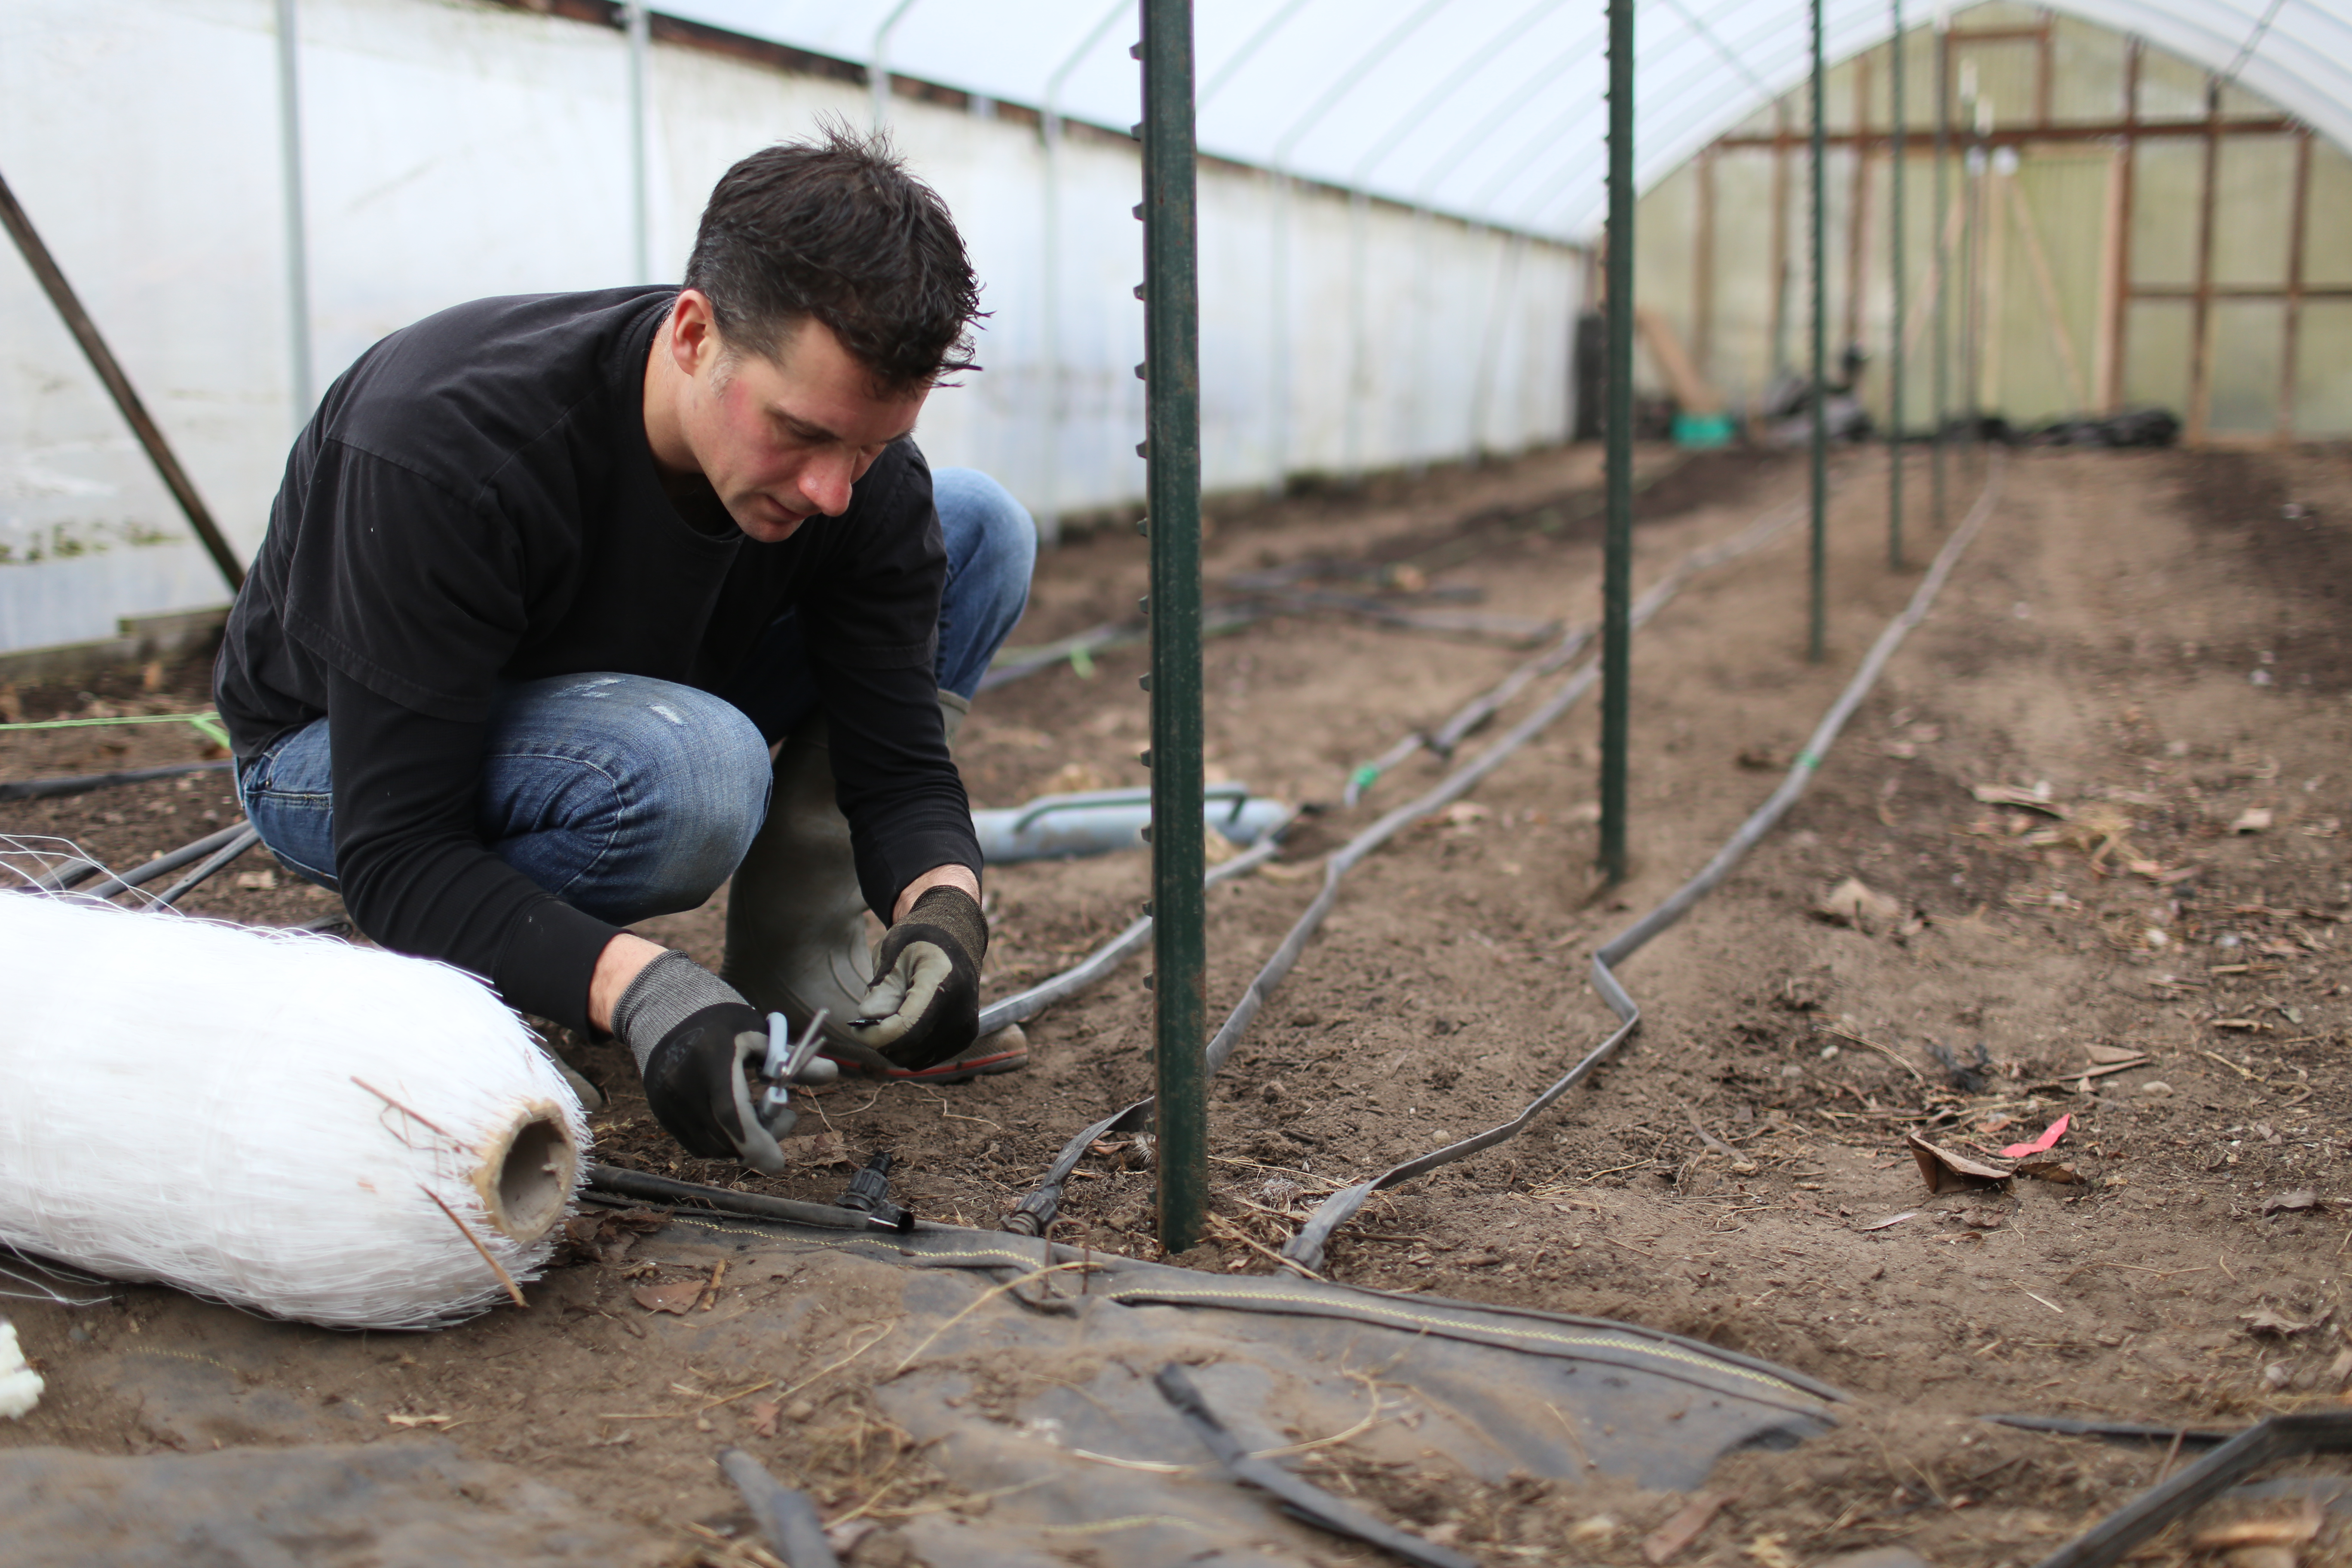
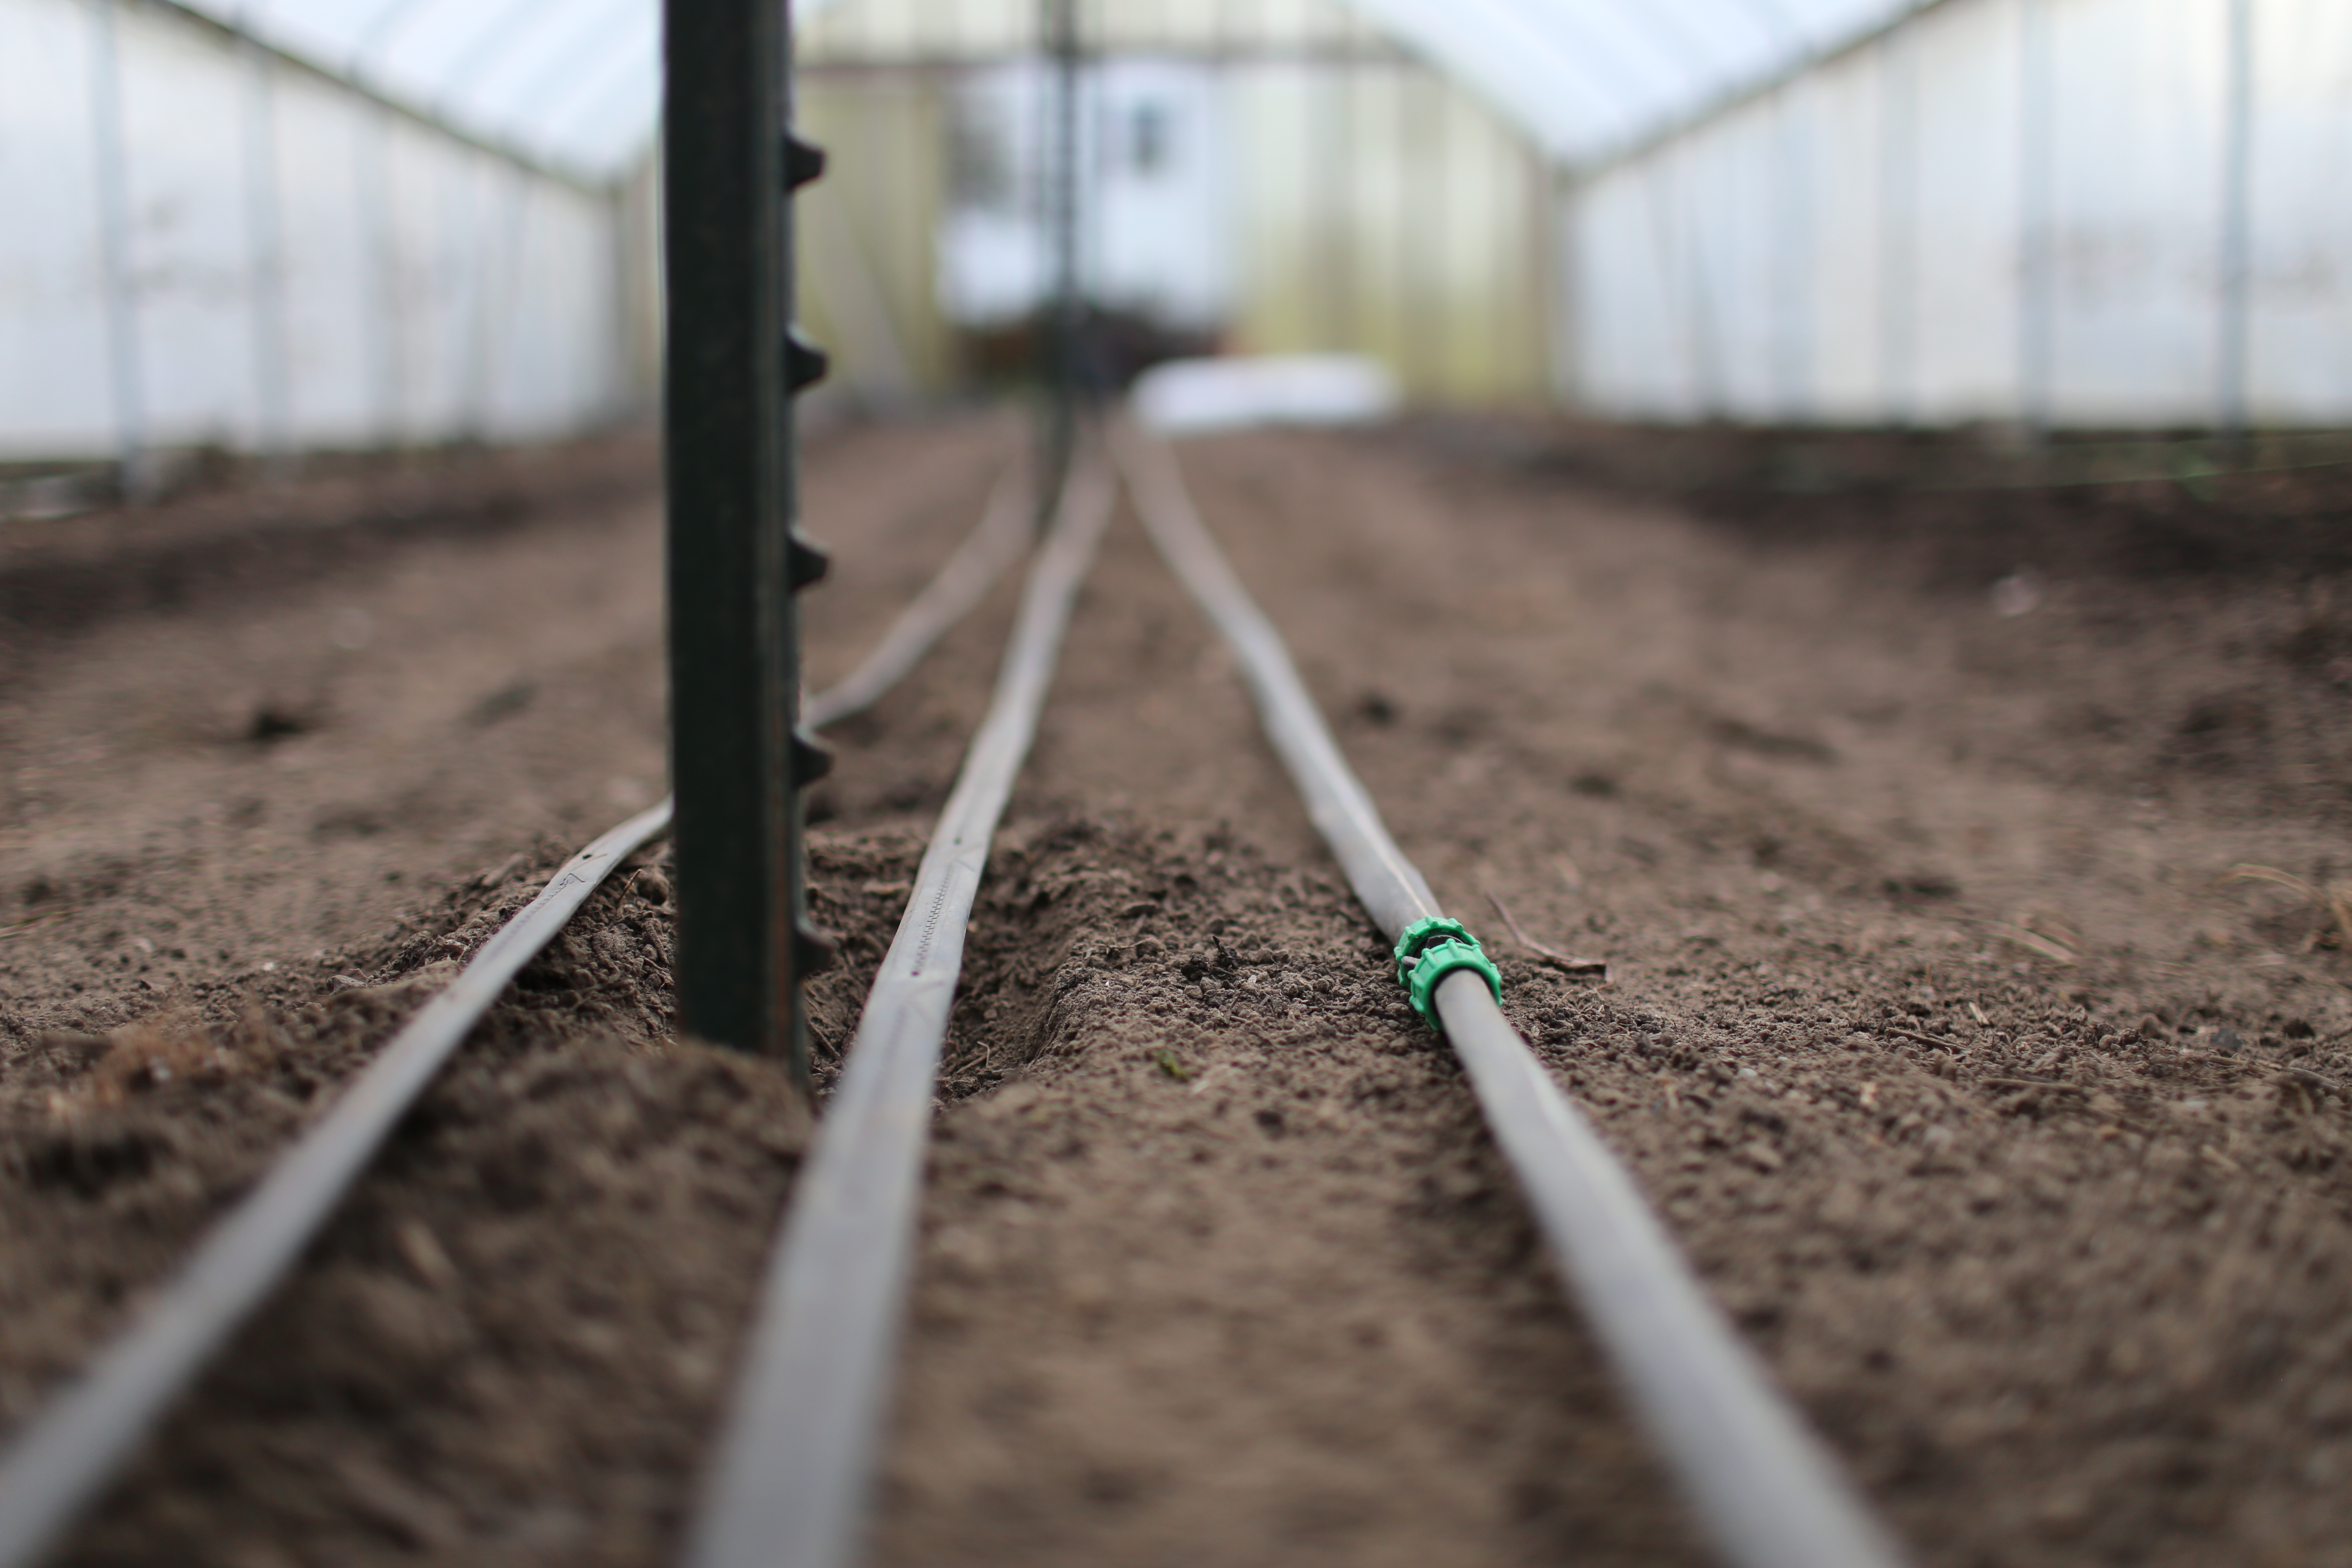
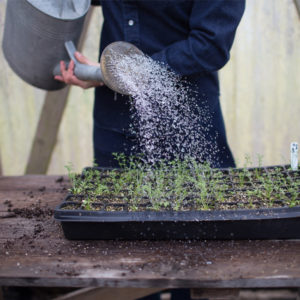
While the little seedlings I had started a few months prior were filling out their pots in the propagation greenhouse, we let the soil mellow for a bit (5-7 days) and got the rest of the site ready. Each bed then received 3 lines of drip irrigation, one down the center and 2 about a foot apart on either side. For added weed suppression, we then covered the paths in landscape fabric.
In seasons past I had relied solely on spring rains and some hand watering but Mr. Ball stressed in his book that consistent, adequate water was a huge factor in the success of the crop. He wrote that” if your ground becomes too dry between watering, the plants harden and if hot weather follows no amount of water will revive them.”
burlap wind barrier
The last thing we did before setting out the baby plants was erect a 6ft. high wind barrier. In order to produce long soft stems, the plants needed protection from strong spring winds. Our goal was to mimic the conditions of the hoophouse as closely as possible since we always got our longest flower stems in there.
For the barrier, we set a line of wooden posts about 6ft.apart to the south and west of our patch. Here in our valley, the wind most often comes from those directions.
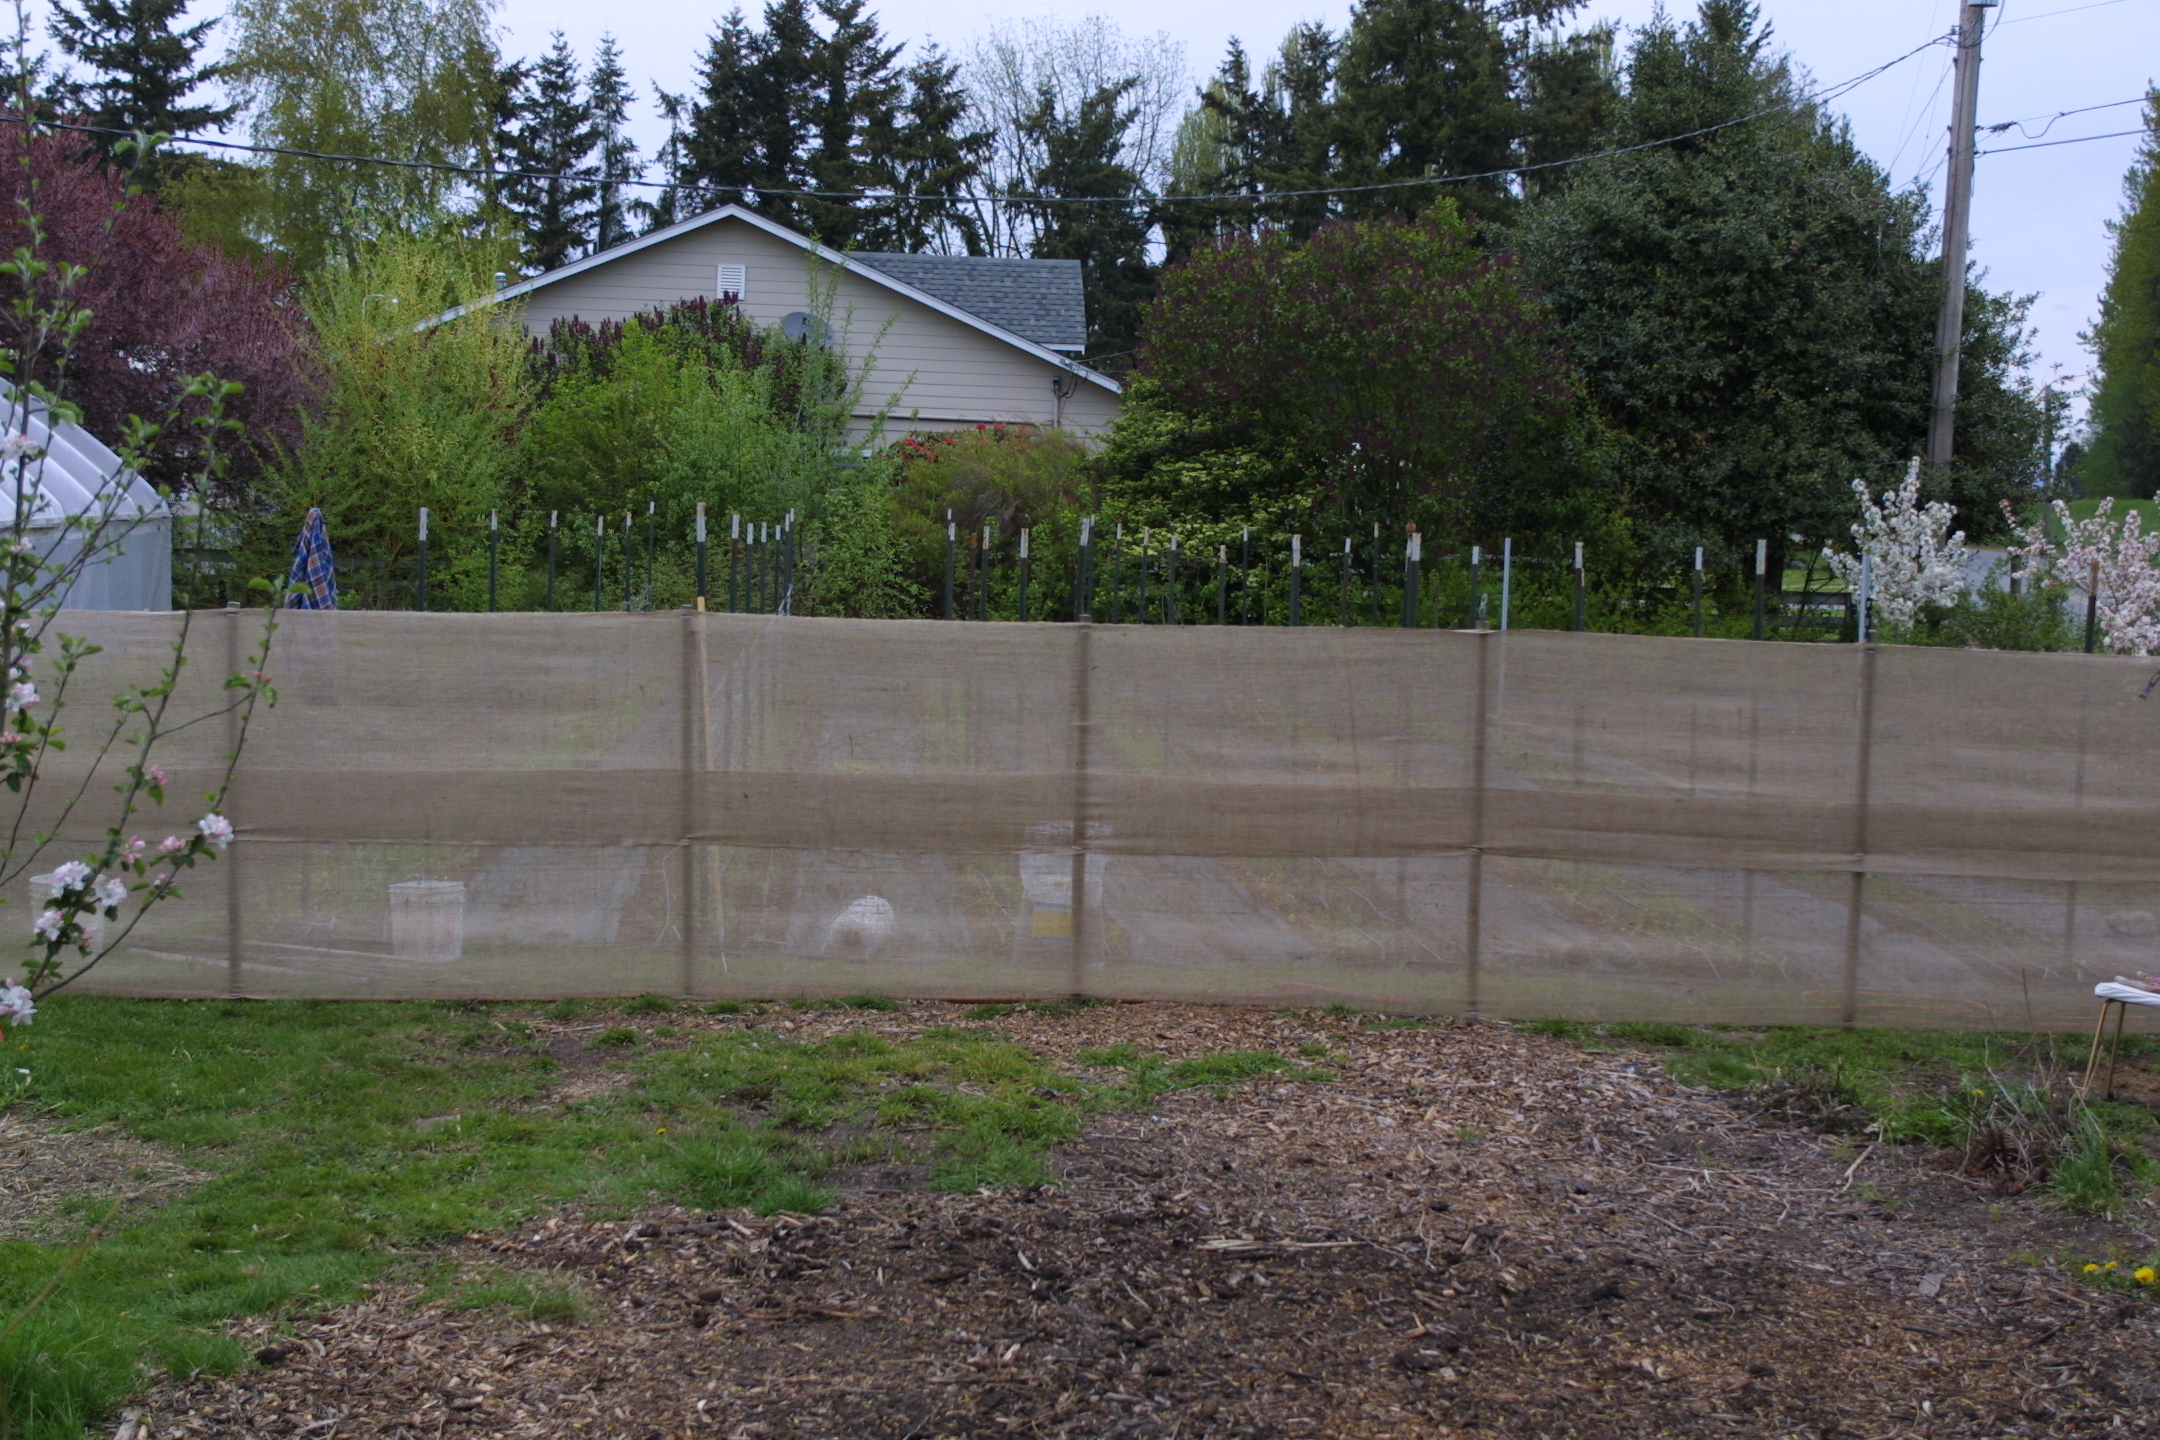
We then attached a double row of burlap to the posts, creating a wind filter. With the burlap wall wrapping around two sides of the patch and a hedge row bordering another, we essentially created a tiny micro climate that was nearly 10* warmer and almost wind free compared to unprotected spots in the field.
Now this kind of wind protections is probably not necessary in most gardens but here in our coastal valley, there is an awful lot of cold wind coming off of the ocean in the spring. With the goal of record-breaking stem length, we went the extra mile on protecting them.
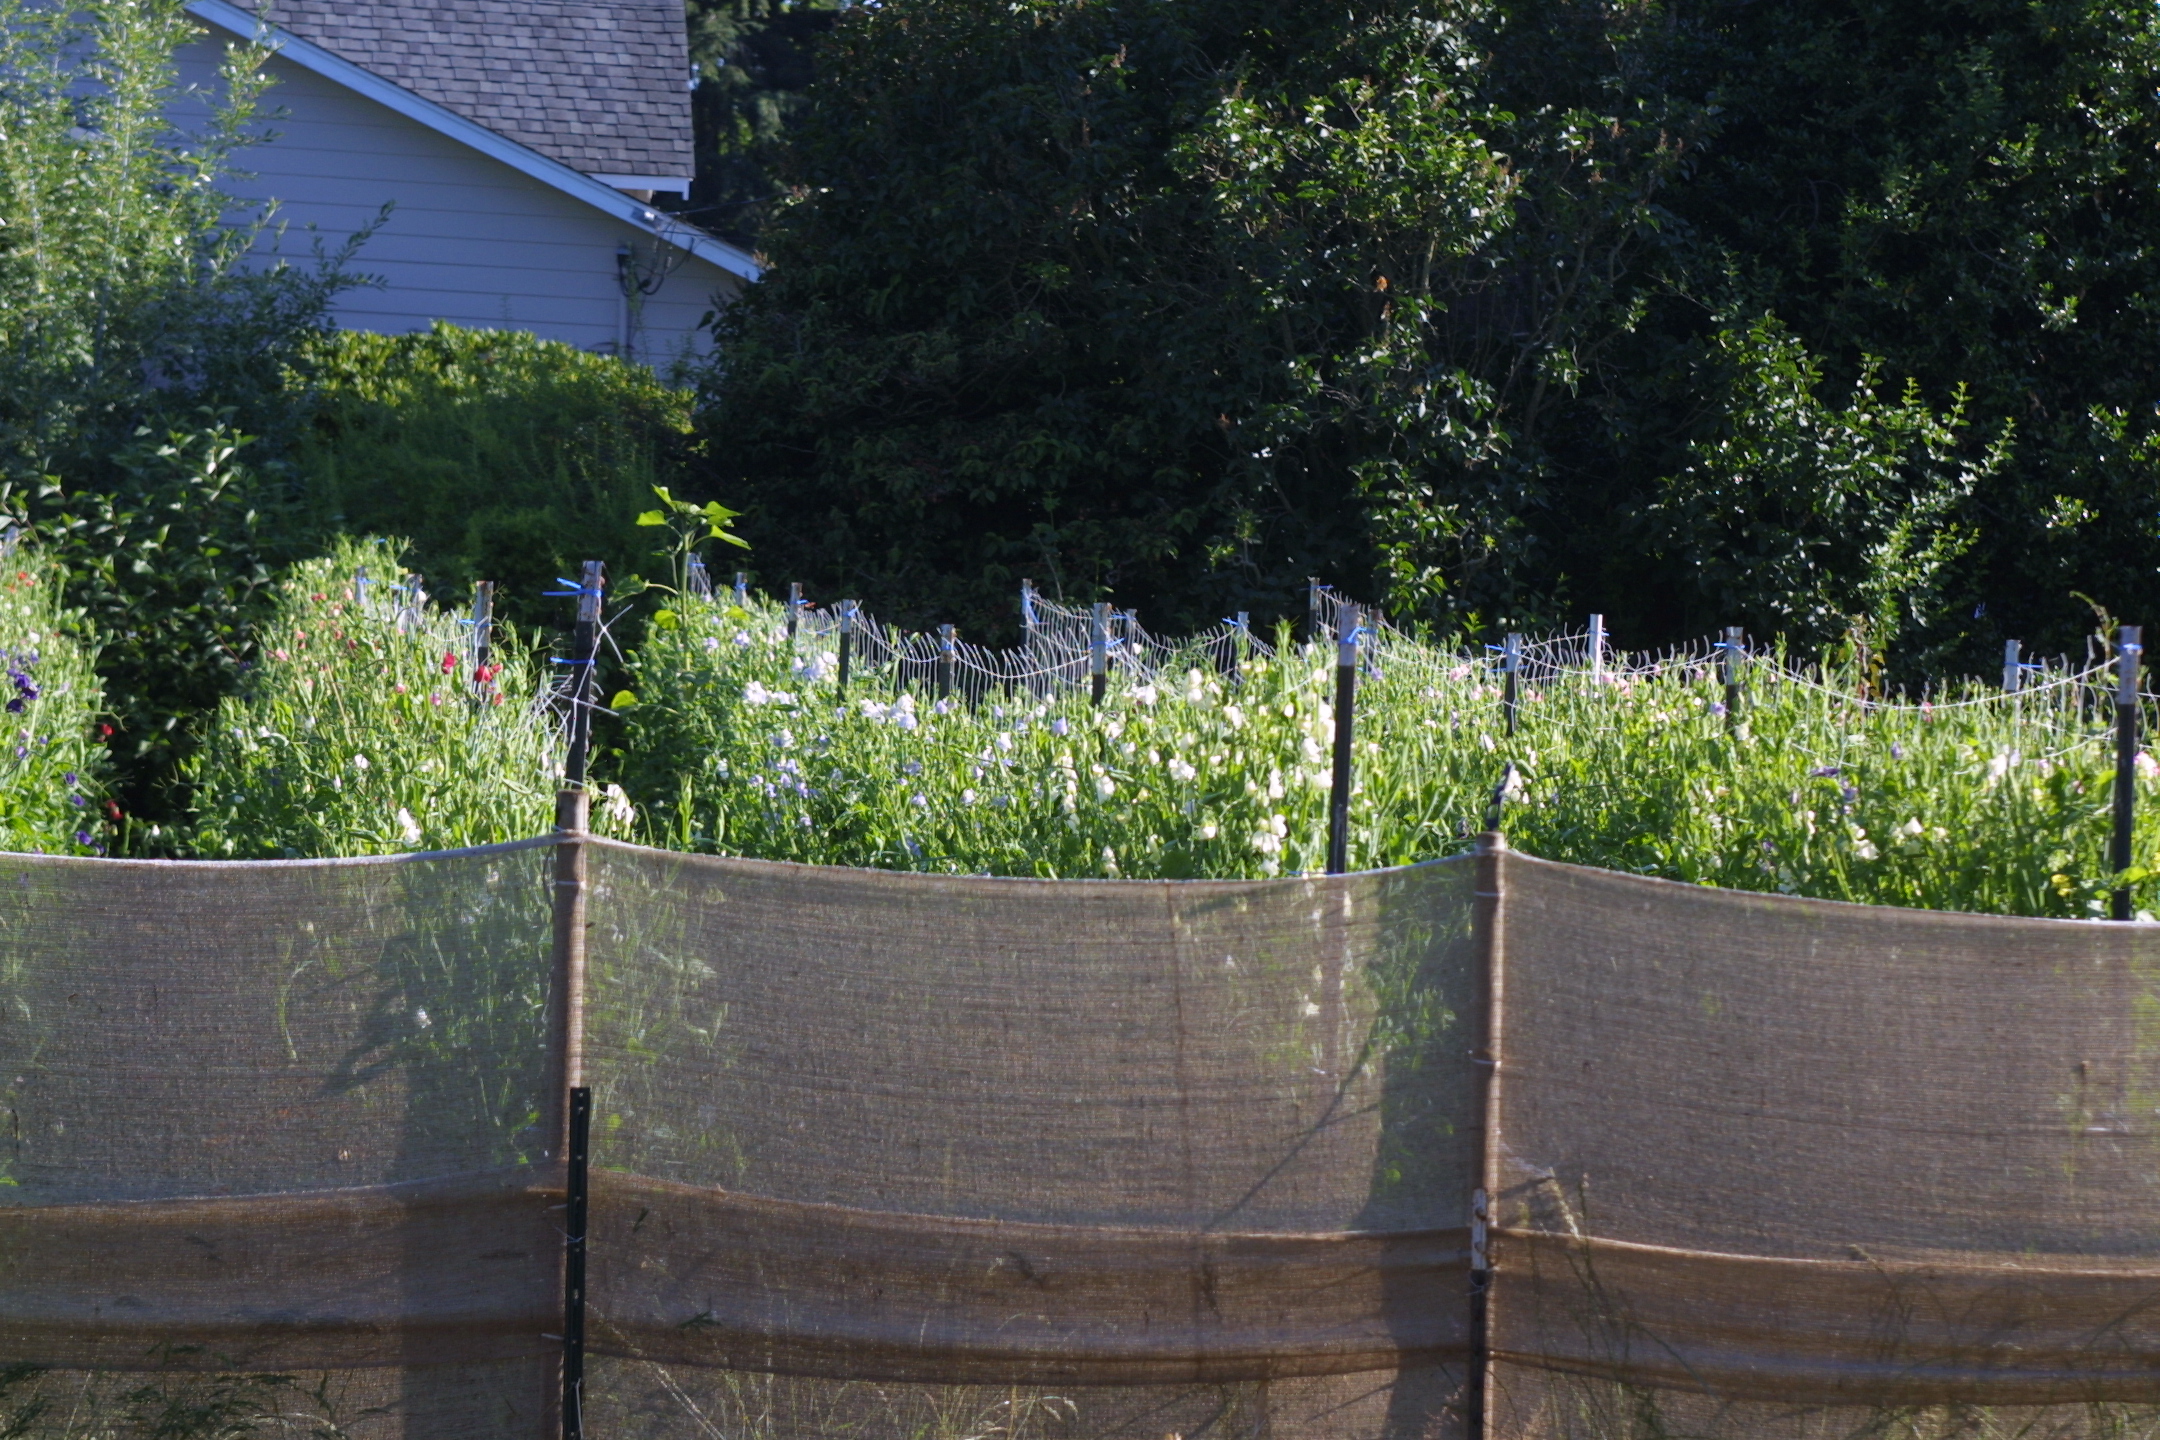
Looking through the burlap wind barrier to the sweet pea patch
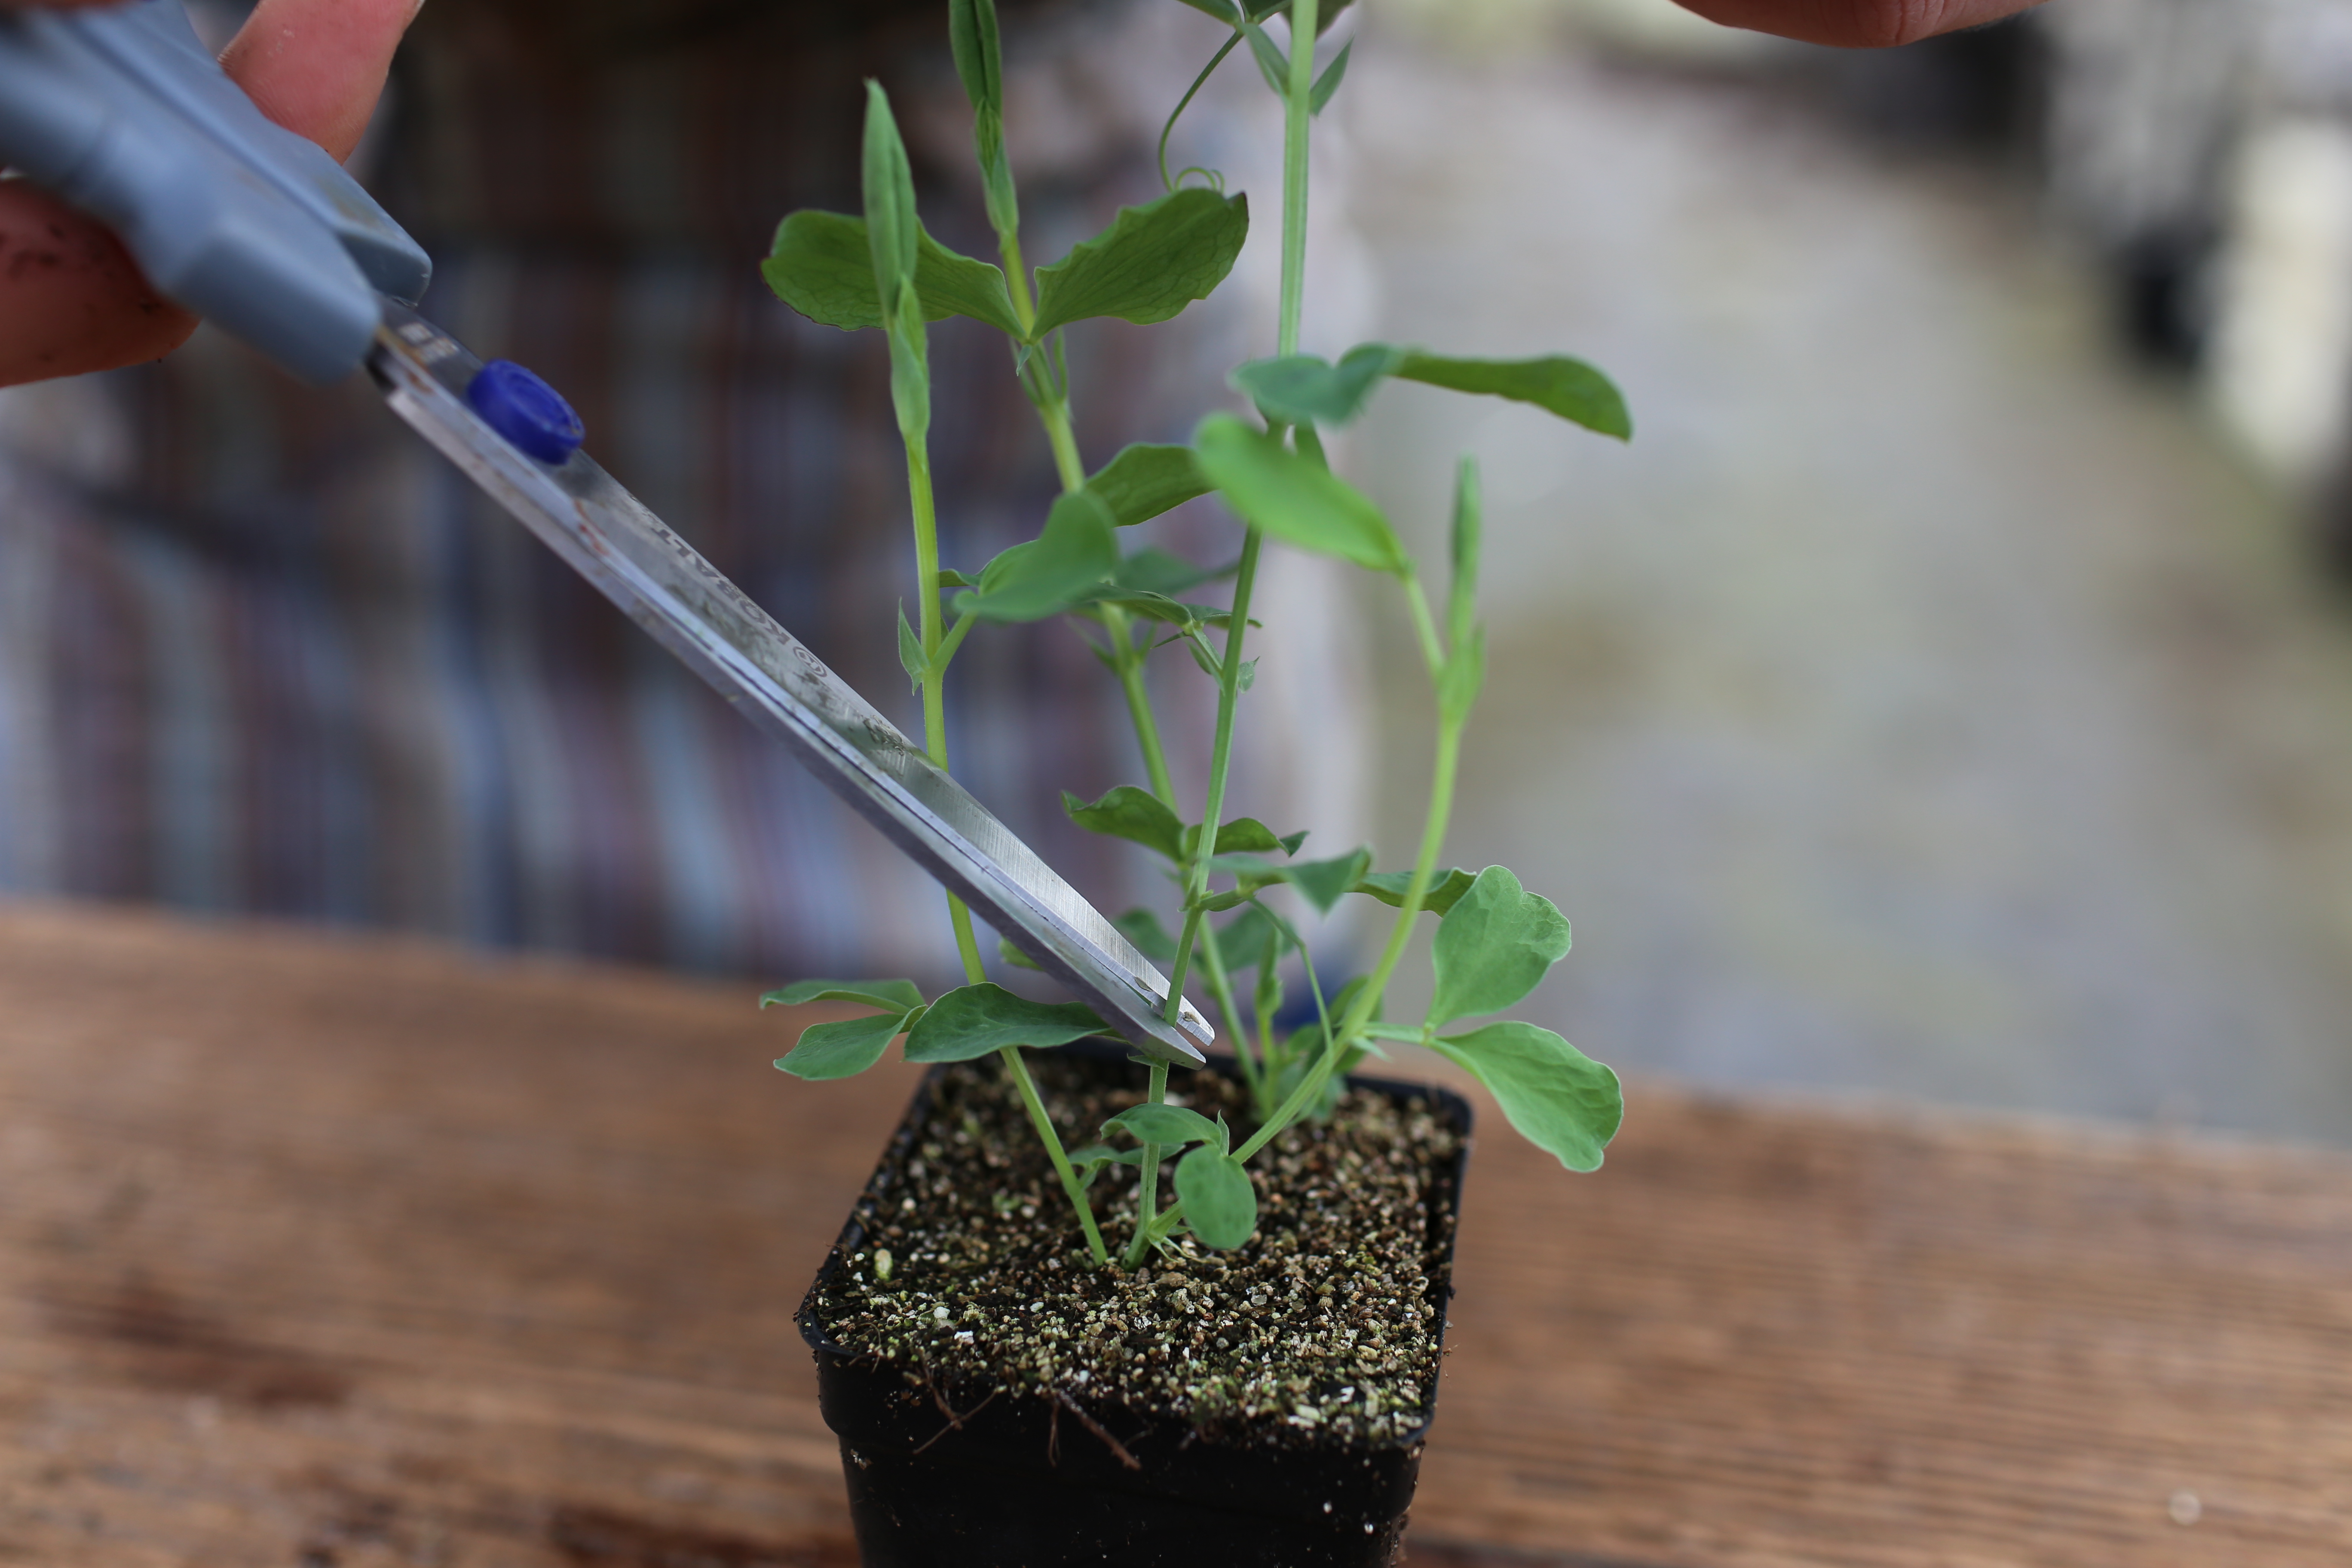
Before seedlings were then set out in early April, I followed Mr. Ball’s direction and pinched out their central growing stem. This technique promotes low basal branching and will ultimately produce a much stronger, beefier plant.
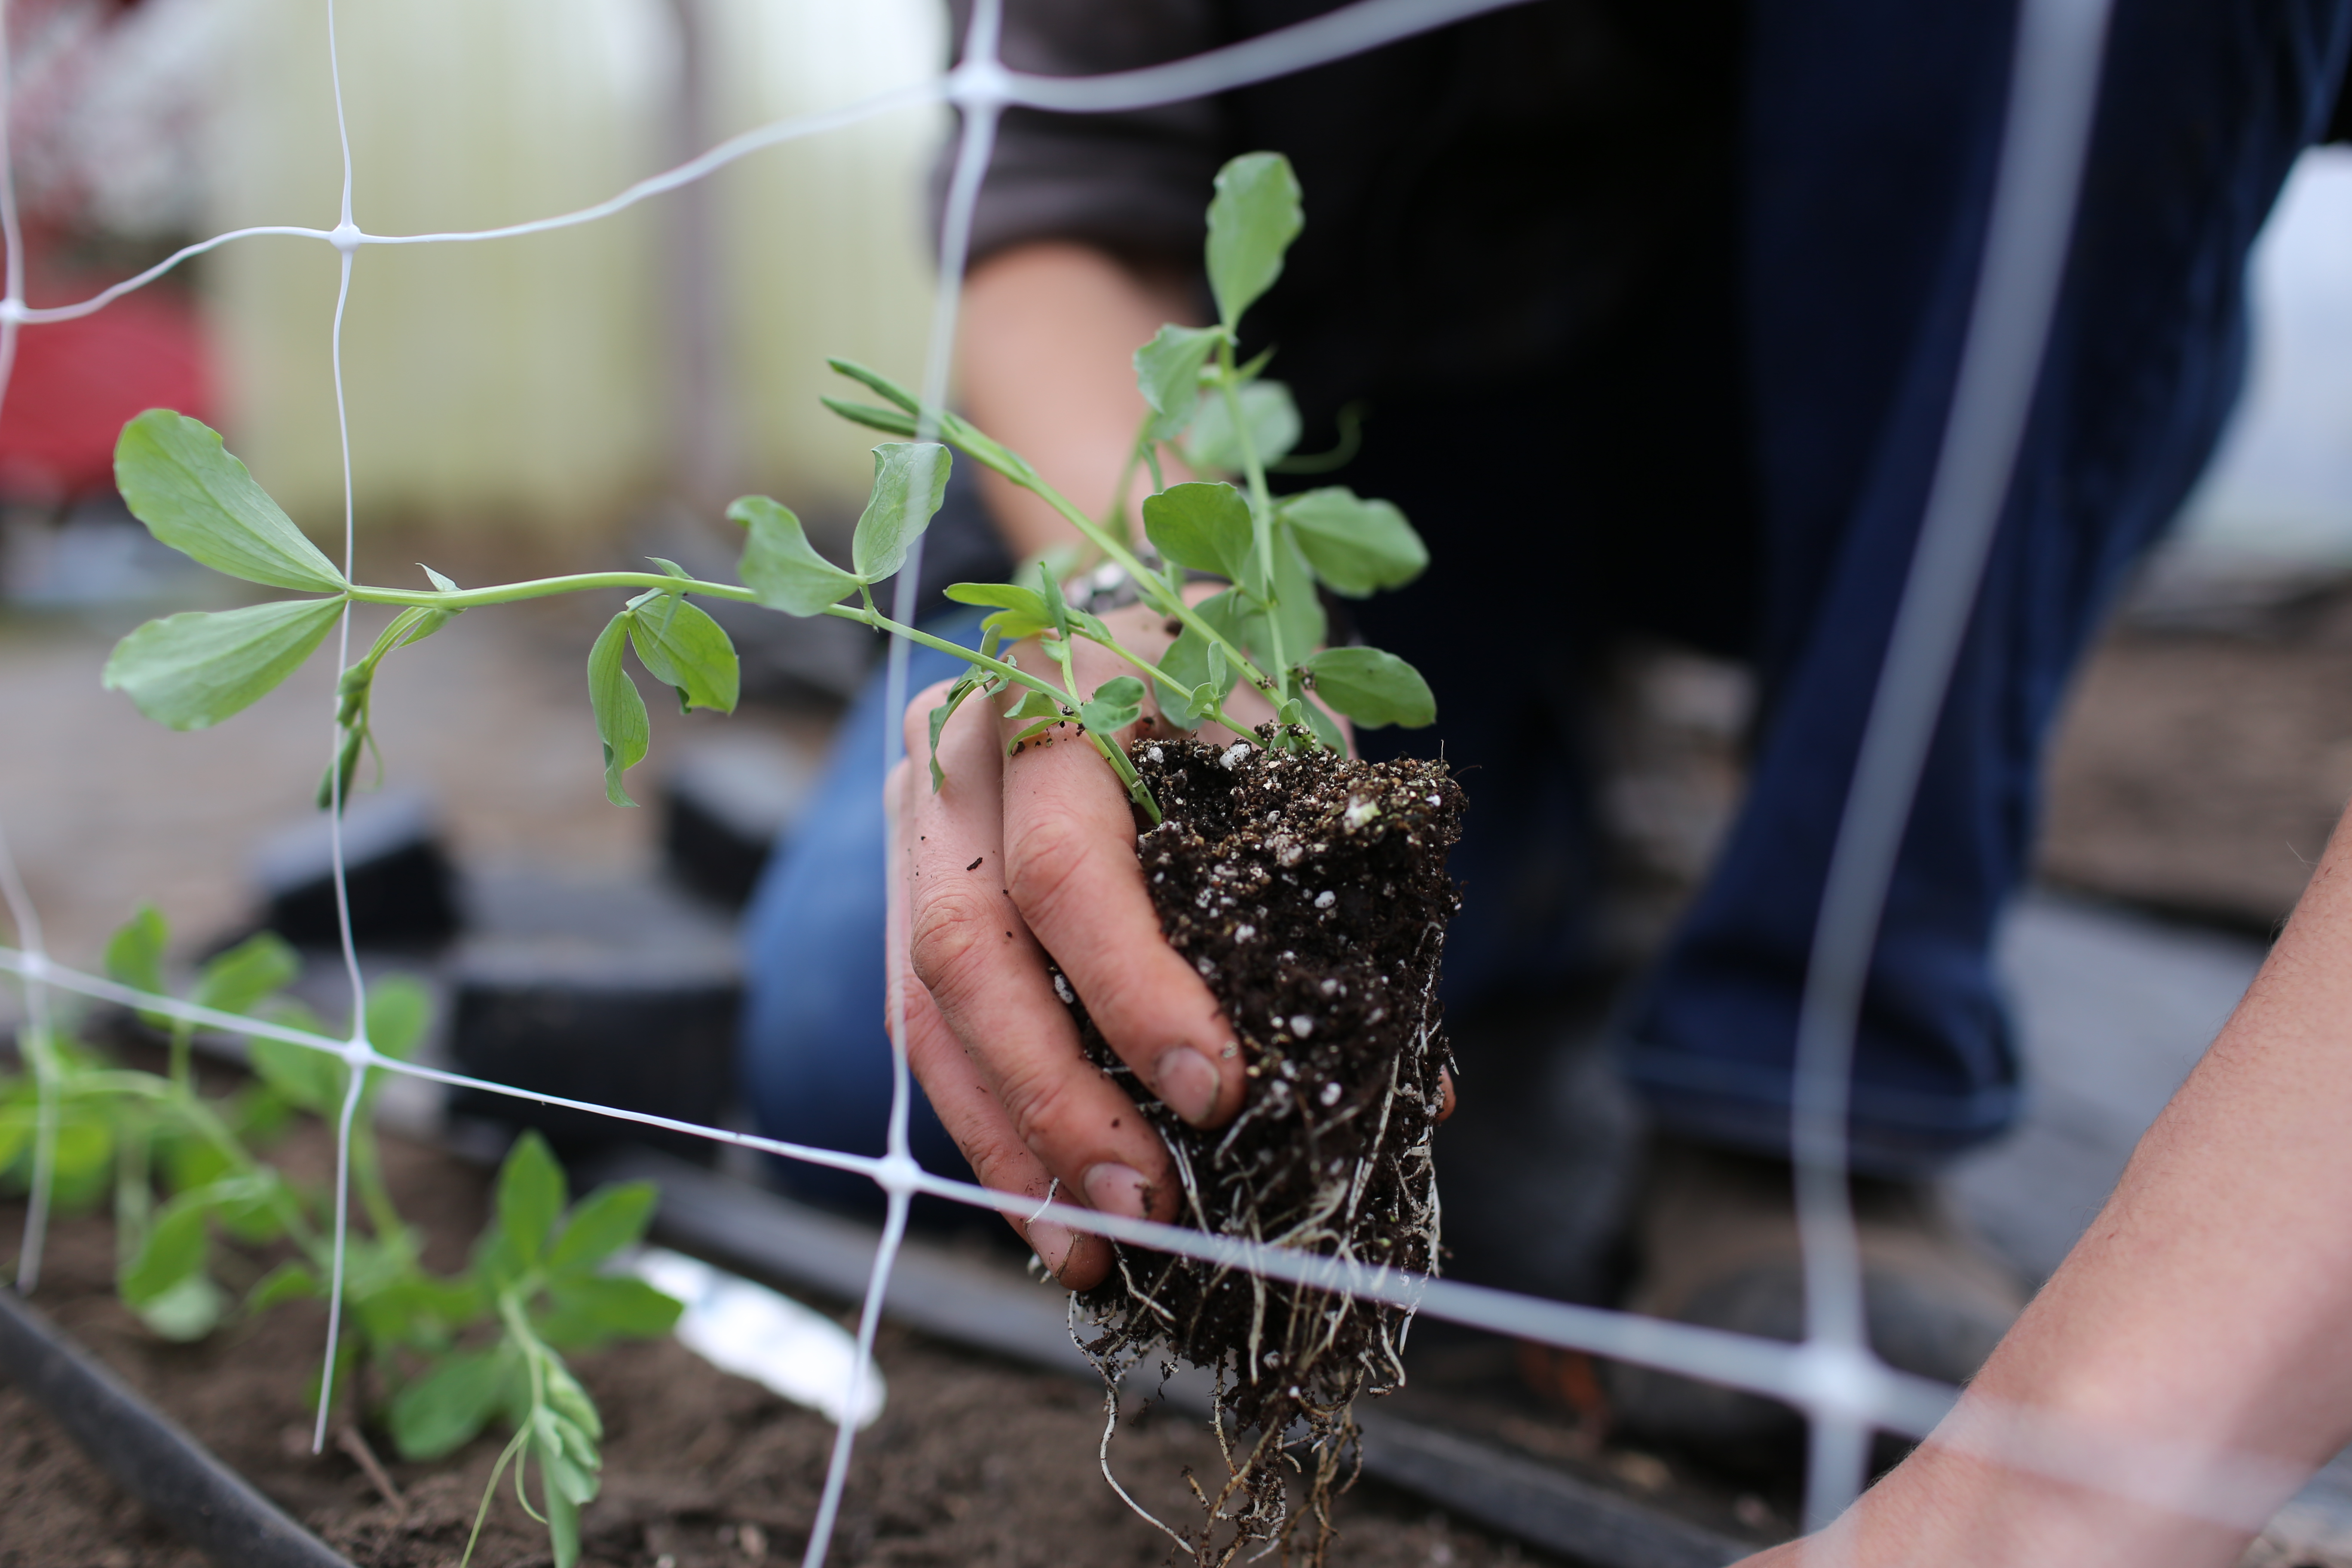
Plants were spaced roughly 8″ apart, with two rows, one on either side of the netting down the bed. While closer spacing seems appropriate, research concluded that square foot production is actually decreased if plants are grown too tight.
We then committed to giving them a weekly foliar application of compost tea with fish emulsion and kelp.

As the vines exploded into lush growth, it was a full time job just to keep them securely tied to their trellises. We went through every 5 or 6 days with bailing twine and roped the plants snug up to their netting. Once the vines get going, you can expect over a foot of growth a week, so be sure to keep this in mind!

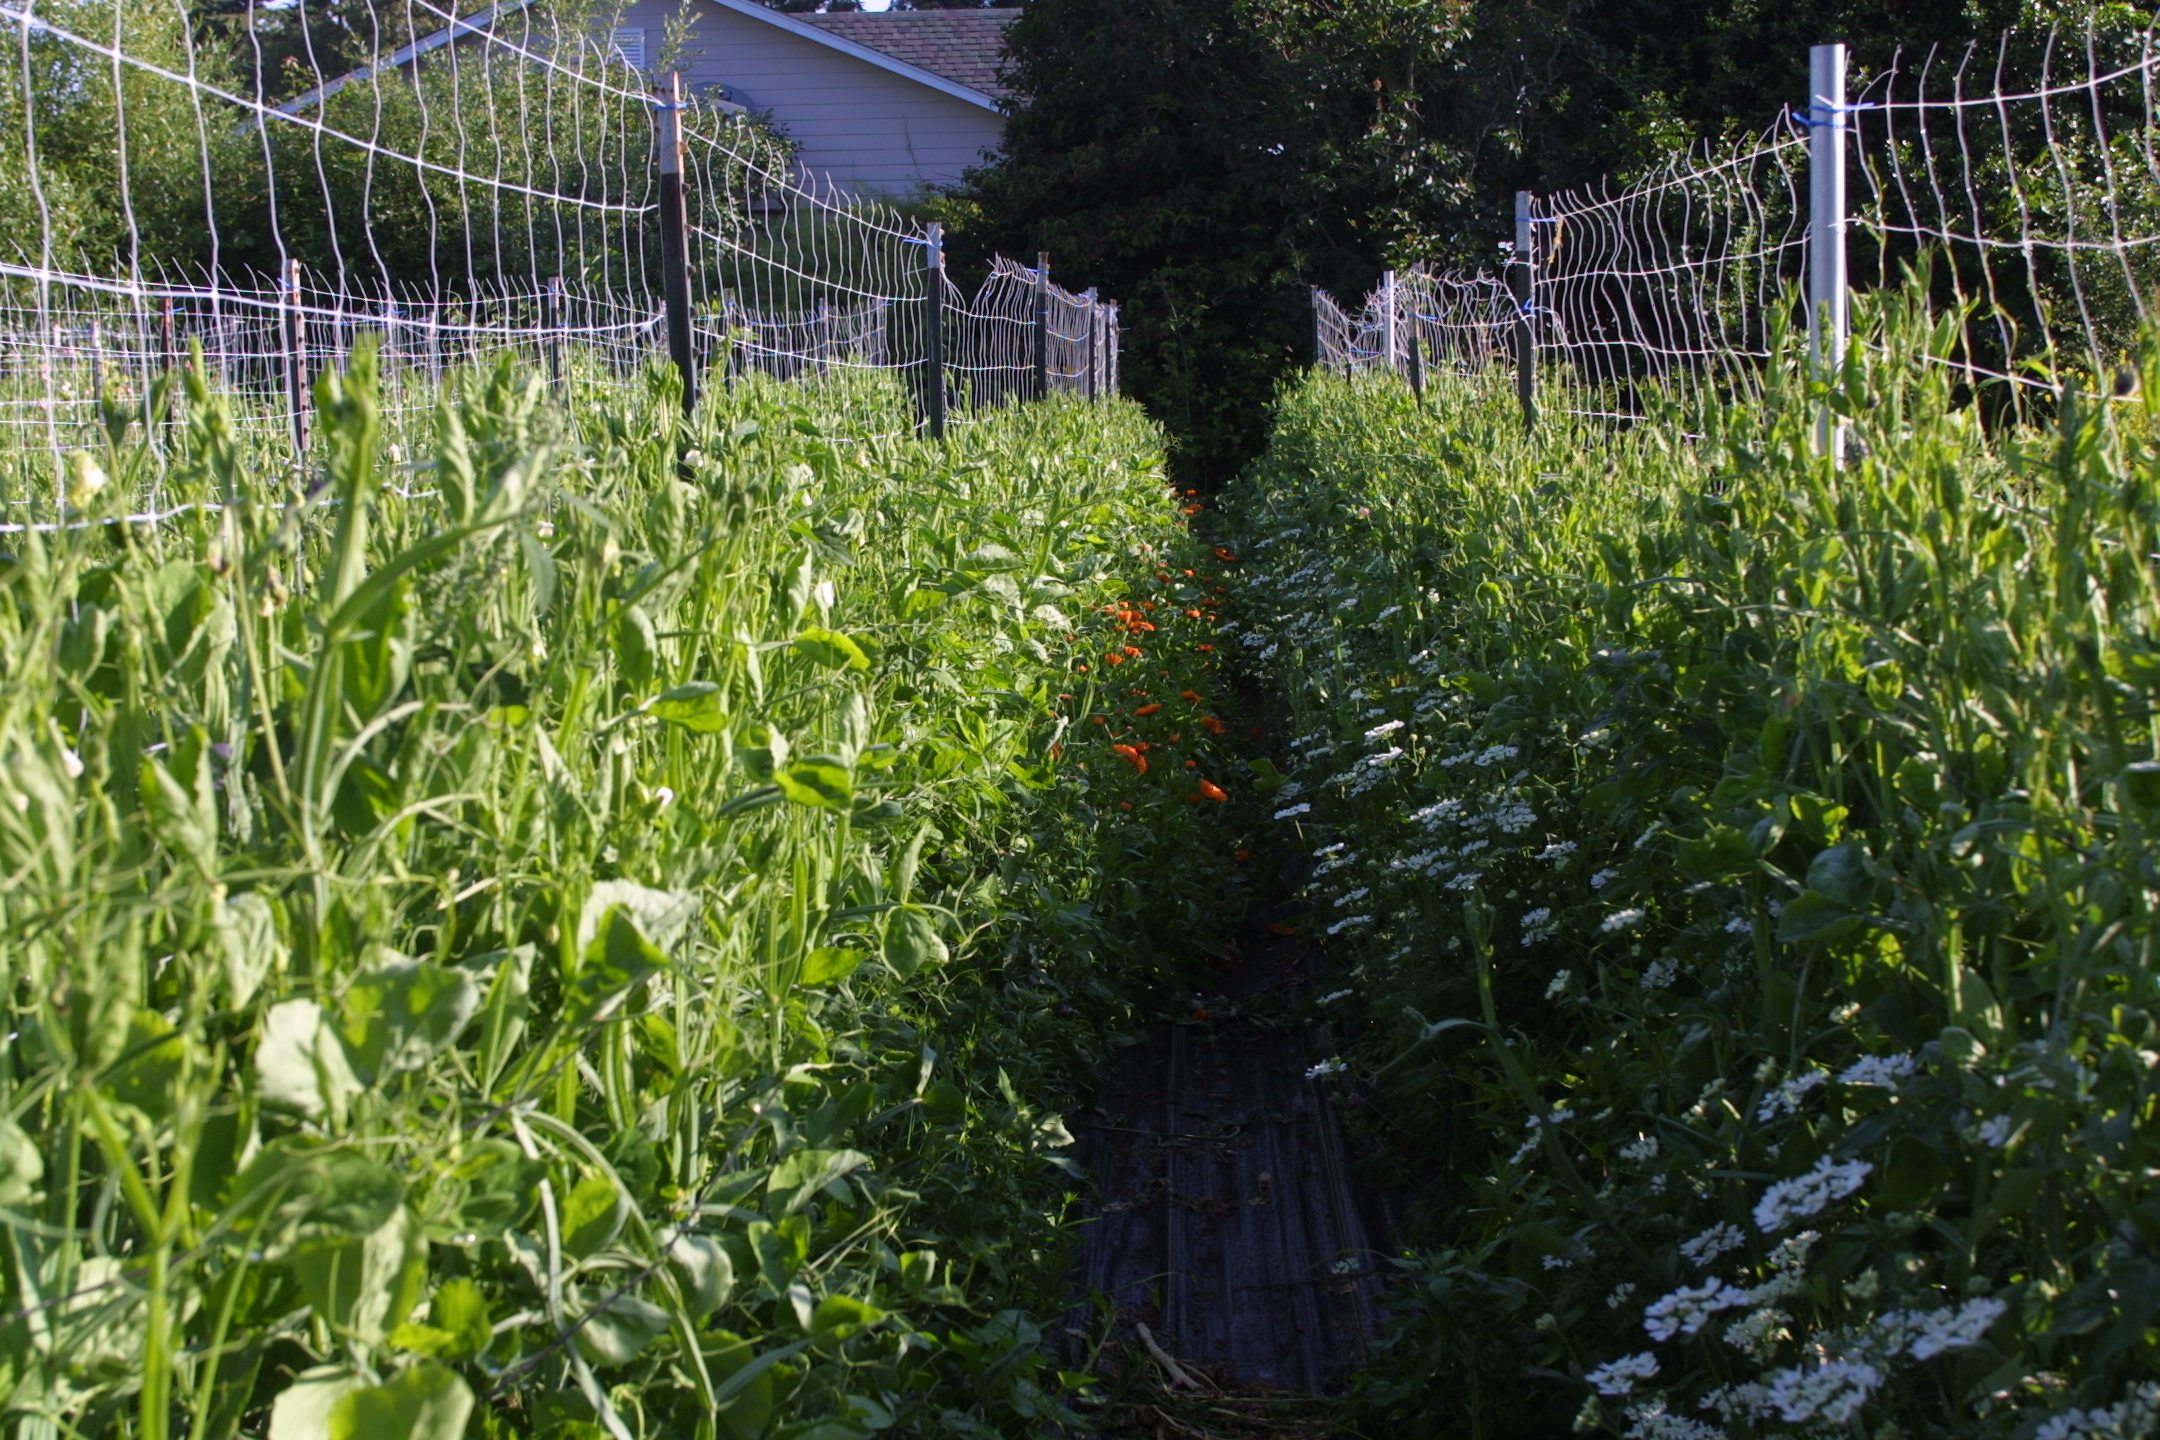
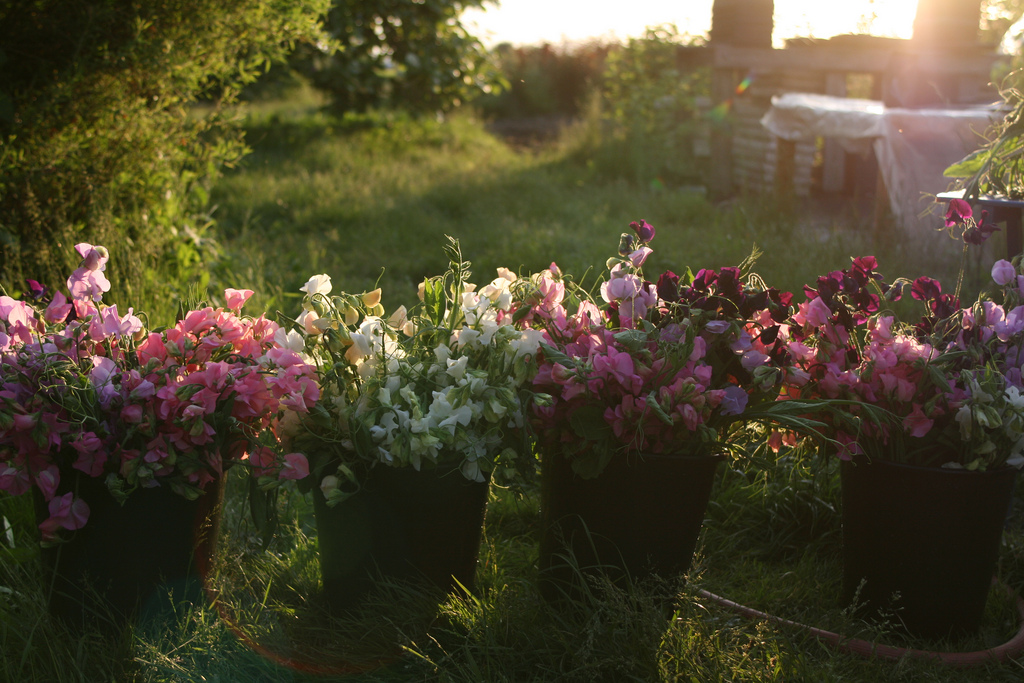
That first properly grown crop was one for the record books! We harvested more sweet peas than I ever imagined I’d see in a lifetime. We’ve since followed the same formula both indoors and out and get consistently great results. With hoophouse space being in high demand around here, we grow the winter varieties undercover and then follow with a mid season and late crop outdoors. This rewards us with a solid 6+ weeks of top notch flowers.
Over the years I’ve learned that you really do reap what you sow. The more you invest on the front end (thoughtful attention, love, care, time and lots and lots of compost) the more likely you will be rewarded in the end. It so funny how universal truths always play out no matter where we are, both in the garden and in life.
Tammy on
My sweet peas leaves always turn yellow from the bottom up around mid-summer (happening now in late July). I thought this was normal die-back, but online research makes me question that. Is this normal?
I live in the Seattle area and water the beds with drip line for around 30-40 minutes every other day.
Thanks for the help!