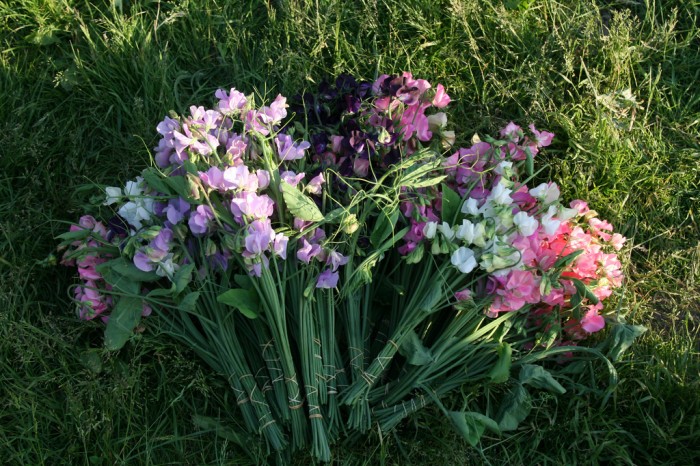
Now that you’ve hopefully fallen completely in love with sweet peas, blown your entire weekly grocery budget on seeds and the packets have arrived, it’s time to get down to business.
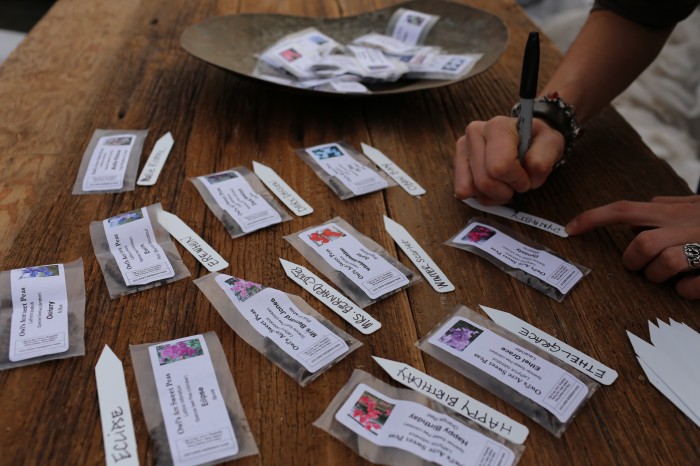 My seeds arrived on Christmas eve and while I really should have potted them up straight away, I only finally got around to digging into the project yesterday. The sooner they get going, the sooner they’ll get blooming!
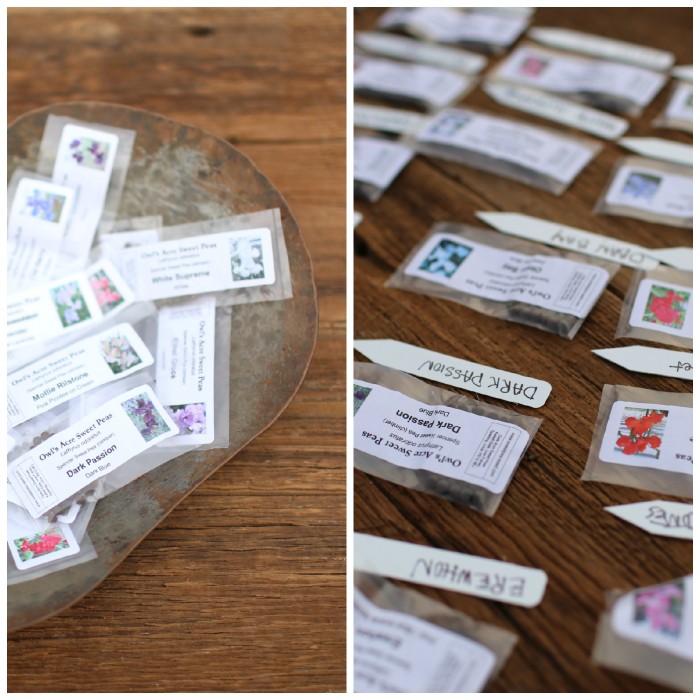
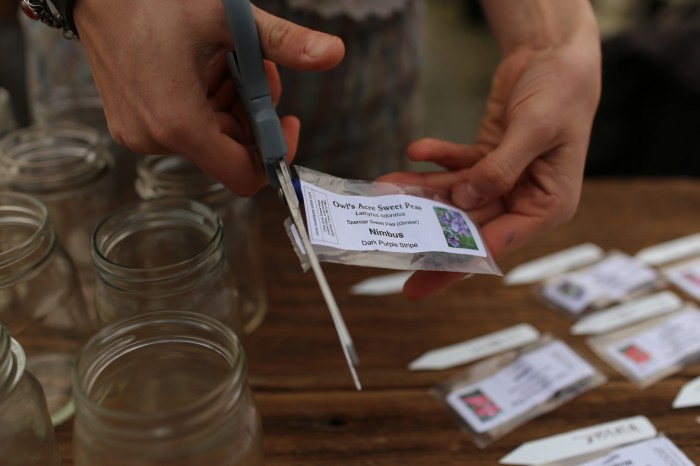
So far I have about thirty five varieties in the line up and with so much diversity it can be a bit challenging to keep them all in order. I always start by making up tags first thing so there is no way I’ll loose track of the varieties as I get going.
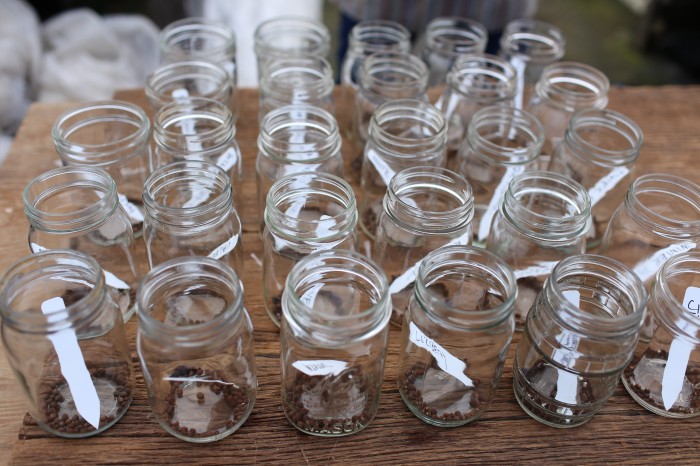
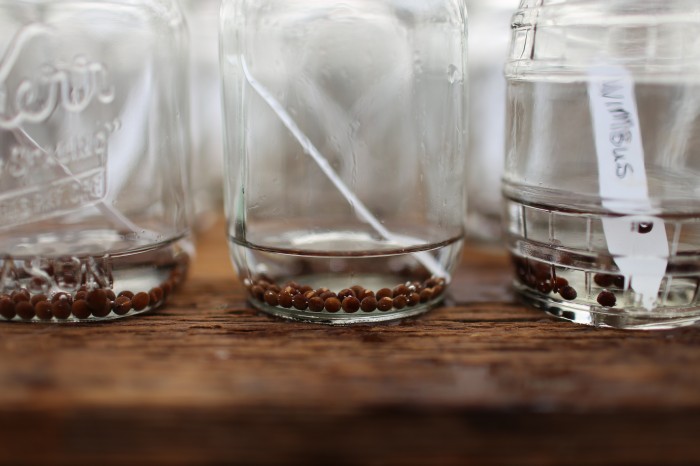
Next I scrounge up a bunch of old jars that’ll be used for soaking the seeds. Each jar gets one variety and its tag.
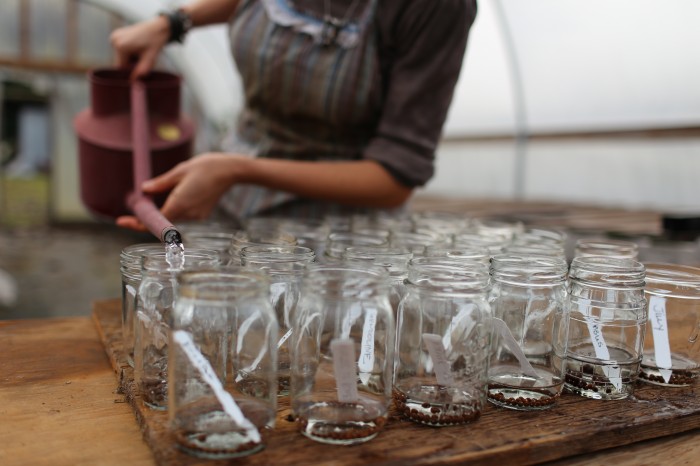
Then I fill each jar with a couple of inches of water and let the seeds soak for about 24 hrs before planting. This speeds up the process of sprouting and will get the babies growing a bit faster.
You can also nick the seeds with a file to help break their hard seed coat but I’ve found soaking them to be just as effective and way easier.
While the seeds are soaking I get to work filling the pots with soil. This batch required 800 pots so getting a jump on that step always speeds things up the next day.
I use the Sunshine brand potting soil ( Sunshine #4 Organic Aggregate Plus) as my base and then add in a little balanced fertilizer (Nature’s Intent 7-2-4) and some good quality compost, mix them altogether in the wheelbarrow and that makes for a really nice growing medium for the plants.
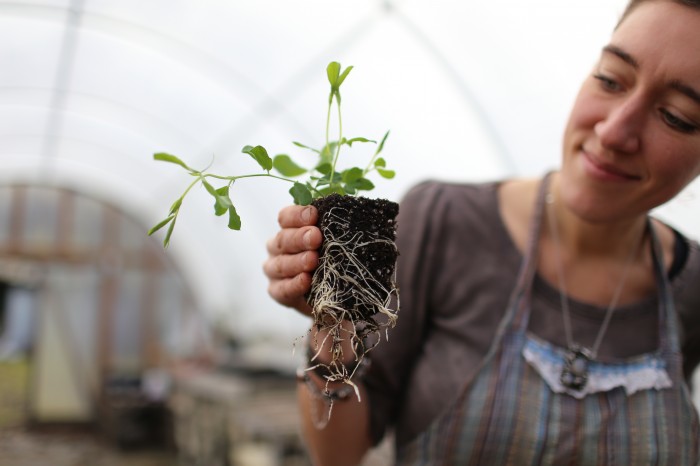
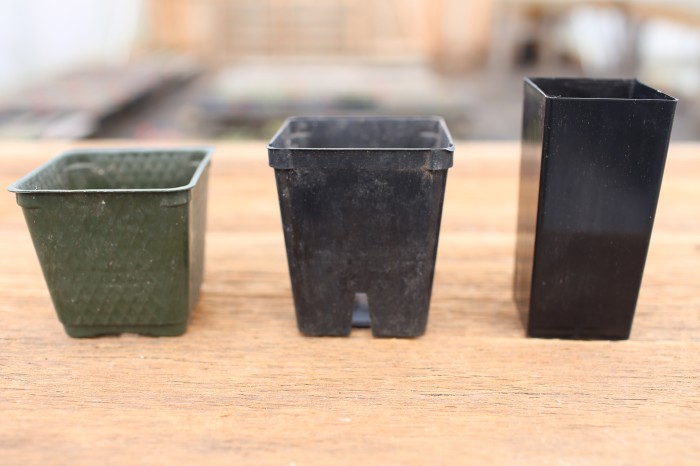
Sweet peas produce a ton of roots even in the beginning, so the more room you can give them during the early stages of life, the better they will grow in the long run. When choosing a pot, always go for the one with the most vertical length.
Here (left to right) I have a standard 4″ pot, a extra deep 4″ pot and a nursery band pot. The band pot is definitely the best choice!
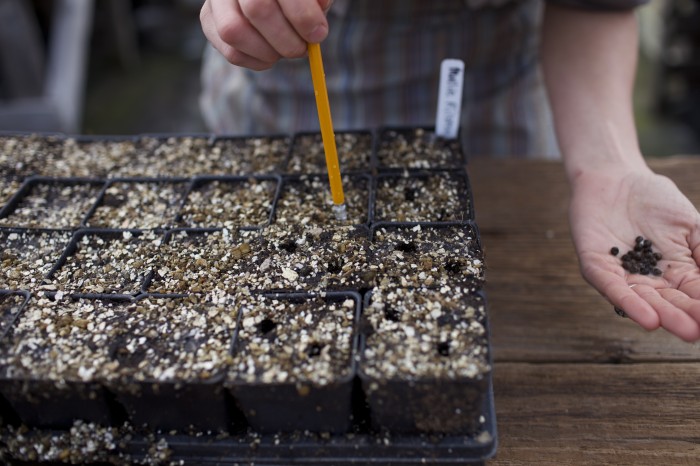
Once the seeds have been soaked and the pots are filled, it’s time to get sowing! I’m sure there is a more pro method for this part but I always just use a #2 pencil to poke holes in the soil for each seed.
Every pot gets two seeds and then a light dusting of soil over the top before they are placed on 70* heat mats.
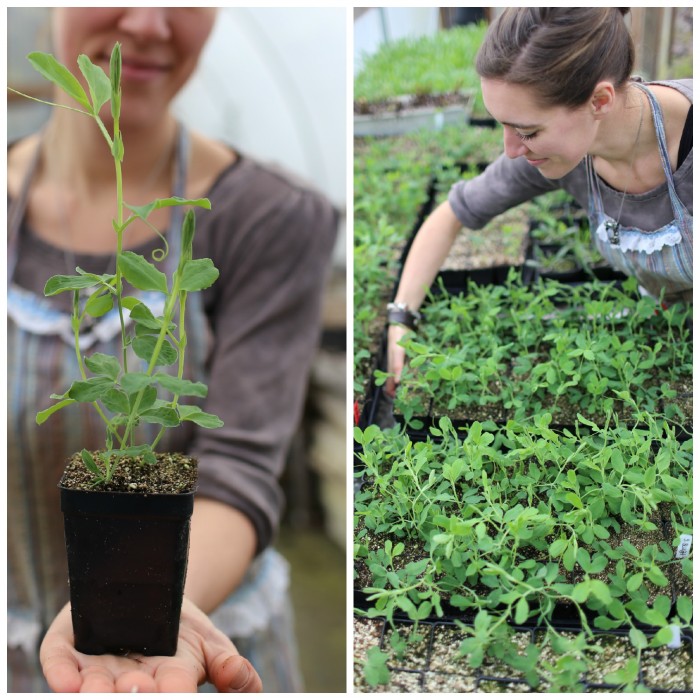
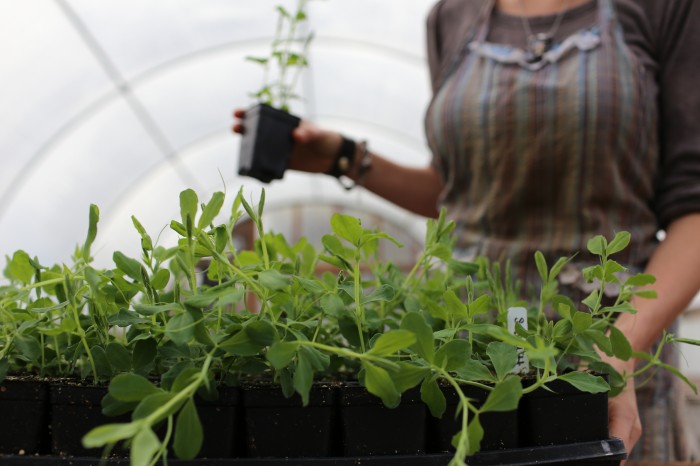
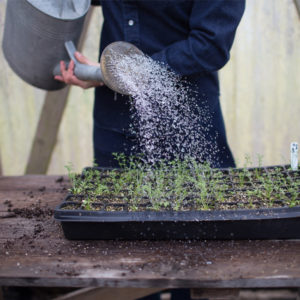
A few weeks on the heat and voila, you have babies!
These beauties were started way back in October as part of a new little fall sowing experiment. I’m gunning for the earliest crop to date so fingers crossed that this new method will be the trick.
Tomorrow I’ll share how we prepare our planting beds, set up the trellises, our favorite fertility tricks and more.



Renee on
After you put the seeds into the pots with damp soil do you keep watering every couple days till they sprout or leave them be? Can’t find this information anywhere!