One of my favorite things about old roses, in addition to their wild habit, their beautiful fragrance, and old-fashioned appearance is how easily many of them can be propagated through cuttings and grown on their own roots.
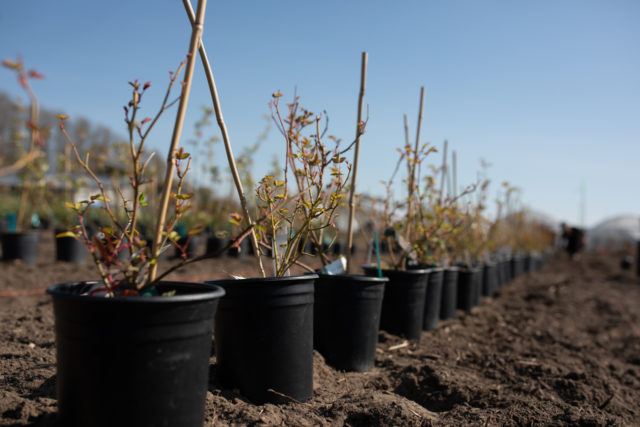
Own root roses, while they are harder to find, are heartier, healthier, and have a longer life. When you order them from specialty nurseries they are shipped in pots versus bare root like these pictured below.
The nice thing about old rose varieties is that they are no longer protected by plant patents and can be propagated legally.
 Many modern roses like hybrid teas, floribundas, and many of the newer David Austin varieties are typically propagated through a process of grafting or budding where licensed growers who have permission to propagate patented varieties take plant material from the variety that they want and graft it onto a rootstock.
This process allows rose growers to produce them quickly, efficiently, and on a large commercial scale. These are large, bare root grafted roses, and the first ones I planted in the cutting garden.
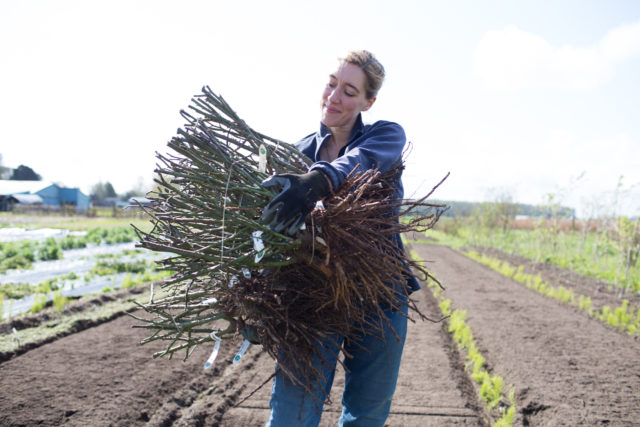
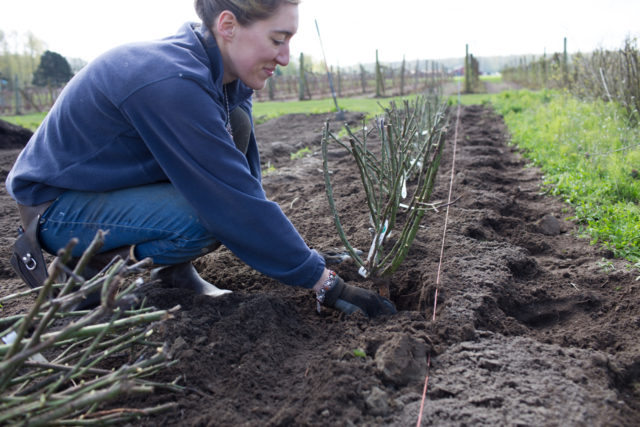 In my experience, the downside to grafted roses is that they are just not as hardy overall. If they experience extreme cold temperatures, the top half of a grafted variety will die and the rootstock will live on which you won’t realize until the following season when it flowers with an ugly magenta/red single bloom! If a non-grafted (own root) rose is killed to the ground it will grow back true to type which is great for gardeners in colder climates. In my experience, I’ve found that own root plants overall are healthier and longer lived.
While I prefer growing own root roses, it’s certainly not required, and I still have quite a few grafted varieties in my garden that are growing wonderfully. But if given the choice, I prefer to buy own root when they are available.
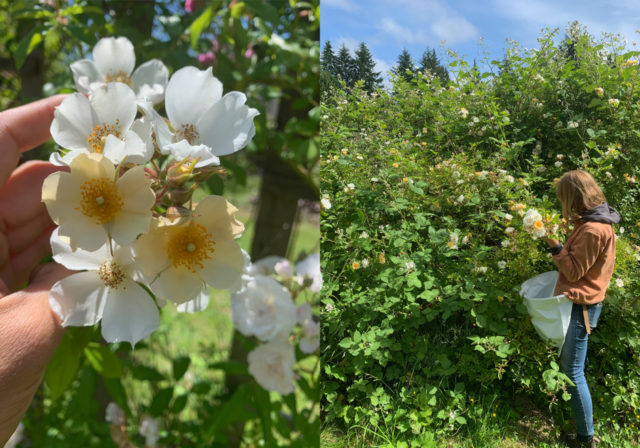 It is important to note that it is illegal to propagate patented varieties. Rose patents last for around 20 years so if there’s a variety that you’re considering propagating, you’ll want to be sure that at least 20 years have passed.
Here’s a great article about how to know which varieties of roses are protected by plant patents and which ones you can propagate freely.
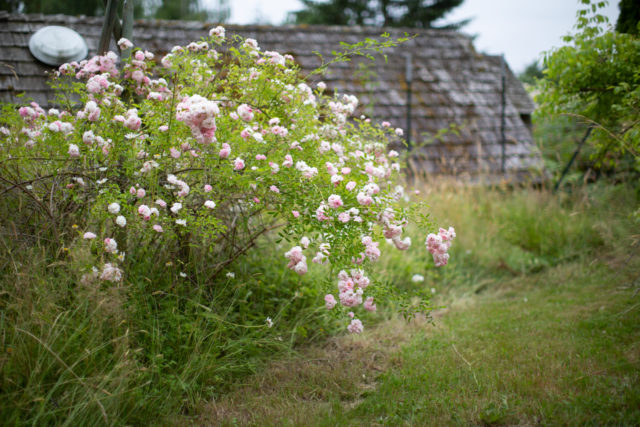 I’m not an expert when it comes to propagating roses through cuttings, but I’ve had decent success over the years.
There is so much conflicting advice out there and it can be super overwhelming when you start researching the different methods—there are so many ways you can do it.
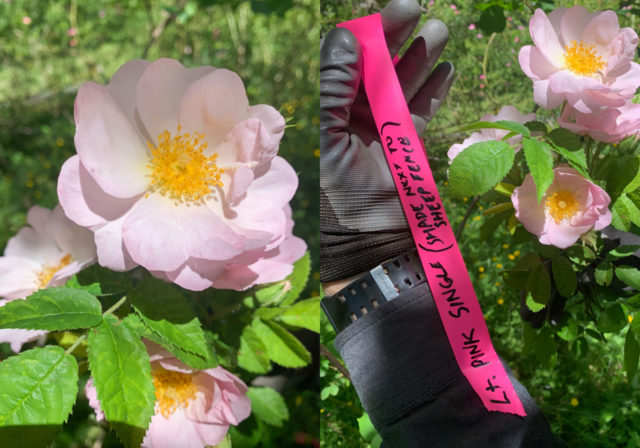 For me when it comes to propagating plants of any kind, especially roses, it’s a numbers game. I take as many cuttings as I possibly can knowing that many of them won’t make it.
So the more I do, the more chances I have to get it right.
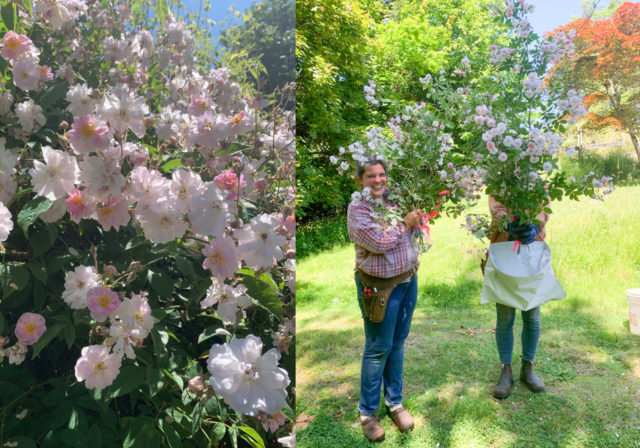 After realizing that we would be able to take cuttings from Anne’s collection, which was an unexpected surprise, I wanted to do everything in my power to ensure that we had the highest success rate for this project possible so I reached out to Burling Leong at Burlington Roses (one of my favorite sources for rare and heirloom varieties), who generously shared her expertise.
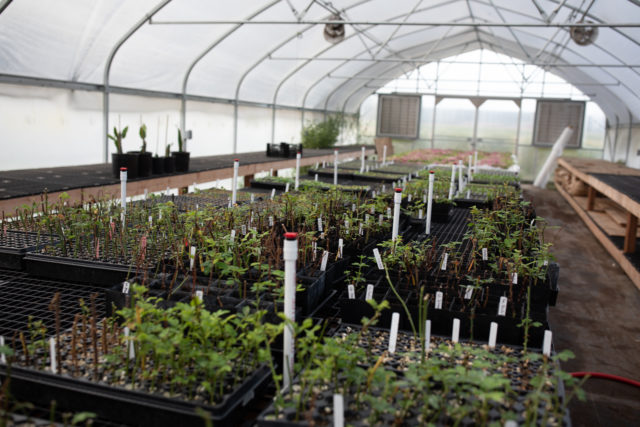 Burling recommended that we set up a misting system with a fine fog nozzle so that the cuttings could get good airflow but also adequate moisture.
She recommended a blend of two-thirds perlite and one-third peat moss or coco coir and using 50- or 72-cell trays rather than pots because they don’t require as much soil or space and we had a lot of cuttings to do.
Per her advice, I switched from a liquid rooting hormone to a powdered version called Hormex which was really easy to use.
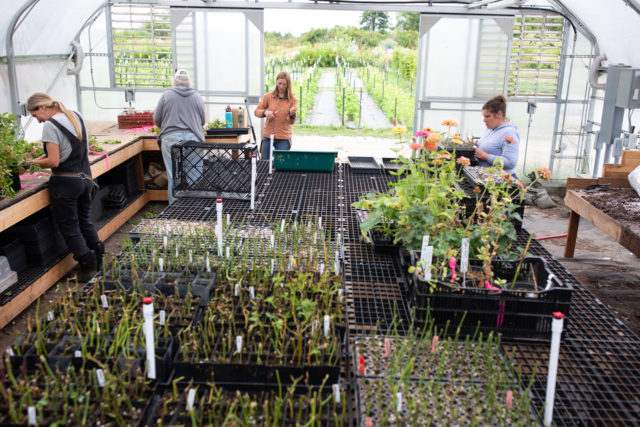 To prepare the cell trays we mixed the perlite and peat together, wetted it down, and filled the trays with the mix, tamping them down on the table to remove any air pockets.
Then Jill went through with a pencil and pre-poked holes in the center of each cell until it hit the bottom of the tray. Then the trays were ready to receive the cuttings.
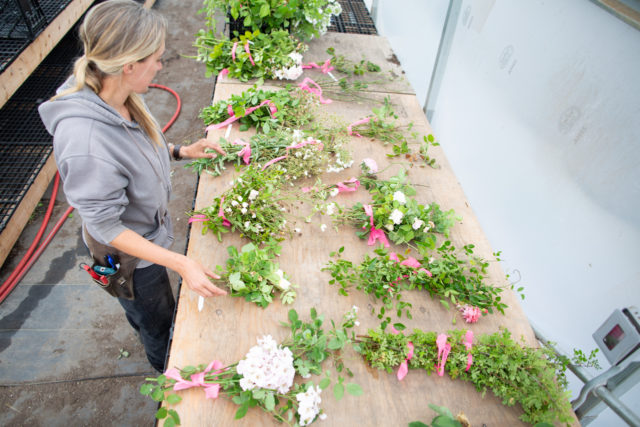
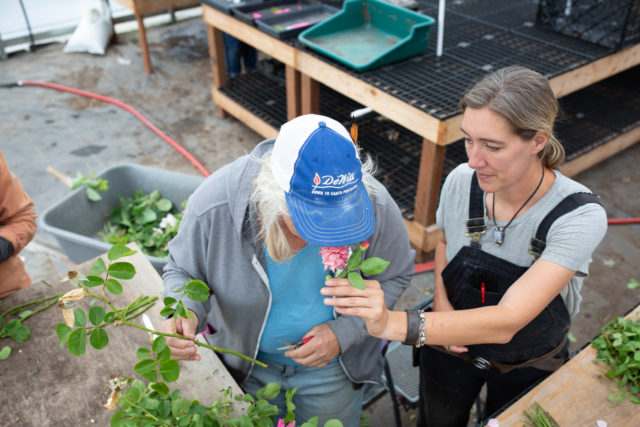
 When we were at Anne’s we cut roughly 12-in pieces of rose canes (that were the thickness of a pencil) off of the plants, bundled them by variety, and transported them from her garden to our farm in jars of water.
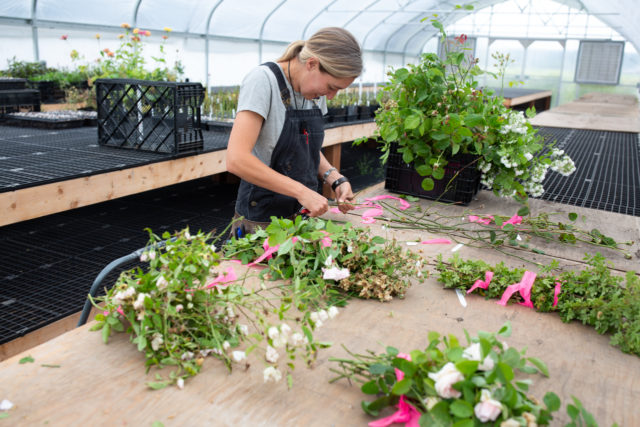
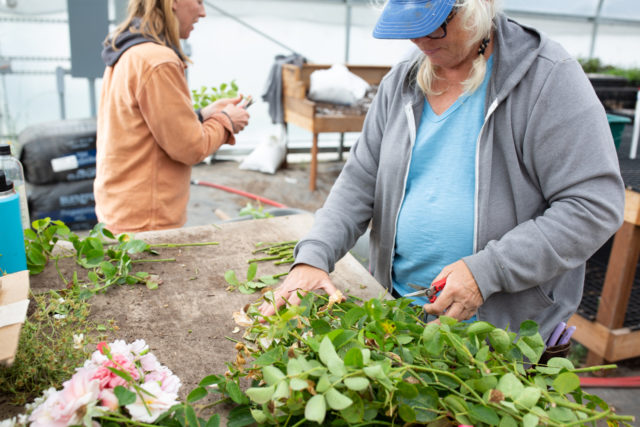 As soon as we got back to the farm we processed the cuttings by cutting each long cane down into smaller pieces that had at least three internodes (leaves) per section.
We then removed the lower leaves, typically leaving one set of leaves at the top of the stem if they weren’t wilted from the journey.
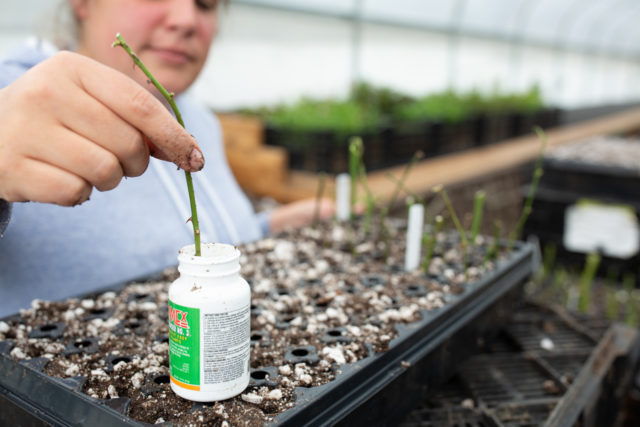
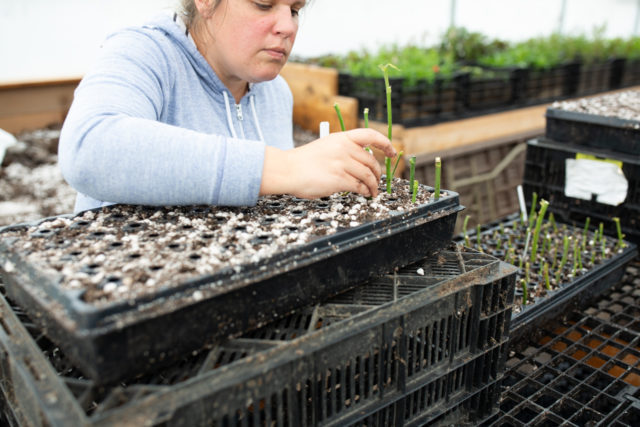 Next, we dipped the stem end into the rooting powder and slipped them down through the pre-poked holes in the cell tray, and gently firmed the soil around the stem.
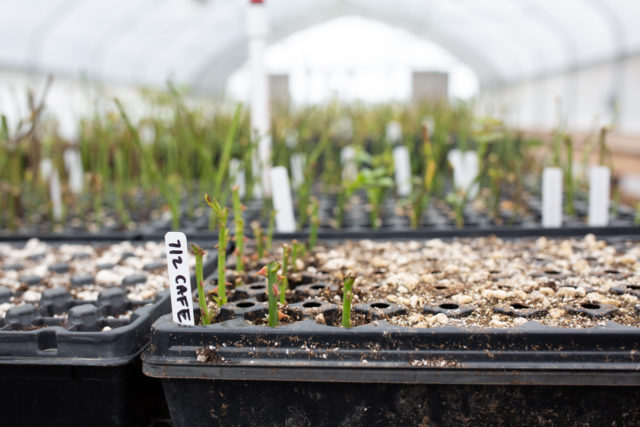
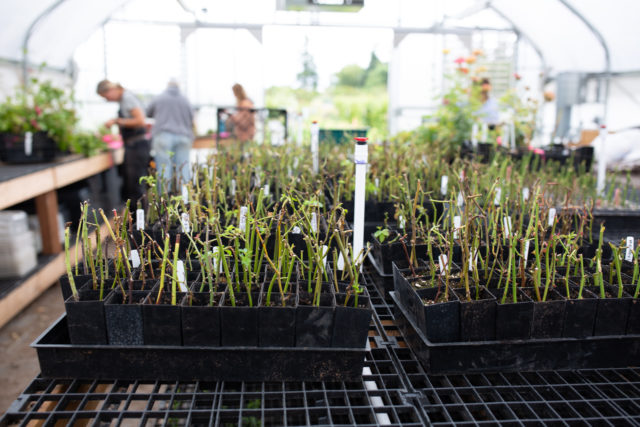 Once the trays were filled with cuttings, they were labeled with the variety name and date and set under the misters, which came on for a few minutes every hour during the day.
Then the hard part began … waiting to see if it worked.
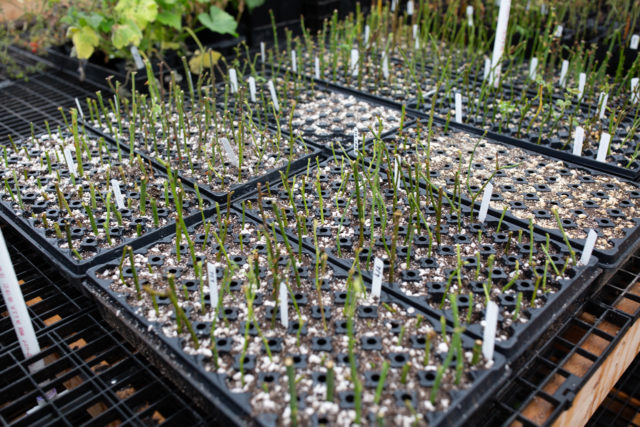
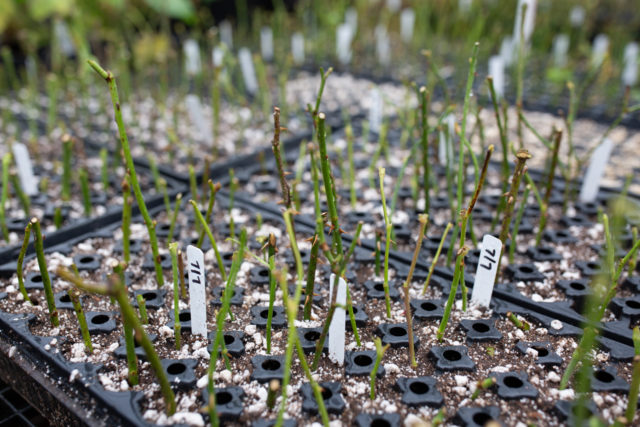 Generally, cuttings take 4 to 6 weeks to root, sometimes longer depending on the variety.
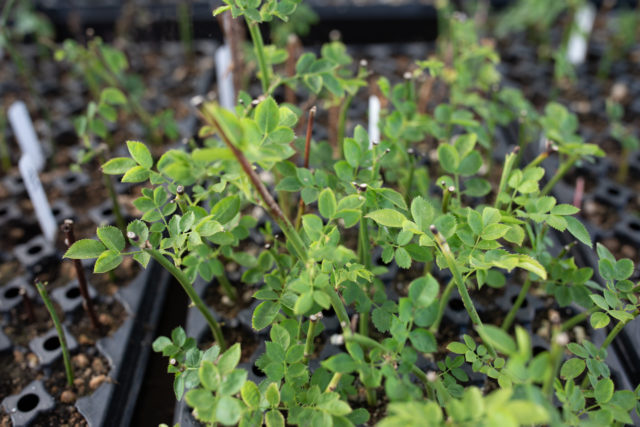
Once we saw white roots start to form and poke out the bottom of the cell tray, we then very gently transplanted them into larger pots so they had room to spread out.
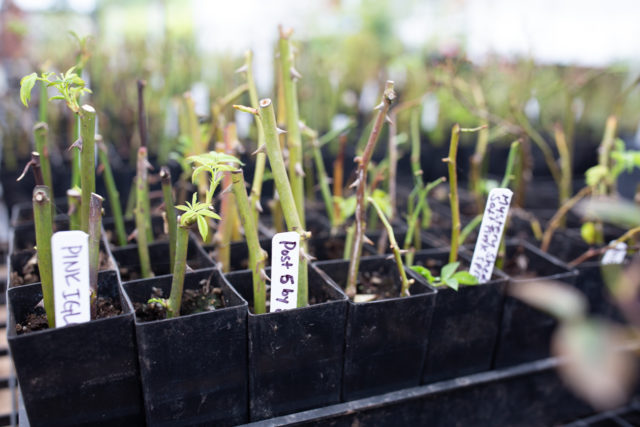 These tender little cuttings will spend the winter inside the greenhouse (which is kept just above freezing) and then they will be transplanted again into larger pots in the spring once they start putting on new growth.
I’m guessing we’ll grow them in pots for at least a year before planting them into the garden just to be sure that they have the best chance of survival.
 If you are a rose-cutting expert and have any advice or tricks to share, I’d love to hear them in the comments section below.
In the next post, I’ll be sharing my favorite specialty rose nurseries here in the States plus a little more about how we’ve planted roses here on the farm.
Please note: If your comment doesn’t show up right away, sit tight; we have a spam filter that requires us to approve comments before they are published.






Shyanne on
I’ve been using rabbit manure to propogate my roses, since I was a little girl. Plant your rose start, use fresh rabbit manure at the base of the plant. Works everytime! You’ll get great new shoots, and can always add more, about once a month. I use Alaska 5-1-1 two weeks after, and a month after that Alaska 0-10-10.